TIP
💡 Learn more : Azure storage account overview (opens new window).
# Creating your first Azure Storage Table
In case you are new to the Azure Storage, we've reviewed the following options so far:
- Working with Azure Storage Blobs and Files through the Portal (opens new window)
- Create an Azure Storage Blob Container through C# (opens new window)
- Uploading and Downloading a Stream into an Azure Storage Blob (opens new window)
- Working with Azure Storage Explorer (opens new window)
- Copy Azure Storage Blobs and Files via C# (opens new window)
- Creating an Azure Blob Hierarchy (opens new window)
- Adding Metadata to a file inside Azure Storage Blob Container (opens new window)
- Working with AzCopy and Azure Storage (opens new window)
- Today - Creating your first Azure Storage Table (opens new window)
- Adding an item to a Azure Storage Table (opens new window)
- Reading an item from a Azure Storage Table (opens new window)
- Updating an item from a Azure Storage Table (opens new window)
While we've been working with Azure Storage Blobs and Files, we'll switch this week to taking a look at Azure Storage Tables.
What is Azure Storage Tables? They are a NoSQL key-value store for rapid development using massive semi-structured datasets*
As a refresher, Azure Storage Blobs can store any type of text or binary data, such as a document, media file, or application installer. Blob storage is also referred to as object storage.
So to recap, think of Azure Storage Tables as key-value data set that you can query vs. Azure Storage Blobs which are typically files.
# Getting Started
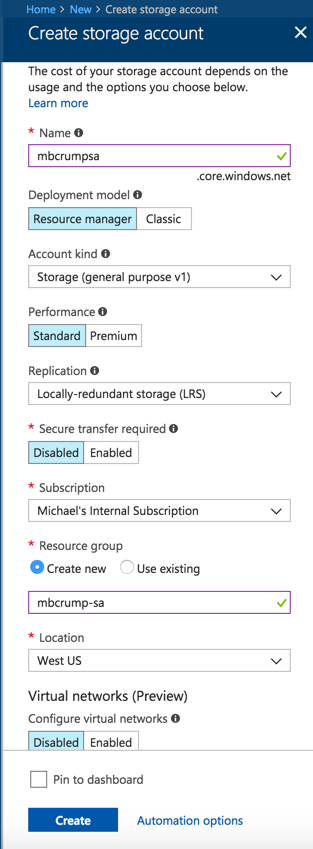
Go ahead and open the Azure Portal and click Create a Resource and select Azure Storage. We'll keep it simple as shown below to get started.

Once complete, go into the resource and look under Services.

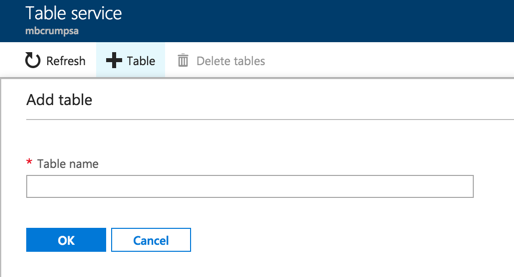
Go ahead and click on Tables and you could create a new table through the portal as shown below.

If we did that, then we'd see a table alongwith the URL that it is accessible from.

While this is good and fine, we'd like to create the table dynamically to represent a real-world scenario.
For this example, we'll use C#.
While inside the blade for Azure Storage, look under Settings, then Access Keys and copy the connection string.

Create a C# Console Application using Visual Studio, and use NuGet to pull in references to :
- Azure.Data.Tables


Inside of your Console app, you will see App.config, now add the following section:
  <appSettings>
    <add key="StorageConnection" value="YOUR-CONNECTION-STRING-COPIED-FROM-EARLIER"/>
  </appSettings>
2
3
Copy the following code into your Main method:
static void Main(string[] args)
{
    var serviceClient = new TableServiceClient(ConfigurationManager.AppSettings["StorageConnection"]);

    TableClient table = serviceClient.GetTableClient("thankfulfor");
    table.CreateIfNotExists();
    Console.ReadKey();
}
2
3
4
5
6
7
8
This code will get our connection string from the App.config, create our client and a table named thankfulfor if it doesn't exist. We can go back inside of the portal to see if executed correctly.

