
TIP
🔥 Make sure you star the repo (opens new window) to keep up to date with new tips and tricks.
💡 Learn more : VNC to Azure Linux VMs (opens new window)
This post was brought to you by Kumar Allamraju (opens new window).
# VNC on Azure Linux VMs
Are you a MAC or Windows User? A big fan of GUI? Tired of SSH'ing to Linux VMs? What if you want to browse the web? VNC comes to the rescue.
The following article was written for Ubuntu VM but a similar process applies to other Linux flavors as well.
# 1. Create a new Azure VM
Provision (opens new window) a Linux Virtual Machine from Azure Portal or Azure CLI.
# 2. Connect to the VM
ssh azureuser@public-ip
# 3. Install packages
Once connected let’s update our sources list and install some extra packages:
$ sudo apt-get update
$ sudo apt-get install tightvncserver
2
# 4. Install the desktop environment
Before configuring the VNC server we shoud install one of the favorite desktop environments like Gnome (opens new window) or Xfce (opens new window). I personally like Gnome. It's beautiful … and heavy! So be patient while everything gets installed..
# 5. Setting up VNC Server
Now that our instance has a desktop environment let’s make it accessible via VNC. Start the vncserver, and follow the directions to create a password
$ vncserver
Note: this password will grant access to your instance, so make sure you remember this password.
2
3
If everything went fine your VNC server is now running and listening on port 5901. You can verify this with netcat from the Azure Ubuntu VM:
$ nc localhost 5901
RFB 003.008
2
3
# 6. Installing a VNC Client
You can google search for a VNC client. My favorite one is RealVNC Viewer (opens new window)
Install the VNC Client but don’t try to connect to your server just yet: it will fail as the firewall rules don’t allow it.
# 7. Open the firewall
Go to your VM's Network Security Group and allow traffic on port 5901

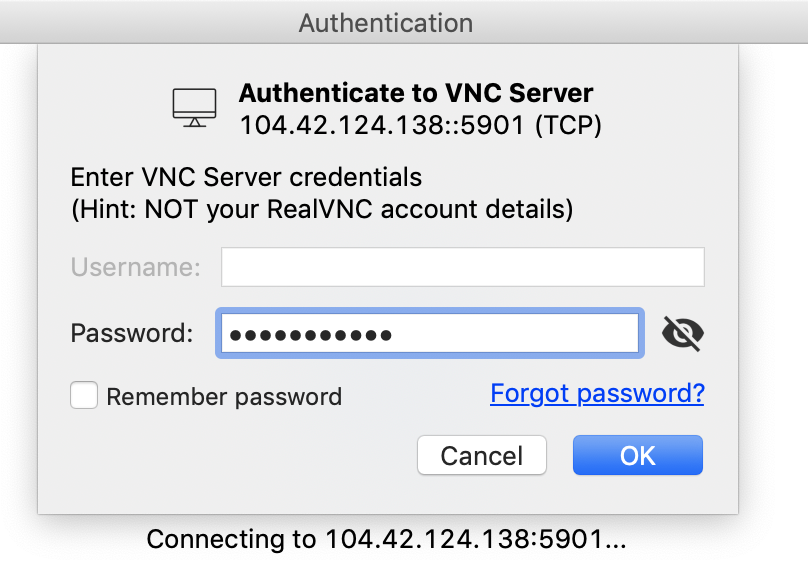
# 8. Connecting to the VNC server
From your local desktop, launch VNC Client

Open a terminal window in the linux vm.
Install your favorite browser
sudo apt-get install firefox
2
Launch the browser
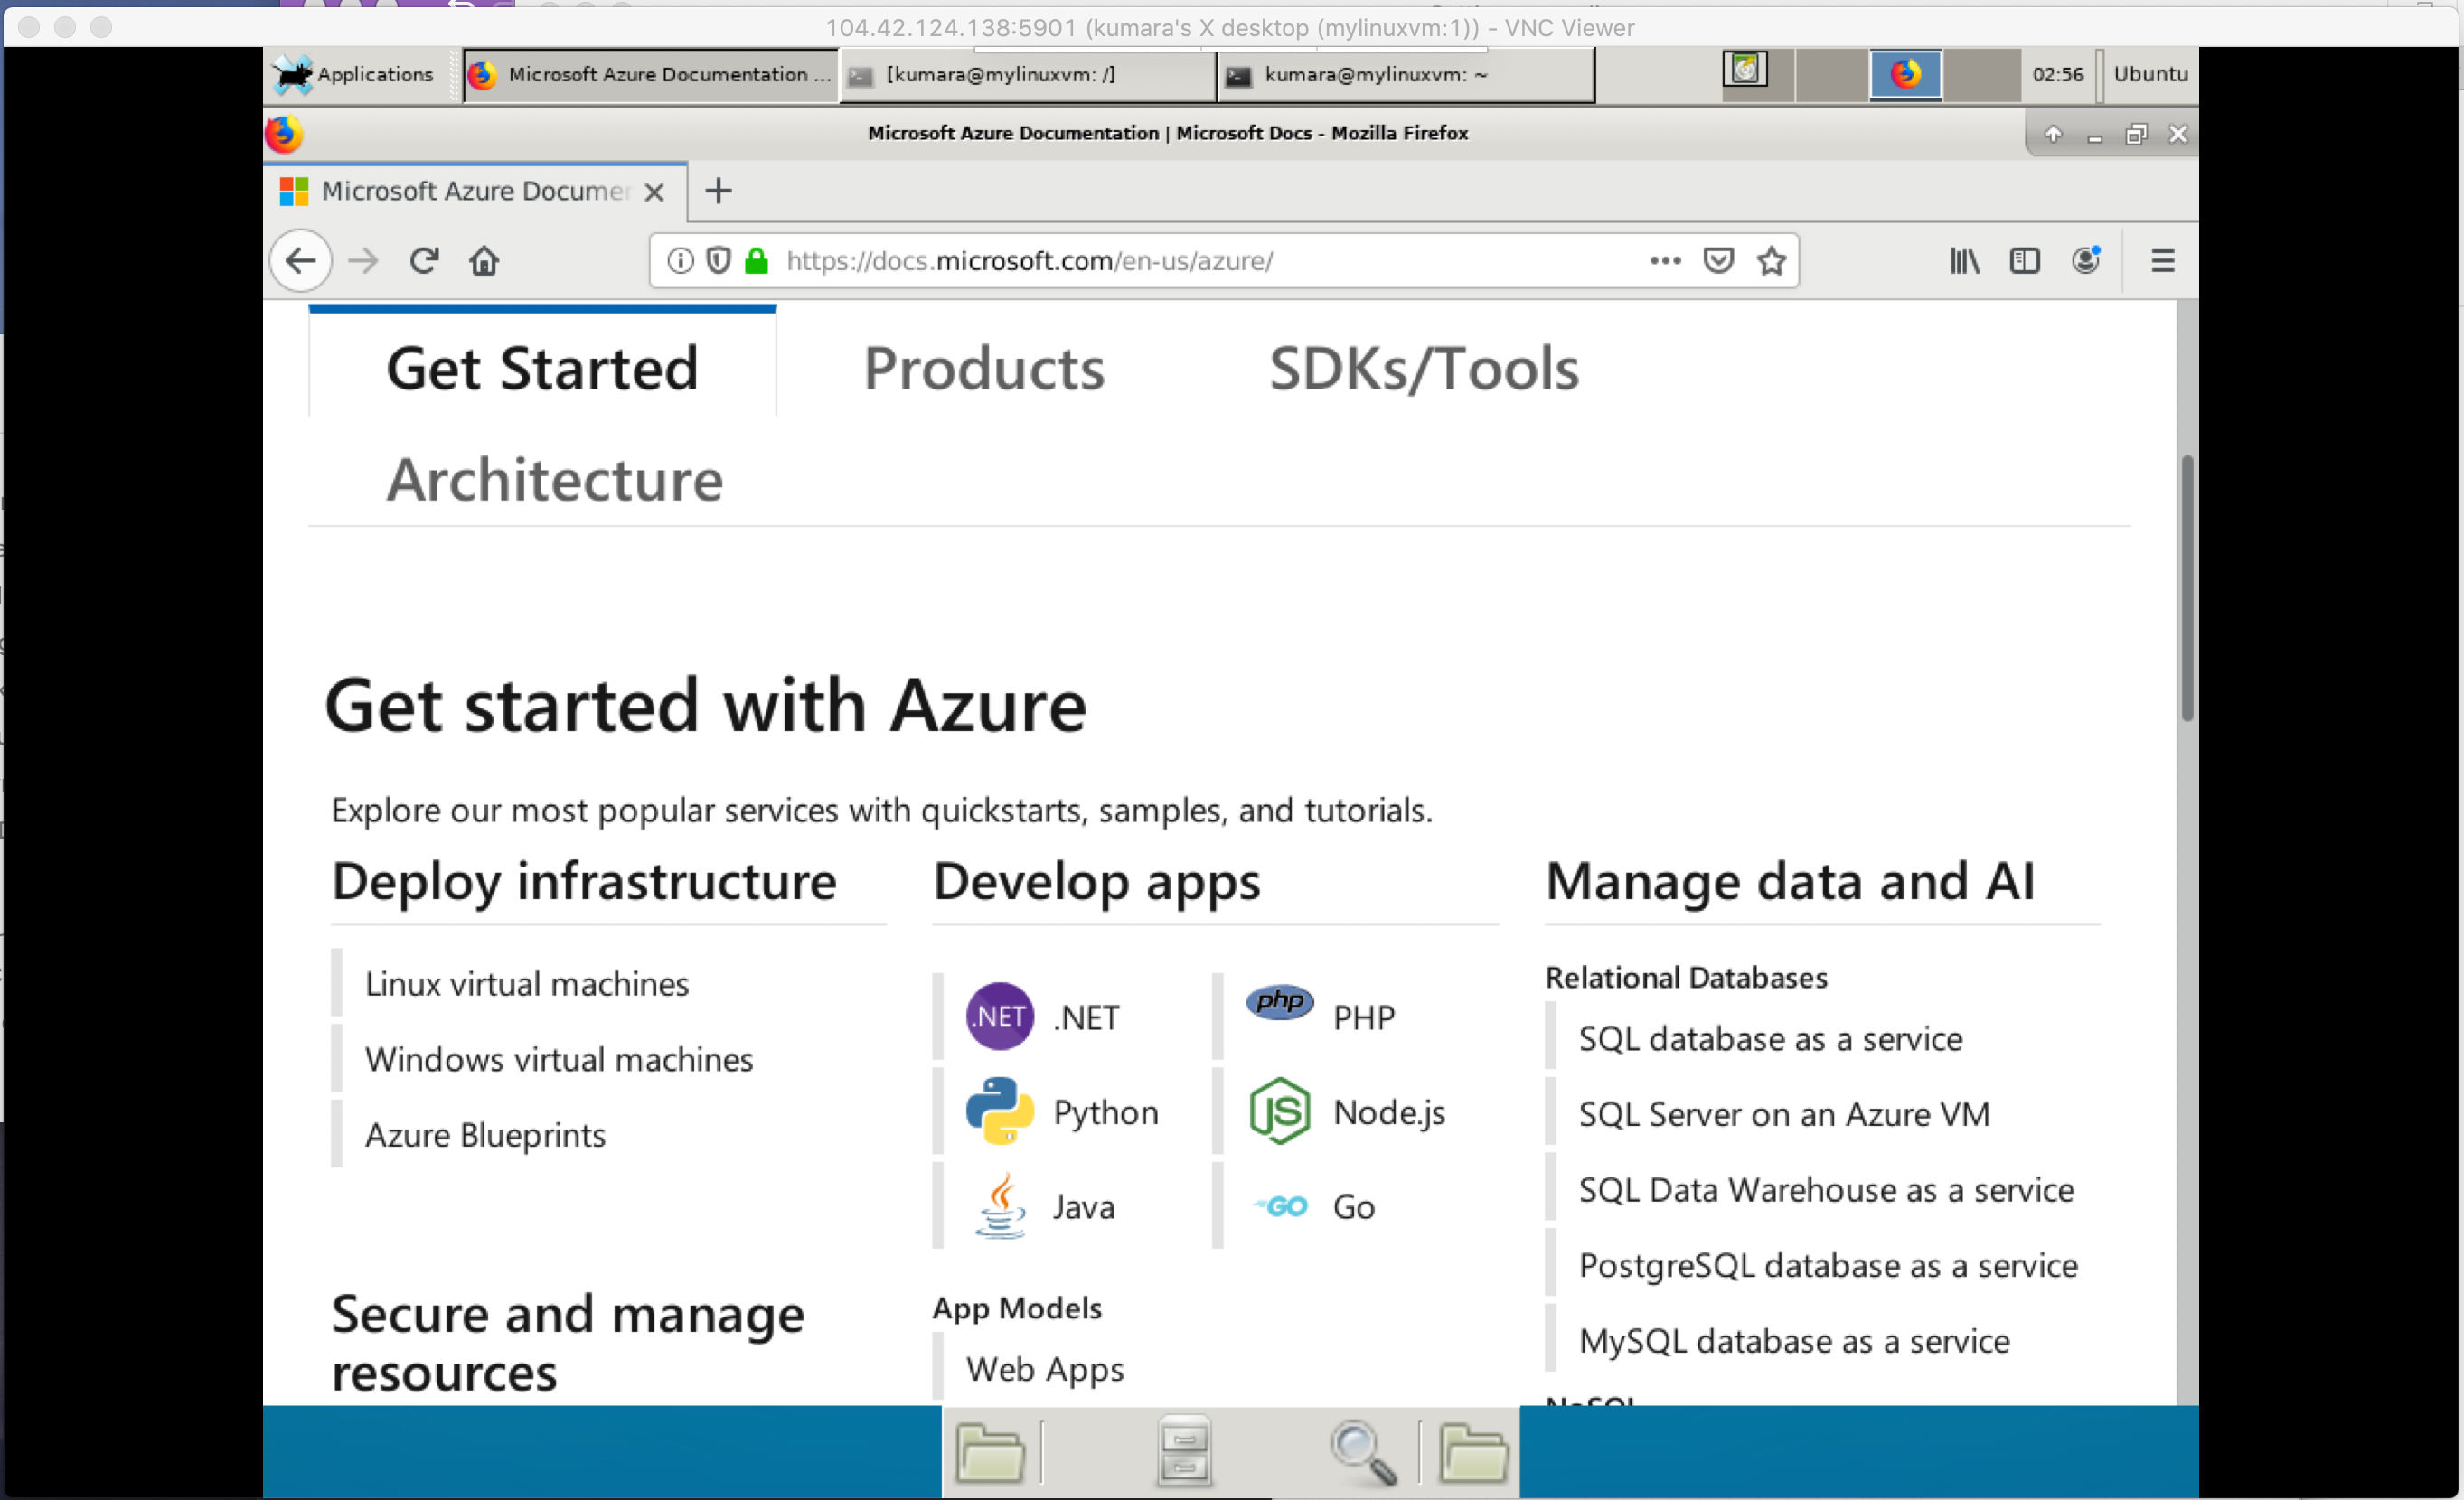
And voilà! You can now use your favorite Desktop environment on your Azure VM instance.
# Conclusion
The VNC tool provides a rich desktop experience, packed with features that will make you more productive. This is especially useful for native Windows or MAC users. Go ahead and give it a try!!