
TIP
🔥 Make sure you star the repo (opens new window) to keep up to date with new tips and tricks.
💡 Learn more : Azure Virtual Desktop overview (opens new window).
📺 Watch the video : How to get started with Azure Virtual Desktop (opens new window).
# How to get started with Azure Virtual Desktop
# Multi-session Virtual Machines
Azure Virtual Desktop (opens new window) enables you to create resources, like a Windows 11 VM, or a VM from a custom image, that can be used by many users at the same time. It also enables you to virtualize Microsoft 365 Apps (opens new window), and Windows apps that users can access from their own device. This enables users to use the apps and environments they need, from whatever device they are using, which can be a computer, or tablet, or even a phone.
In this post, we'll get started with Azure Virtual Desktop and show you how to create VMs that users can access.
# Prerequisites
If you want to follow along, you'll need the following:
- An Azure subscription (If you don't have an Azure subscription, create a free account (opens new window) before you begin)
# Creating a host pool, app group and user
We will follow the getting started experience for Azure Virtual Desktop in the Azure portal.
- Go to the Azure portal (opens new window)
- Search for Virtual Desktop in the search bar and select the result
- You'll now see the Azure Virtual Desktop management blade
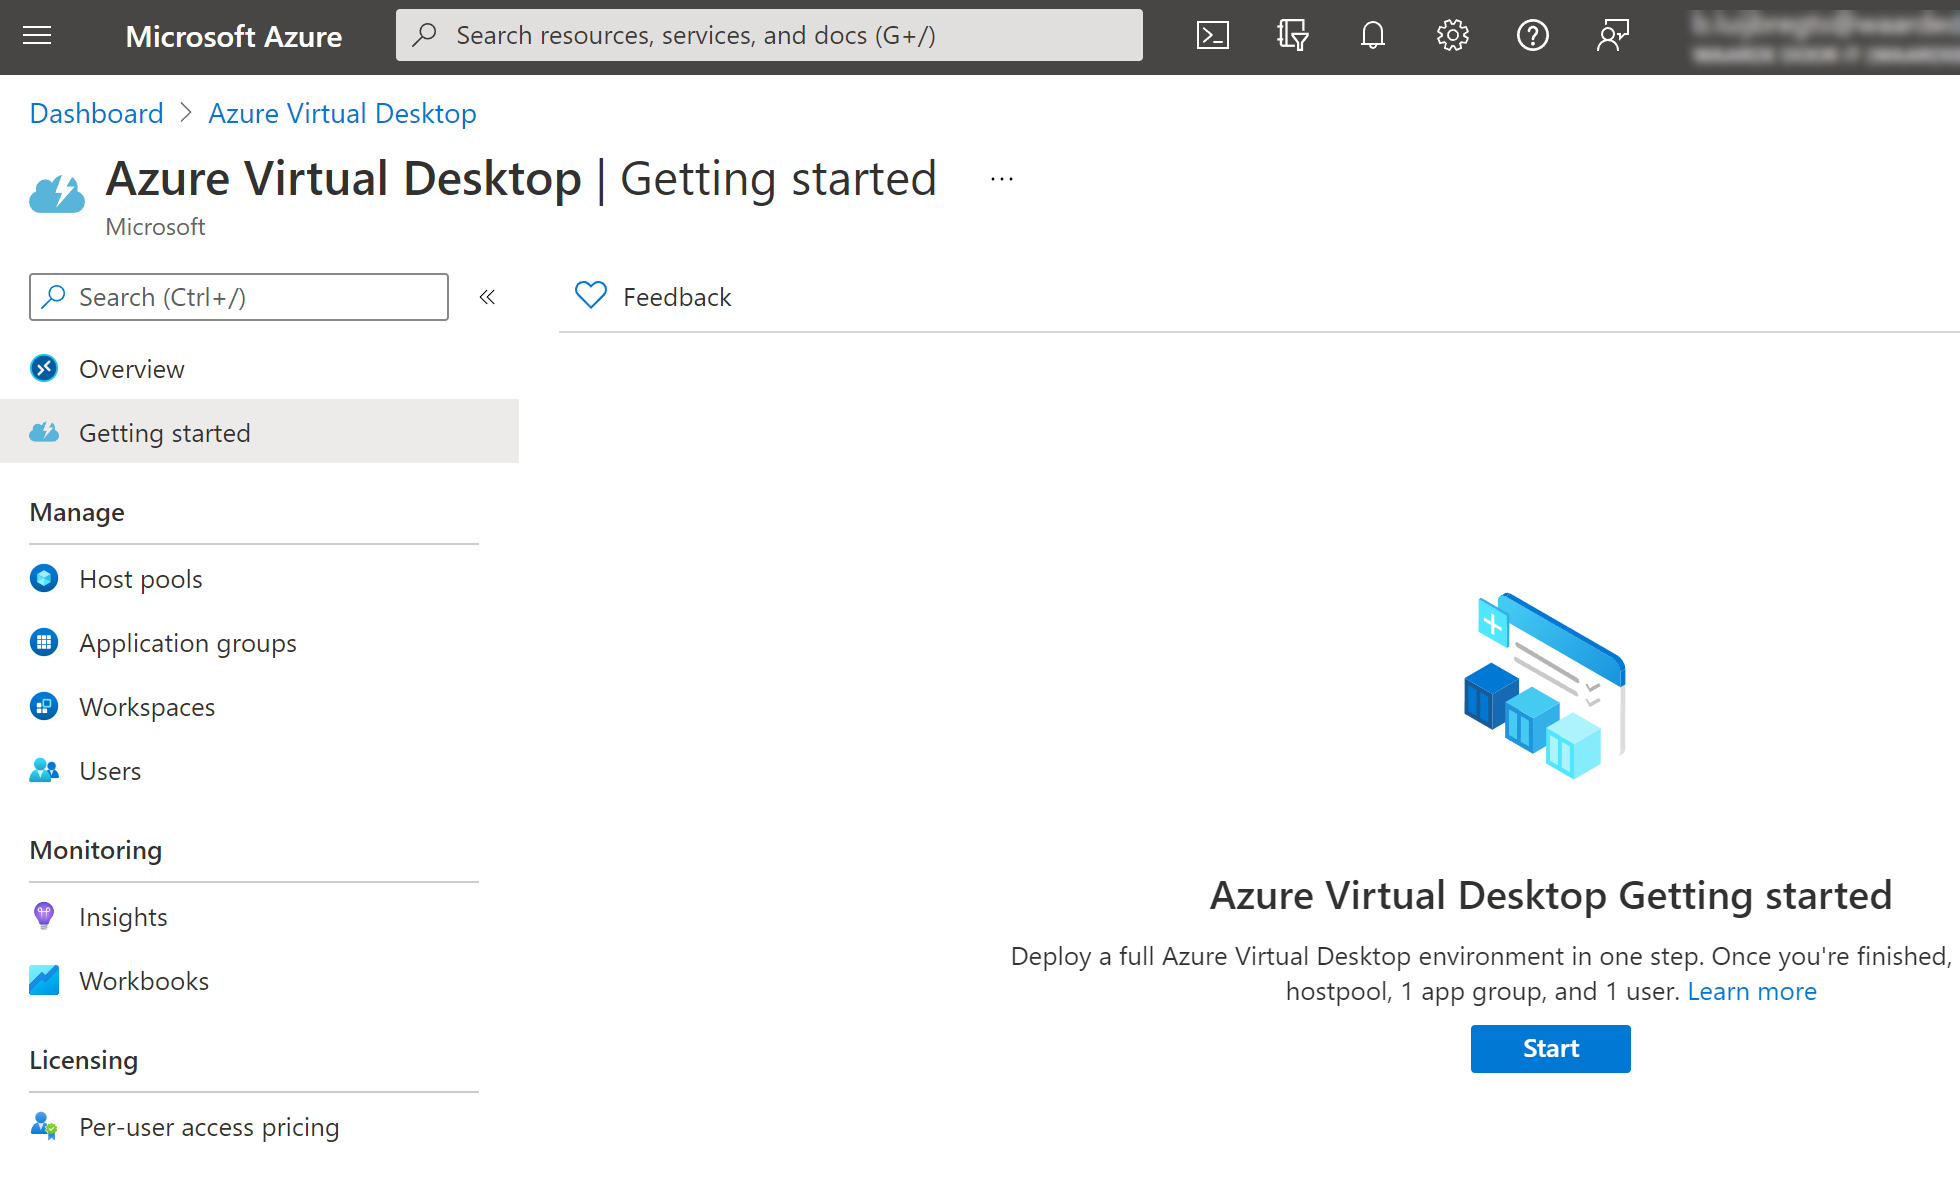
(Azure Virtual Desktop management blade in the Azure portal)
- Navigate to the Getting started menu
- Click Start. This opens the Getting started wizard
- If you have Azure AD Domain Services, you can select that for the Identity provider setting. Otherwise, select No identity provider, which we'll do for now
- Select Azure AD Domain Services for the Identity service type
- Enter a Name for the Resource group
- Pick a Location
- Enter a user name and Password for the Azure user credentials. This is the Azure Active Directory administrator that has access to deploy resources
- Also fill in a user name and Password for the Domain administrator credentials. This is for a new Azure AD user that will be created and granted permissions to join machines to the domain. This can seem a bit complicated, but it's because the Virtual Desktop host pool will now be created in a new domain, as we selected earlier that we didn’t have an Identity provider yet.
- Click Next: Virtual Machines
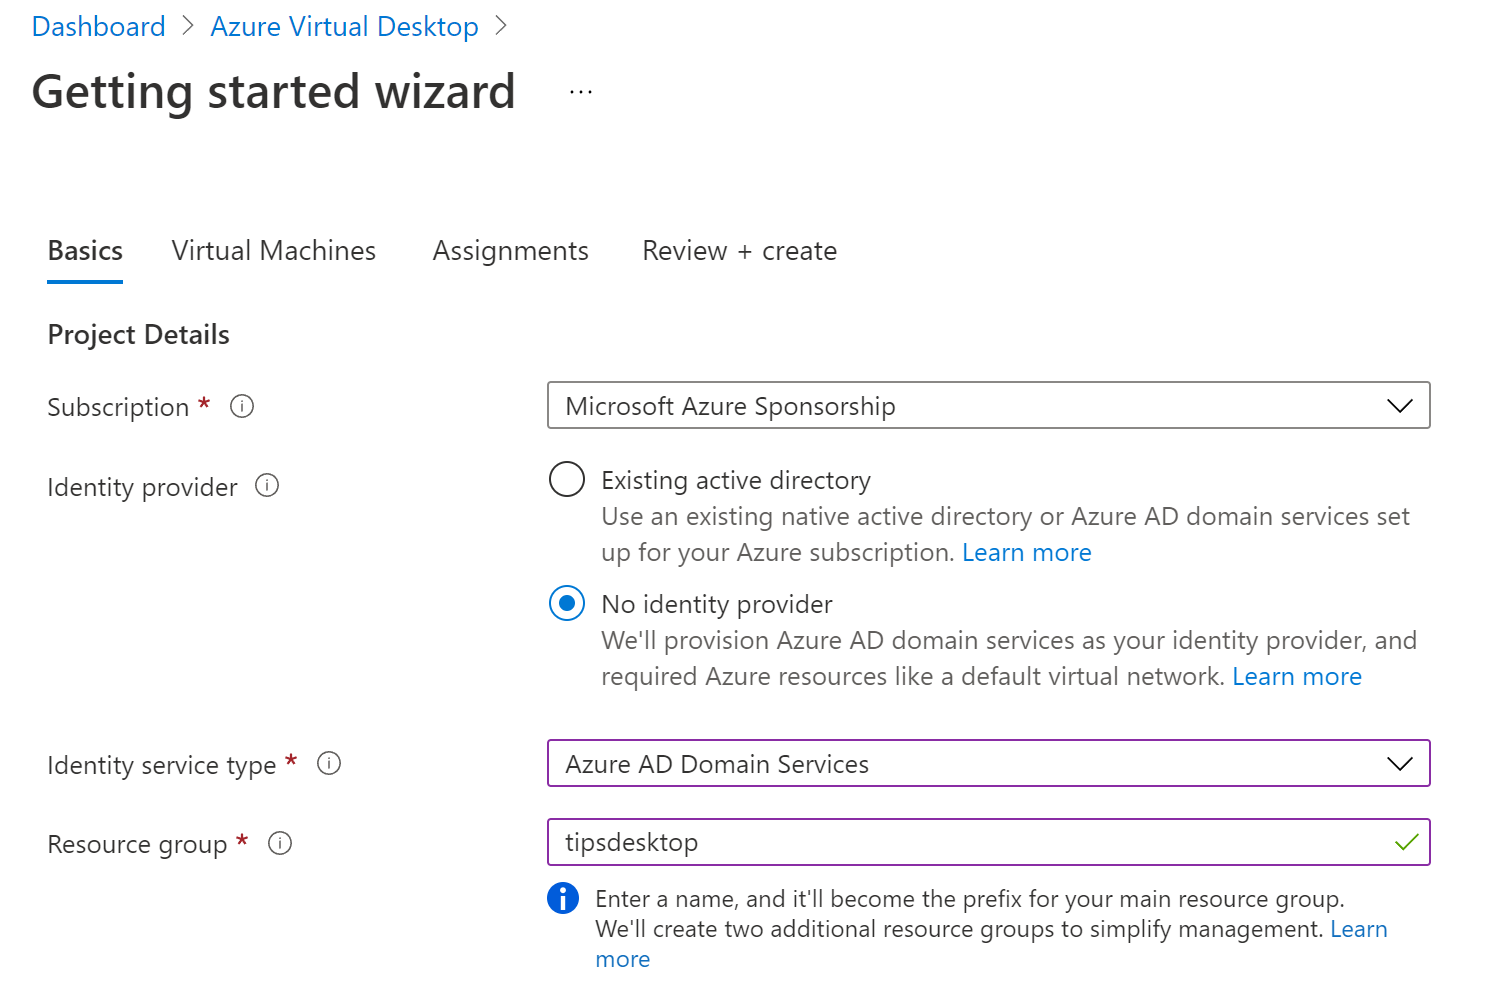
(Getting started wizard basics)
- Leave the "Users per virtual machine" setting to Multiple users. This allows multiple users to use a VM at the same time
- Pick a VM image from the gallery. Something like Windows 11 multi-session is fine
- Leave the Virtual machine size
- Enter a Name prefix for the VMs
- Uncheck the Link Azure template checkbox. You can use this to provide an Azure Resource Manager template for the VMs
- Click Next: Assignments
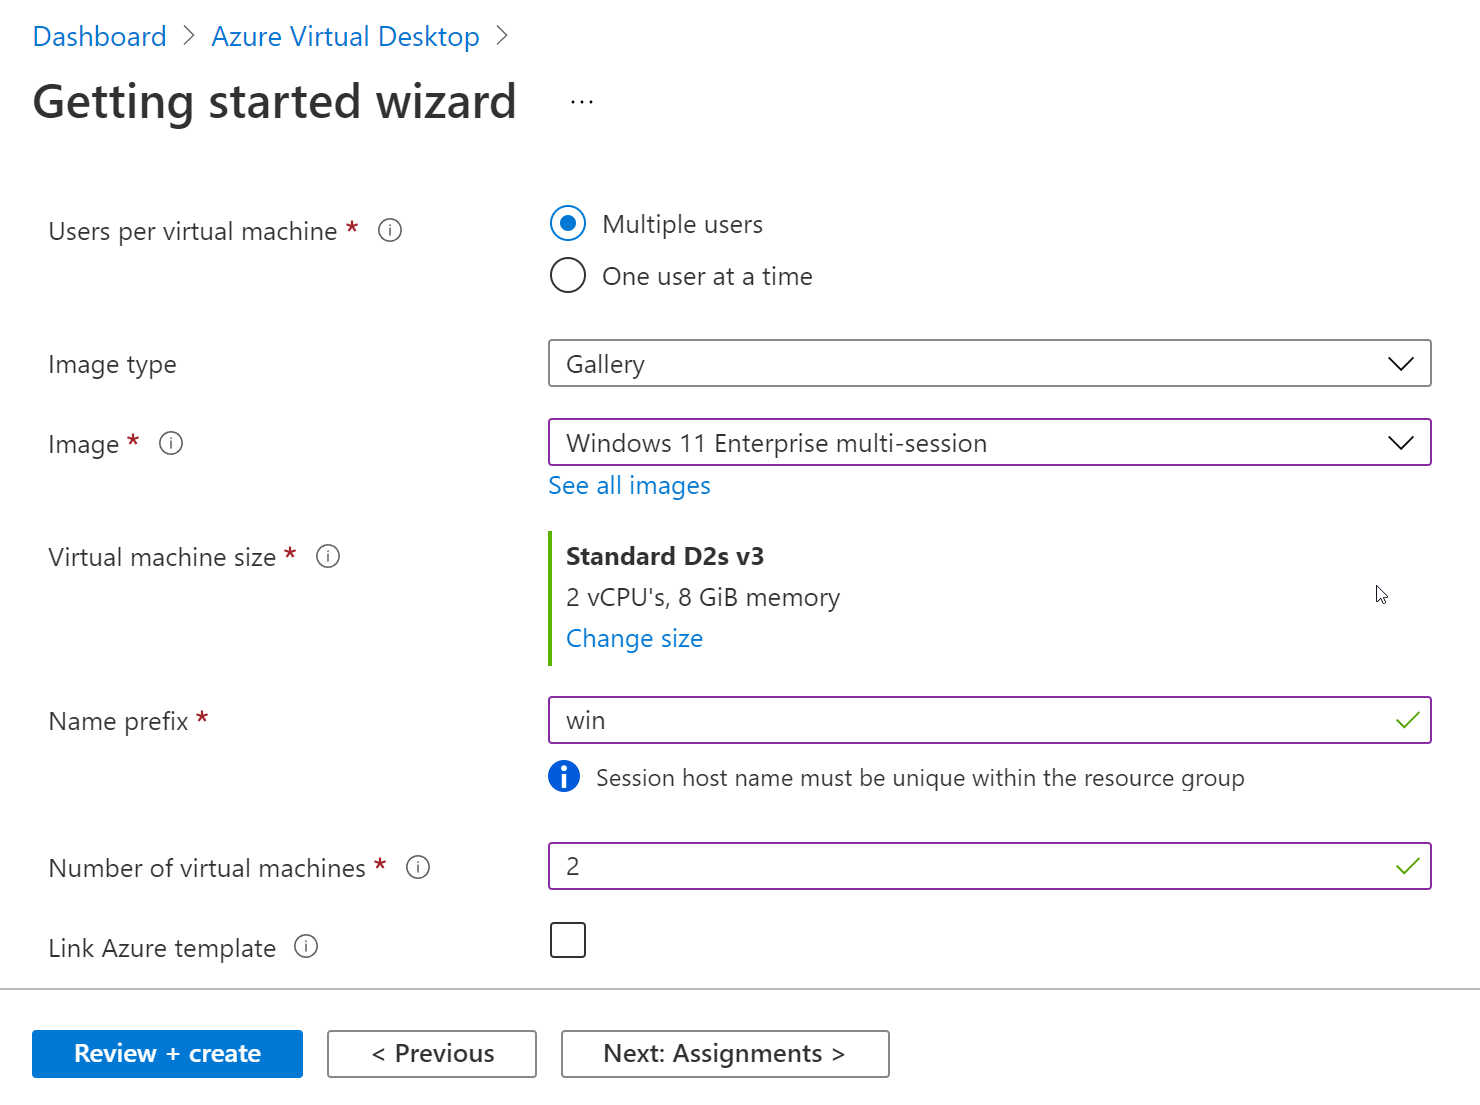
(Getting started wizard Virtual Machines)
- Fill in a user name for the account that will log into the VMs
- Enter a password for the account, and confirm the password
- Click Review + create and then Create. It can take a while to complete the deployment
Let's take a look at the resources that we just created.
- In the Azure portal, go to the Azure Virtual Desktop management blade
- Click on the Host pools menu. You'll see the pool that contains an Application Group and Session hosts. You can use these to manage applications, like MSIX packages for Windows applications, and control the virtual machines that users can access
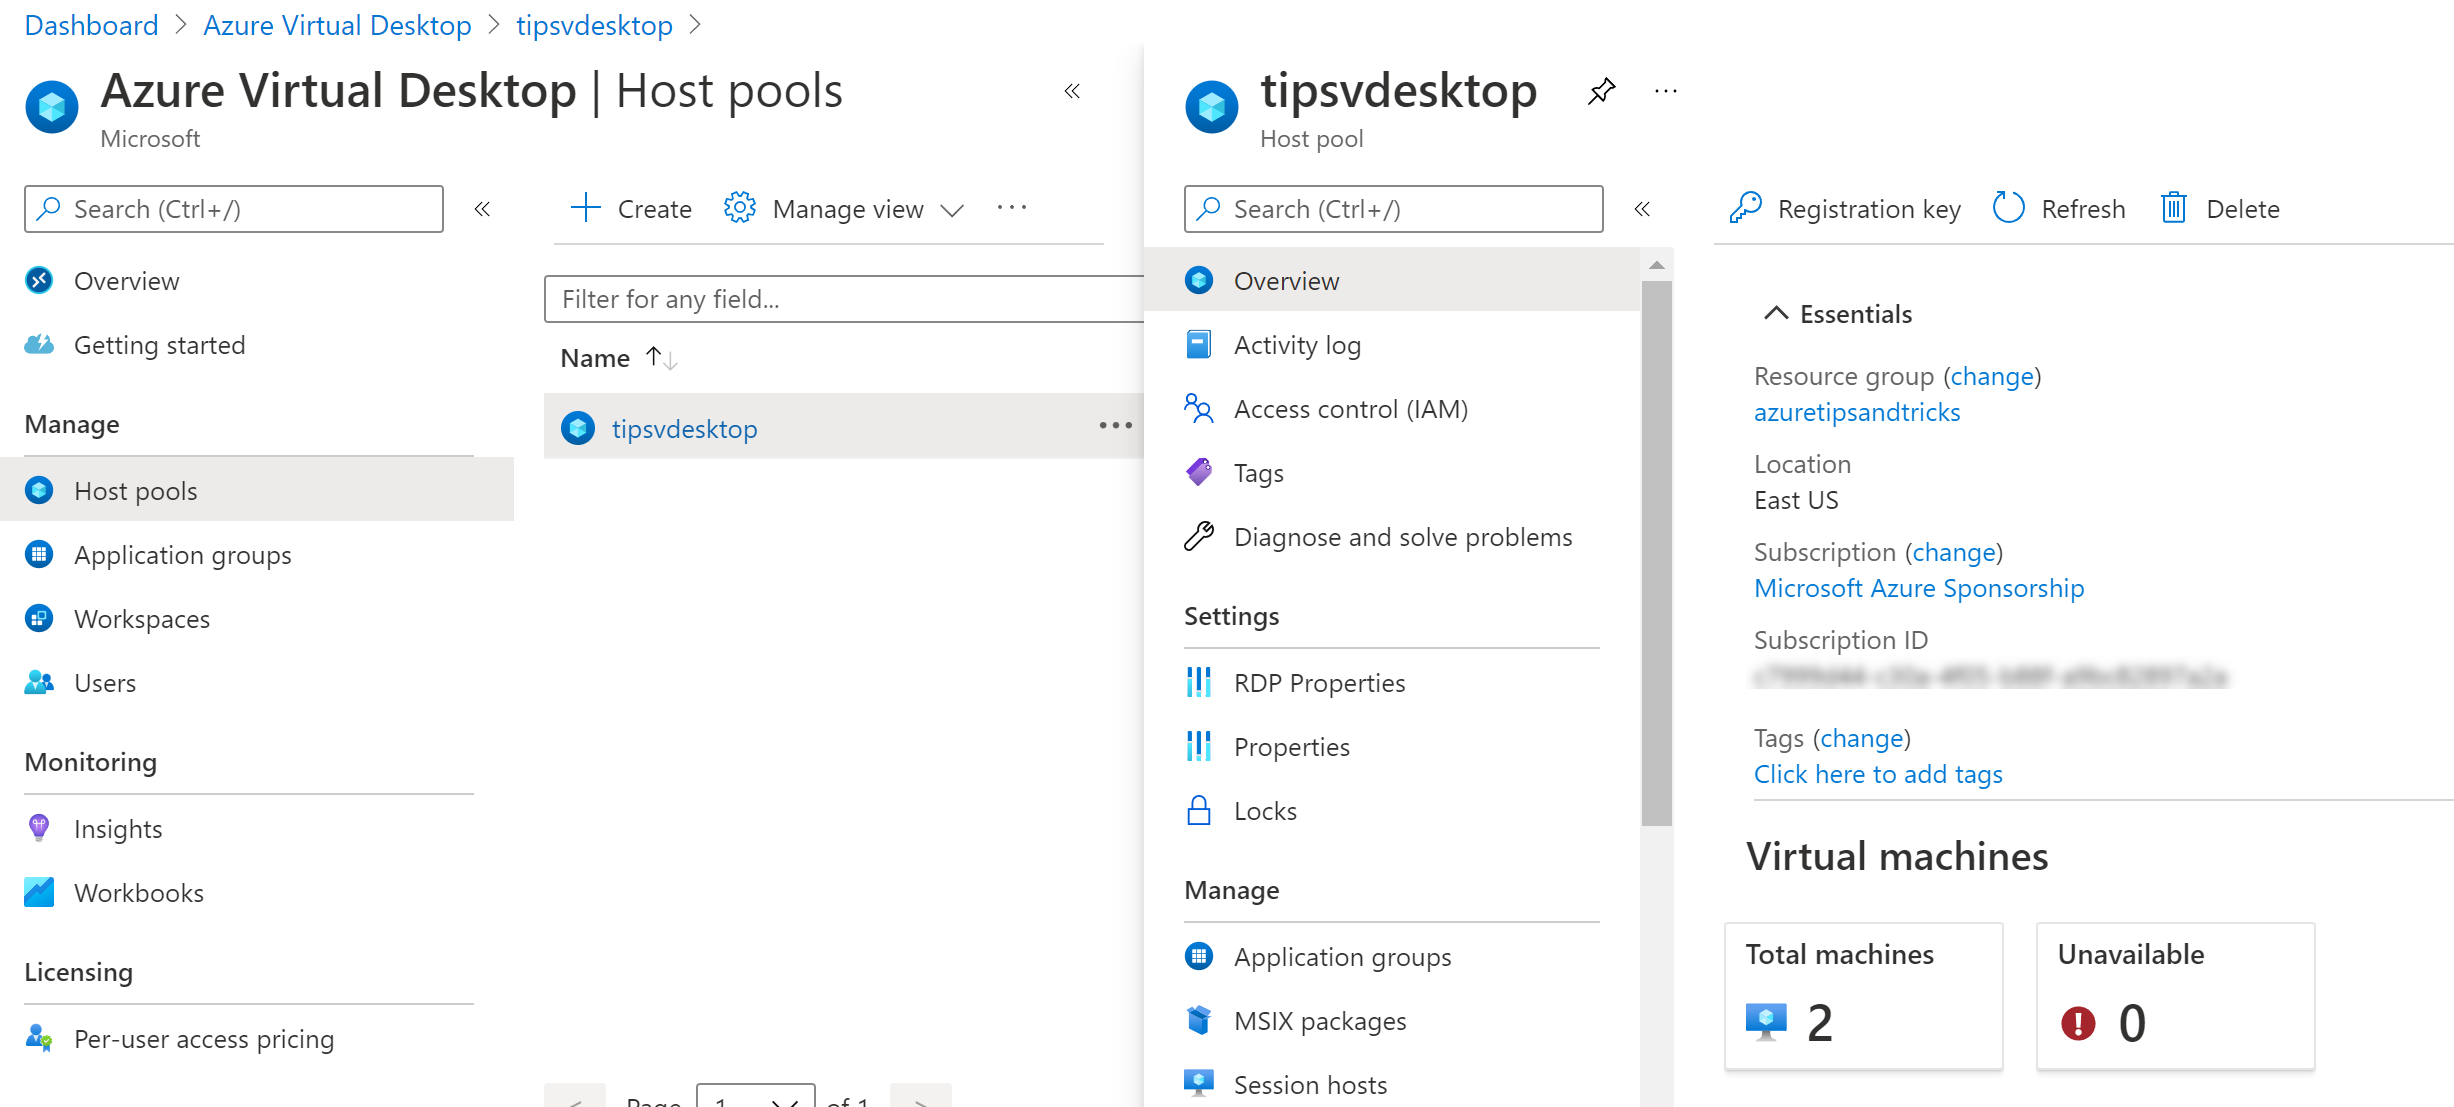
(The Virtual Desktop Host pool)
- As we have only provisioned session hosts so far, and not virtualized any applications, users can only use the VMs in the host pool. They can access them through RDP, SSH, or Azure Bastion (opens new window), and it works just like a regular Azure Virtual Machine (opens new window). However, you have a lot of control over the VMs' security, availability and scale. And multiple users can use the VM at the same time
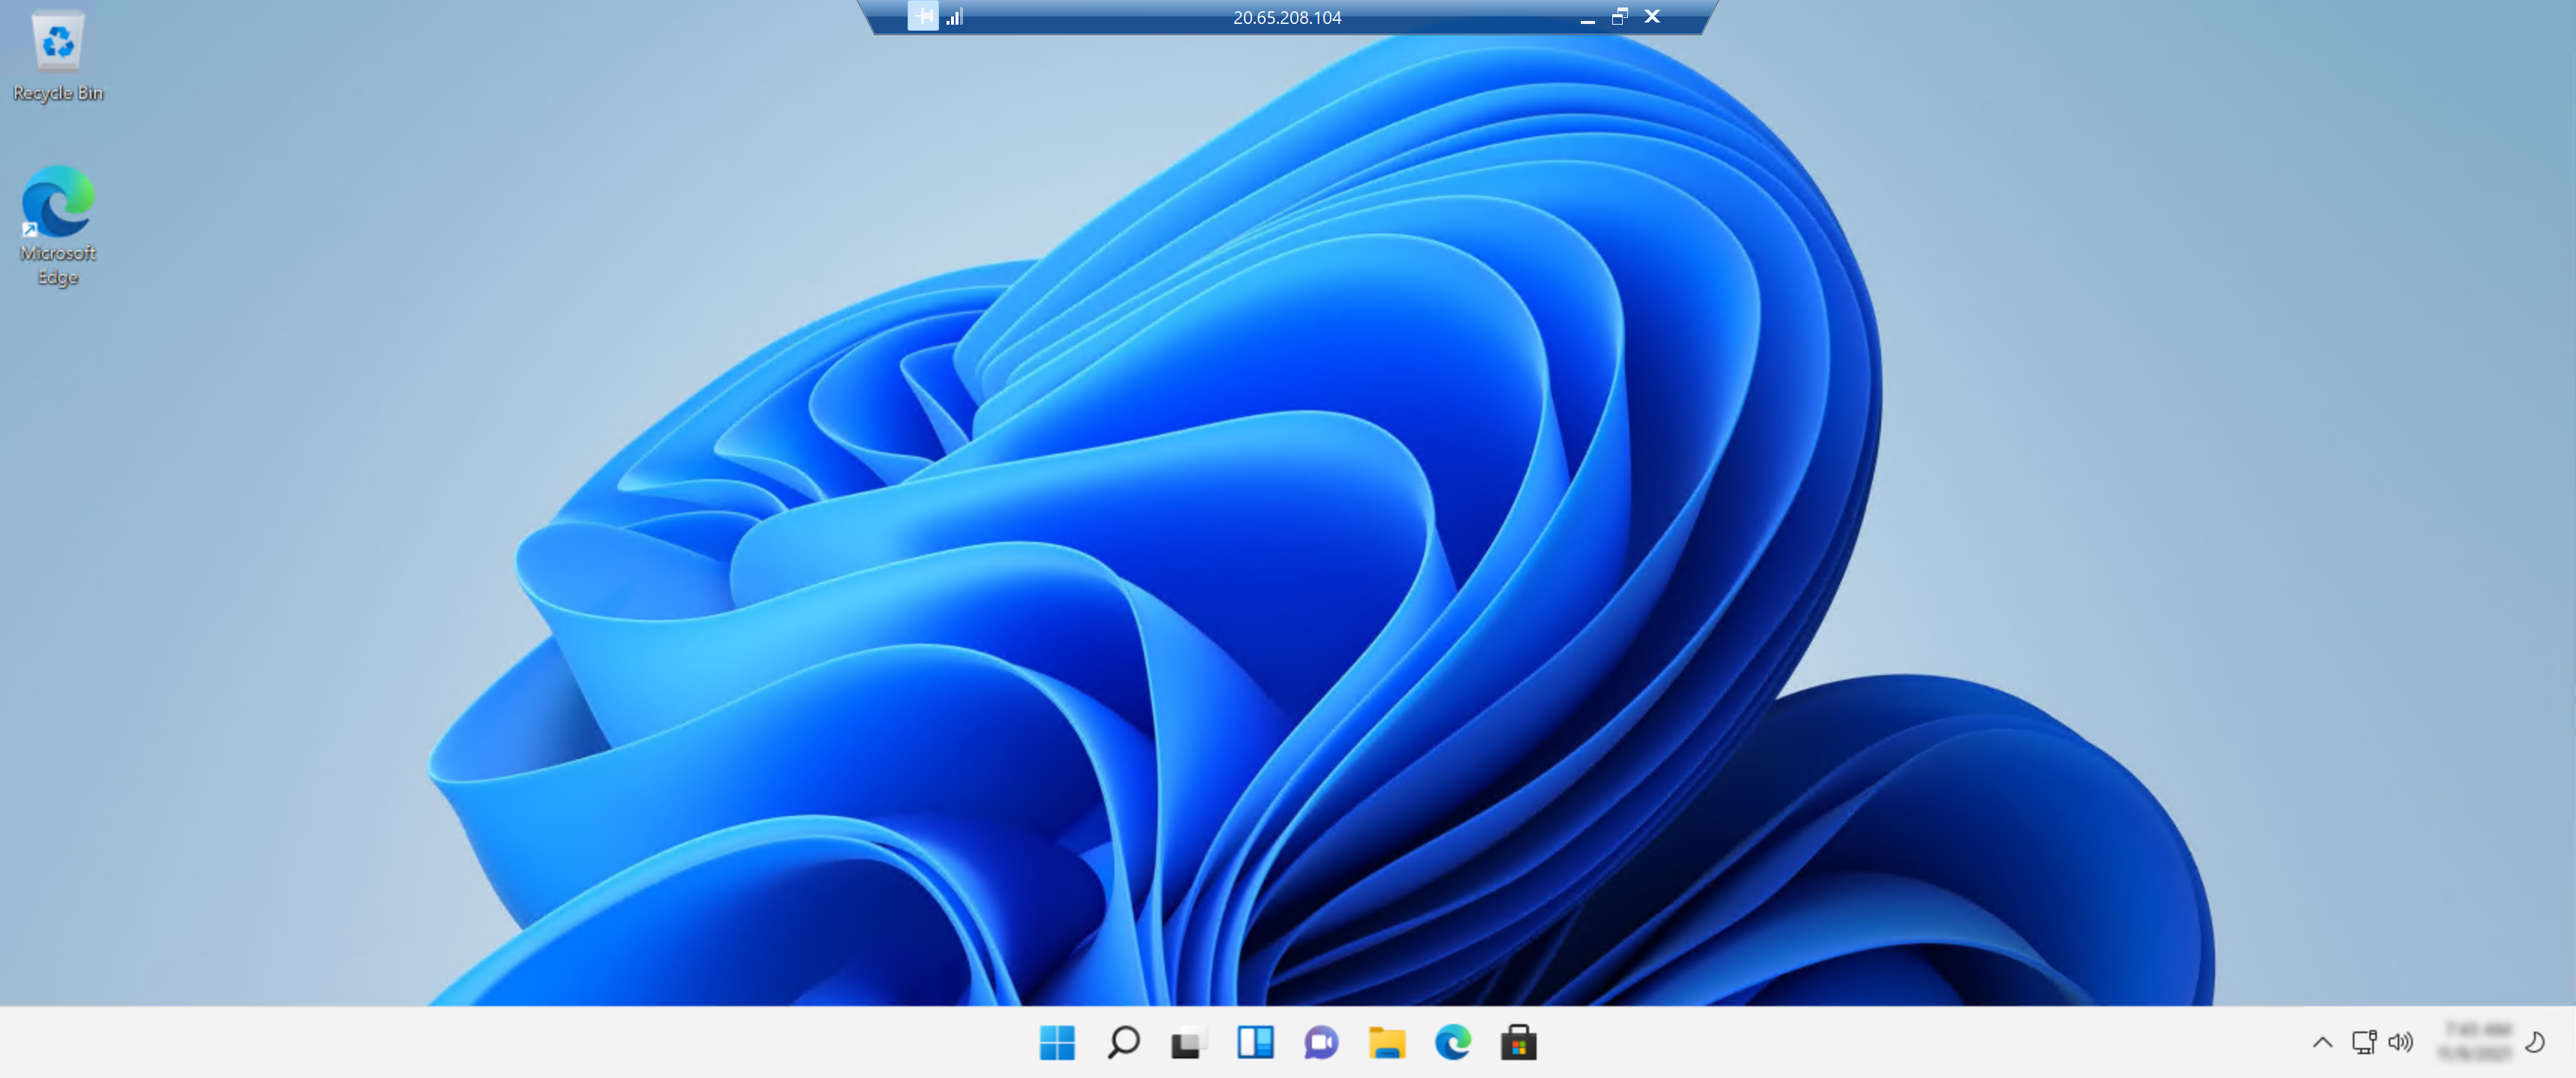
(User logged into a session host VM)
# Conclusion
Azure Virtual Desktop (opens new window) enables you to virtualize your own applications and Microsoft 365 Apps (opens new window), and provide users with virtual environments that you have control over. Go and check it out!