
TIP
🔥 Make sure you star the repo (opens new window) to keep up to date with new tips and tricks.
💡 Learn more : Download the Azure Virtual Machines extension for VS Code (opens new window).
📺 Watch the video : A Lap around the new Azure VM Extension (opens new window).
# A Lap around the new Azure VM Extension for VS Code
# Managing Virtual Machines from VS Code
Visual Studio Code (opens new window) is a great tool for almost every programming task. It can do almost anything, because you can install extensions for almost any scenario. This is also true for managing Azure Virtual Machines (opens new window).
In this post, we'll take a look at the Azure Virtual Machines extension for VS Code (opens new window).
# Prerequisites
If you want to follow along, you'll need the following:
- An Azure subscription (If you don't have an Azure subscription, create a free account (opens new window) before you begin)
- The latest version of Visual Studio Code (opens new window)
# Azure Virtual Machines extension for VS Code
Let's see what the Azure Virtual Machines extension for VS Code can do for us:
- Open Visual Studio Code
- Go to the Extensions menu
- Search for "Azure Virtual Machines" and select the result
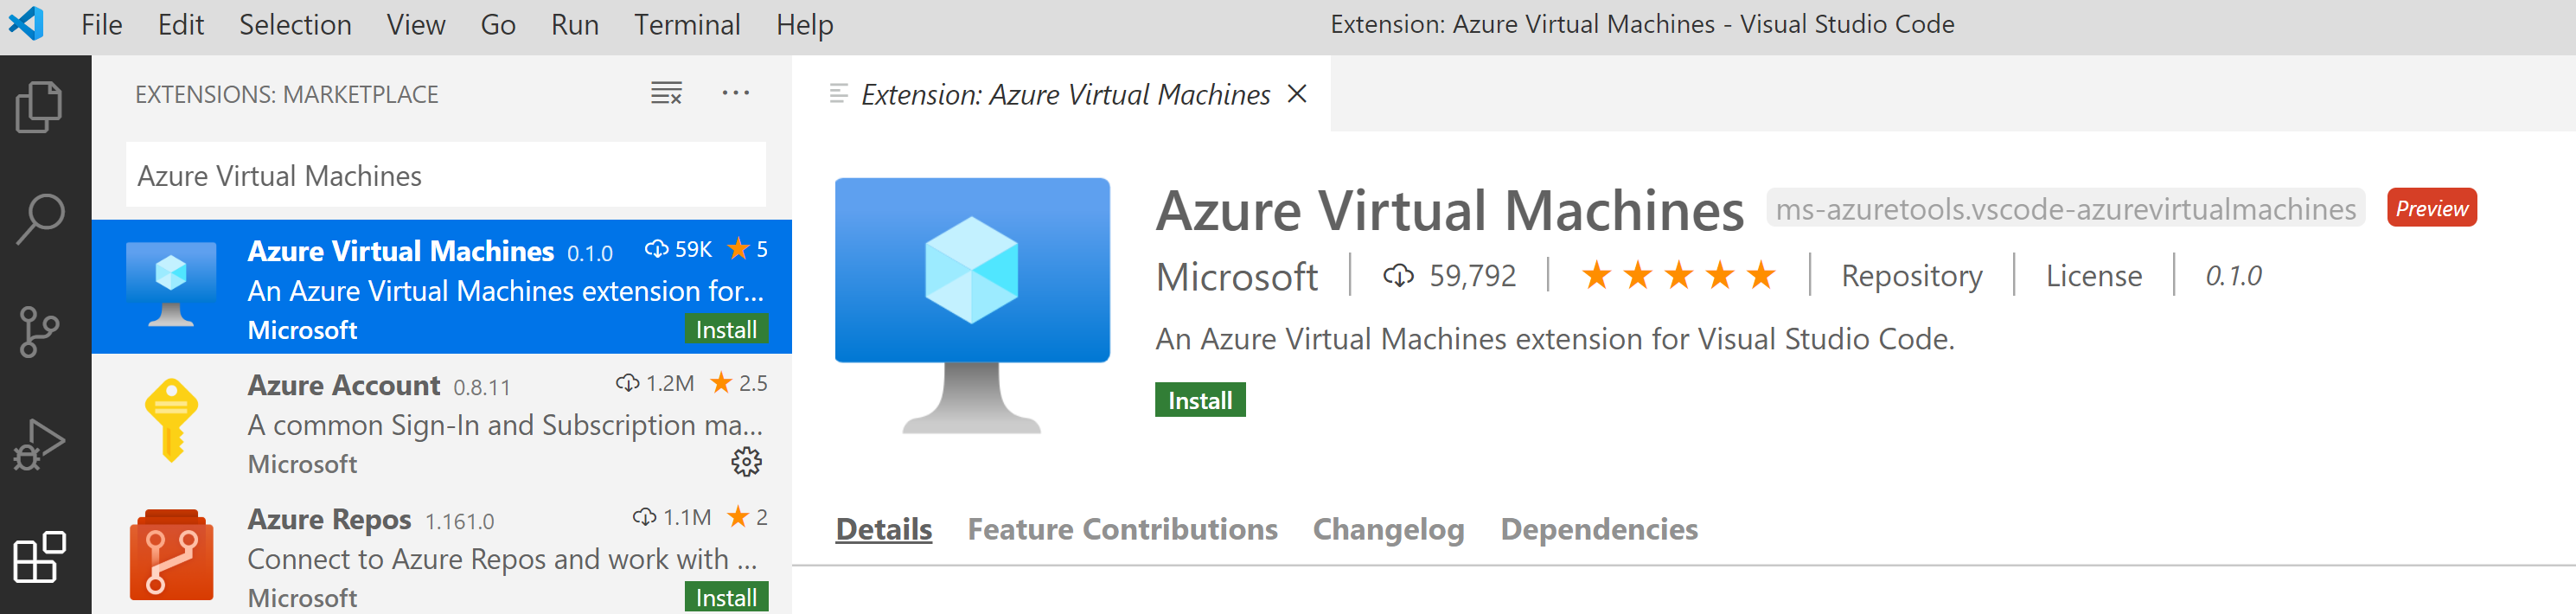
(The Azure Virtual Machines extension in VS Code)
- Select install to install the extension
- Once installed, you can access the extension by clicking on the Azure icon in the menu on the left
- You might have to click Login to Azure to login to your Azure account
The extension will load your existing Azure VMs. If you right-click on a VM, you'll see the actions that you can perform. You can start and stop the VM. You can delete it and open it in the Azure portal. You can also provide an existing SSH key to the VM that you can use to login to it using SSH.
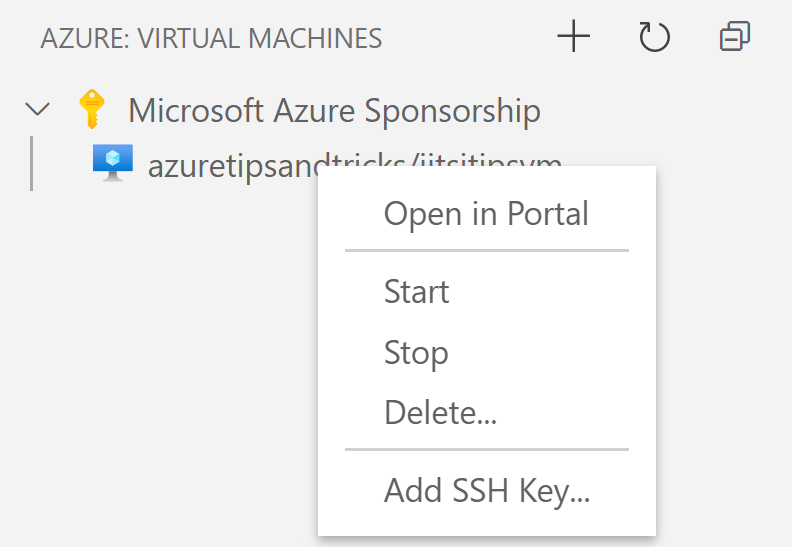
(The Azure Virtual Machines extension options)
You can also create a new VM with the extension. Let's try that.
- In VS Code, in the Azure Virtual Machine extension menu, click the "plus" button on the top to create a new Virtual Machine. This creates a Linux Virtual Machine with standard settings, like with an inbound port 22 open for SSH access
- Enter a name for the VM
- Fill in a passphrase and repeat it. This is used for the SSH key that will be created on your local machine and that you can use to SSH into the VM
- Select a location for the VM
That's it. The VM will be created and shows up in the list of VMs. When the new VM is created, we can connect to it with the Remote - SSH VS Code extension (opens new window). Let's try it:
- In VS Code, go to the Extensions menu
- Search for "SSH Remote" and select the result
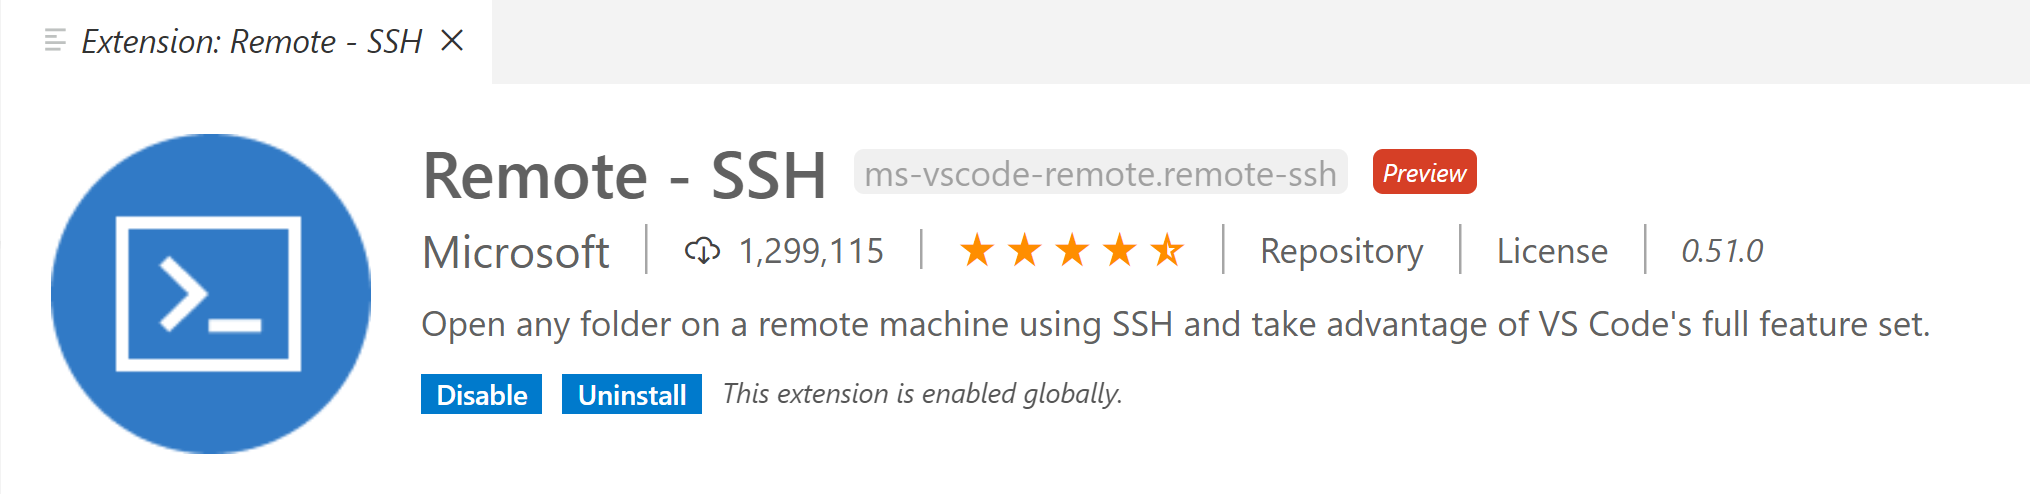
(The SSH - Remote VS Code extension)
- Click install to install the extension
- Select the Remote explorer menu in VS Code and select SSH targets from the dropdown menu in the top
- You should see your new VM in the list. Right-click it and select Connect to host in current window
- Enter the passphrase that you entered when you created the VM
You should now be connected to the VM and you can see that you are connected in the bottom-left corner of VS Code. Click on the green connection in the bottom-left corner and select Remote-SSH: Show Log to show the VMs logs. You can also switch to the terminal tab from there and see that you are connected to the VM. From there, you can type commands, like "ls -la" to see files on the VM.
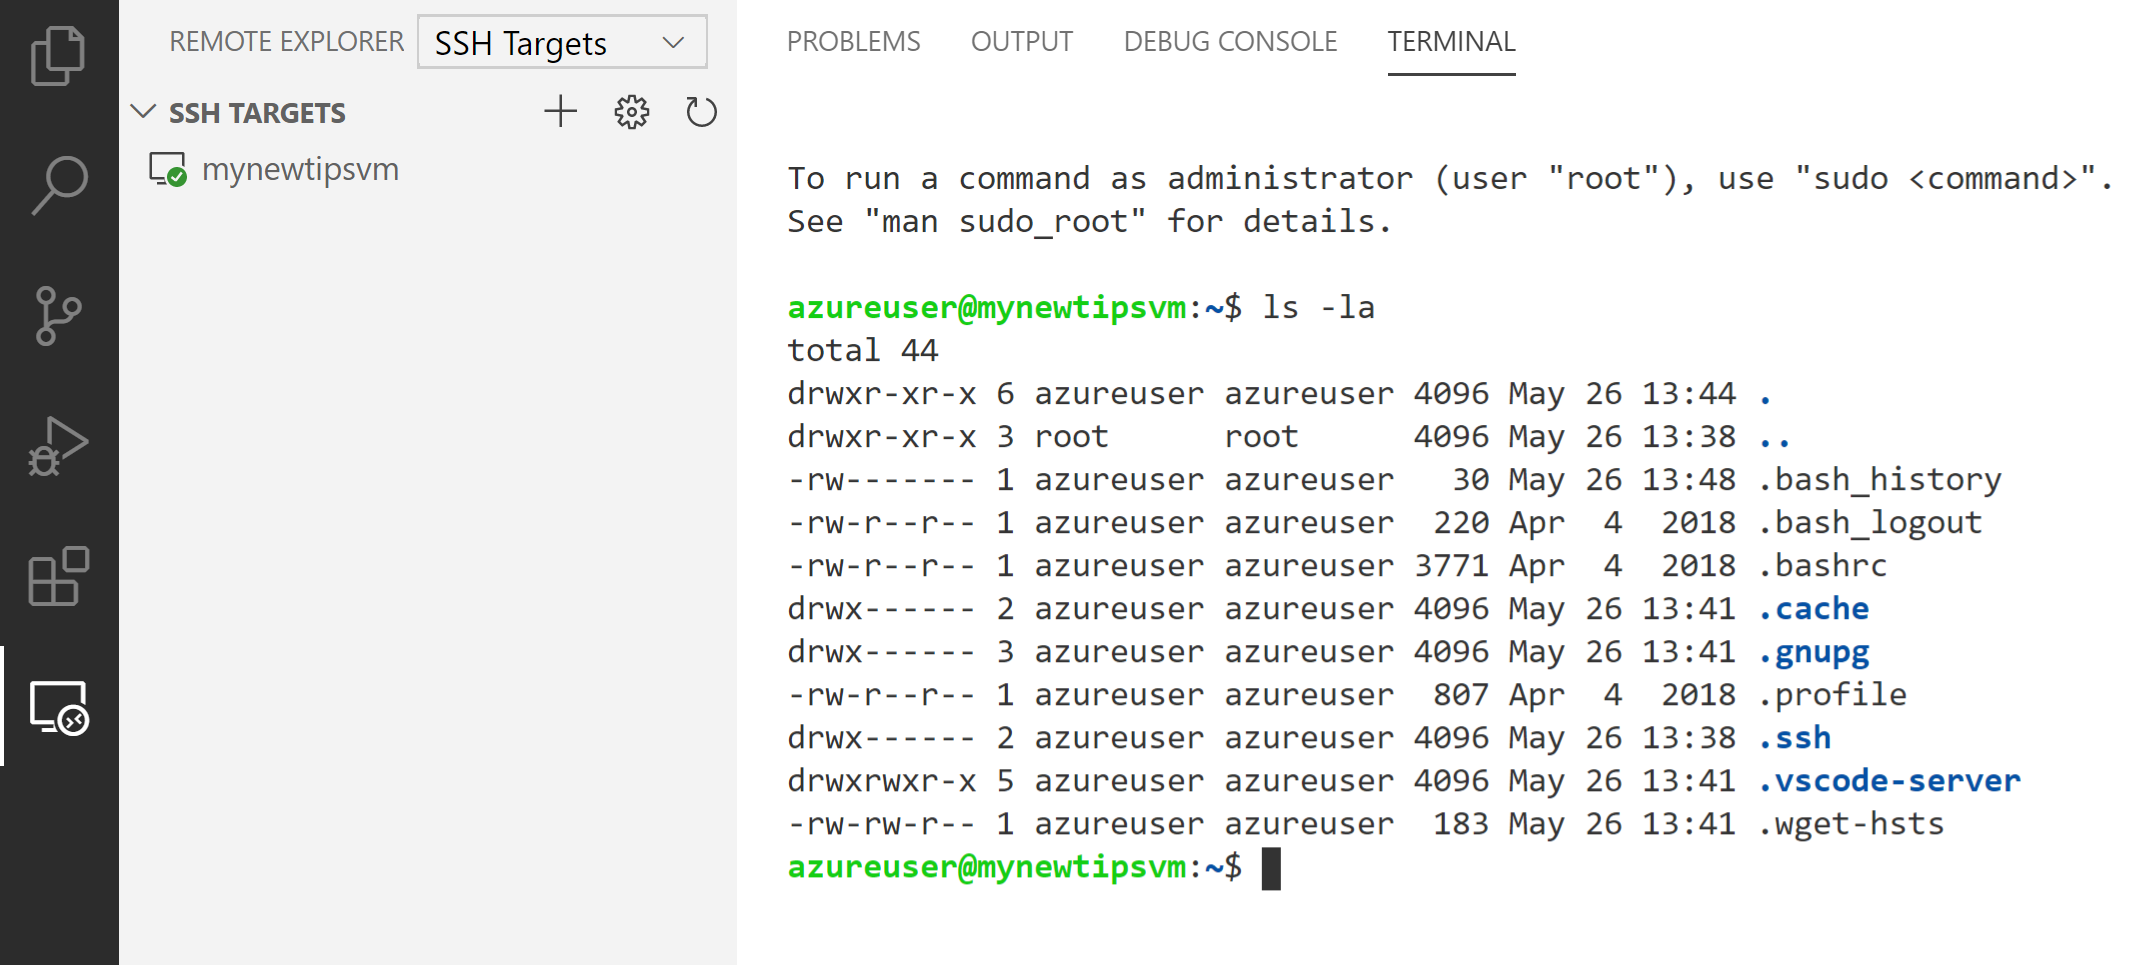
(Connected to an Azure VM with SSH in VS Code)
# Conclusion
You can now work with your Azure Virtual Machines (opens new window) from Visual Studio Code (opens new window) with the Azure Virtual Machines extension for VS Code (opens new window). Go and check it out!