Task 01: Prepare for replication
Introduction
Not every Terra Firm workload will be modernized on day one-some systems need a clean lift-and-shift first to reduce risk and timeline. Preparing replication sets up Azure Migrate Server Migration so Dennis’s team can continuously replicate a Linux VM to Azure, making the eventual cutover faster and less disruptive. Azure Migrate Server Migration uses replication to copy Hyper-V VM data to Azure. Preparing for replication requires deploying supporting Azure resources, installing the replication provider on the Hyper-V host, and ensuring required permissions are in place.
Description
In this task, you’ll create the migration resources, install and register the Hyper-V replication provider, finalize registration in Azure Migrate, and configure access on the cache storage account so replication can proceed.
Success criteria
- The Hyper-V host registration is finalized in Azure Migrate.
- Migration resources (vault and related components) are created successfully.
- Required permissions are configured so the vault/service can access the cache storage account.
Key tasks
- Deploy migration resources for Hyper-V replication and download provider + vault credentials.
- Install the replication provider on the Hyper-V host and register it using the downloaded credentials file.
- Enable required identities/permissions and grant RBAC roles on the cache storage account.
-
Connect to the HyperV host by using the HyperV-01 Host.rdp icon.

-
Login using administrator,select OK and Passw0rd!, select OK.
-
Open a web browser on the HyperV-01 Host and navigate to portal.azure.com.
-
Sign in using your Azure credentials.
-
Select Yes if prompted to stay signed in.
-
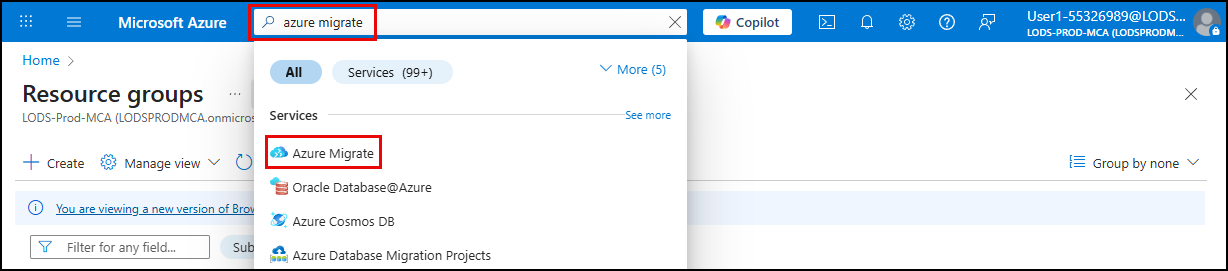
In the Azure portal, search for Azure Migrate in the search bar and select Azure Migrate under Services.
-
On the Azure Migrate blade, select All projects, and then select the Migration-Project-@lab.LabInstance.Id project.
-
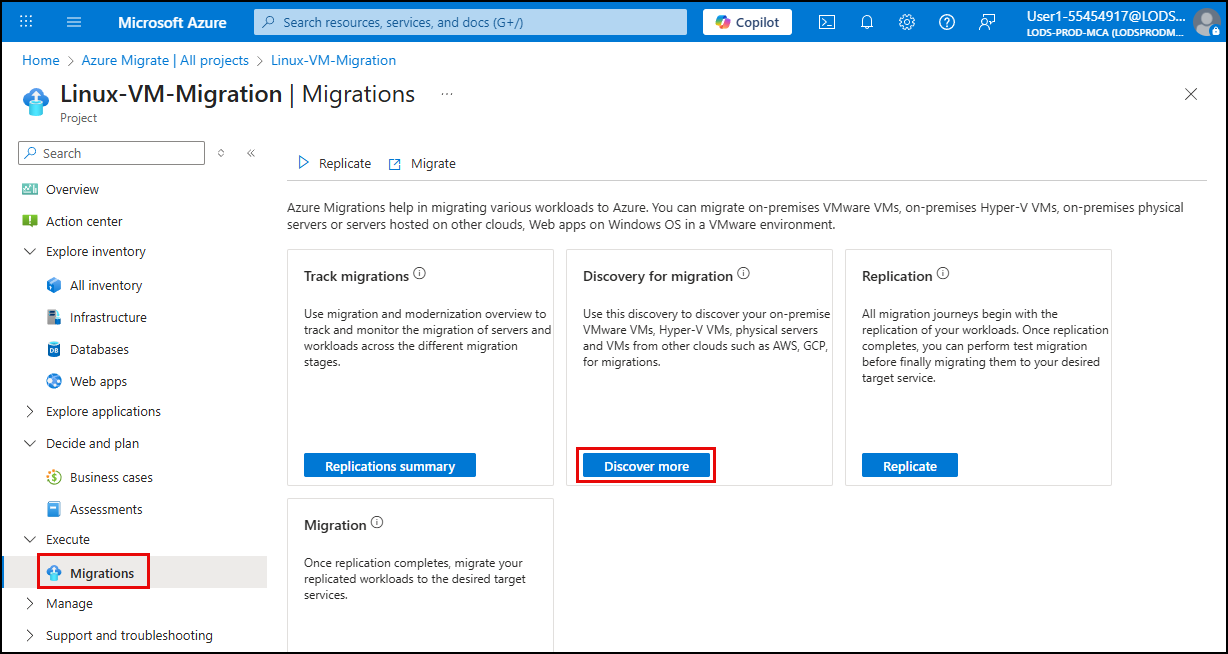
Expand Execute in the left menu, select Migrations, and on the Migration blade, select Discover more.
-
On the Discover blade:
Object Value Where to you want to migrate to? Azure VM Are your machines virtualized? Yes, with Hyper-V Target region @lab.CloudResourceGroup(AZMigrateRG).Location -
Check the box for Confirm that the target region for migration is @lab.CloudResourceGroup(AZMigrateRG).Location.
-
Select Create resources.
-
When the deployment completes, under 1. Prepare Hyper-V host servers, select the Download link to download the Hyper-V replication provider software installer.
-
Select the Download button to download the registration key.
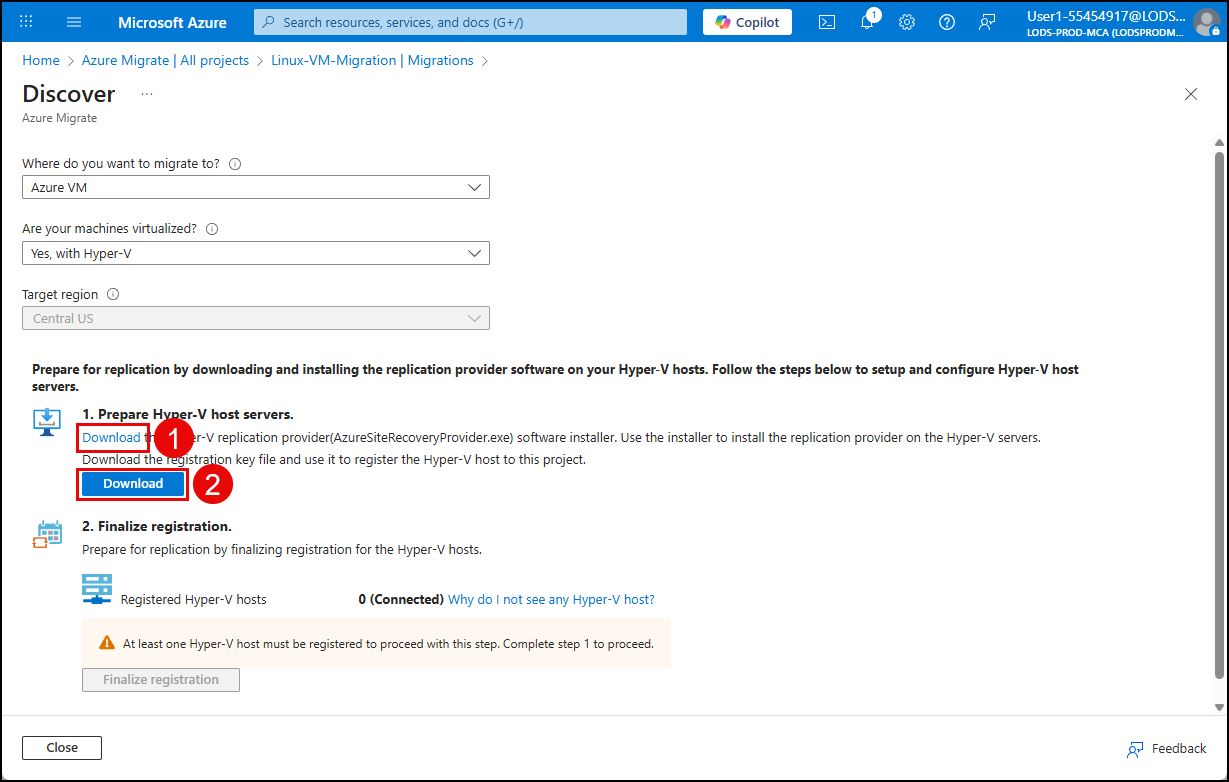
The files must be downloaded on the HyperV host, not the Migrate01 VM.
-
In the downloads dropdown, hover over AzureSiteRecoveryProvider.exe, and the select Open file.
-
In the Microsoft update page, select Off, and then select Next.
-
Keep the defaults and select Install.
-
Select Register and on the Vault SettingsPrepare for replication screen, select Browse
-
On the left menu, select the Downloads folder and then select the Migration-Project-@lab.LabInstance.Id.Location-MigrateVault-@lab.LabInstance.Id_Migration-Project-@lab.LabInstance.Id-HyperVSite_xxxxxxx.VaultCredentials file.
-
Select Open.
-
Select Next.
-
Select Connect directly to Azure Site Recovery without a proxy server and select Next.
-
Configuration Azure Site Recovery for registration will take one or two minutes to install. When it completes, select Finish.
-
Return to the Discover page in the Azure portal and refresh the browser page.
-
Select Azure VM under Where do you want to migrate to? and Yes, with Hyper-V under Are your machines virtualized? to reload the previous discover page.
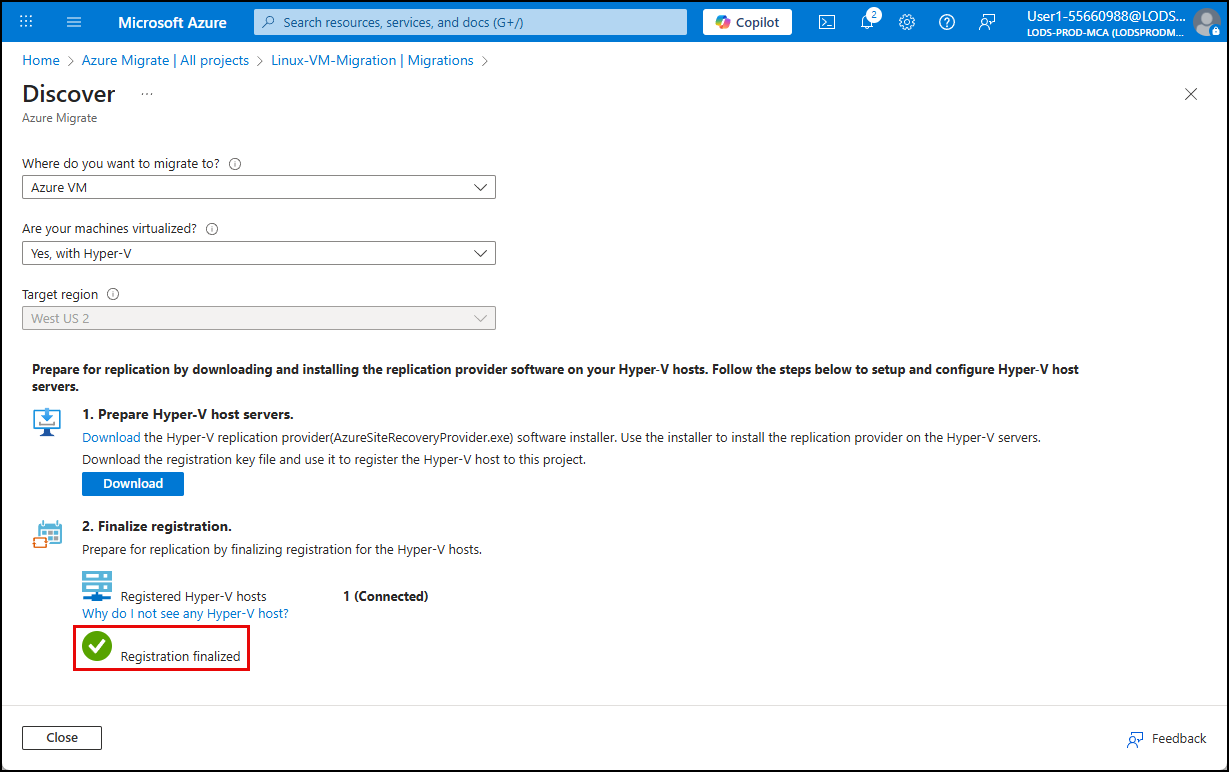
You should see that you have one connected registration.
-
Select Finalize registration.
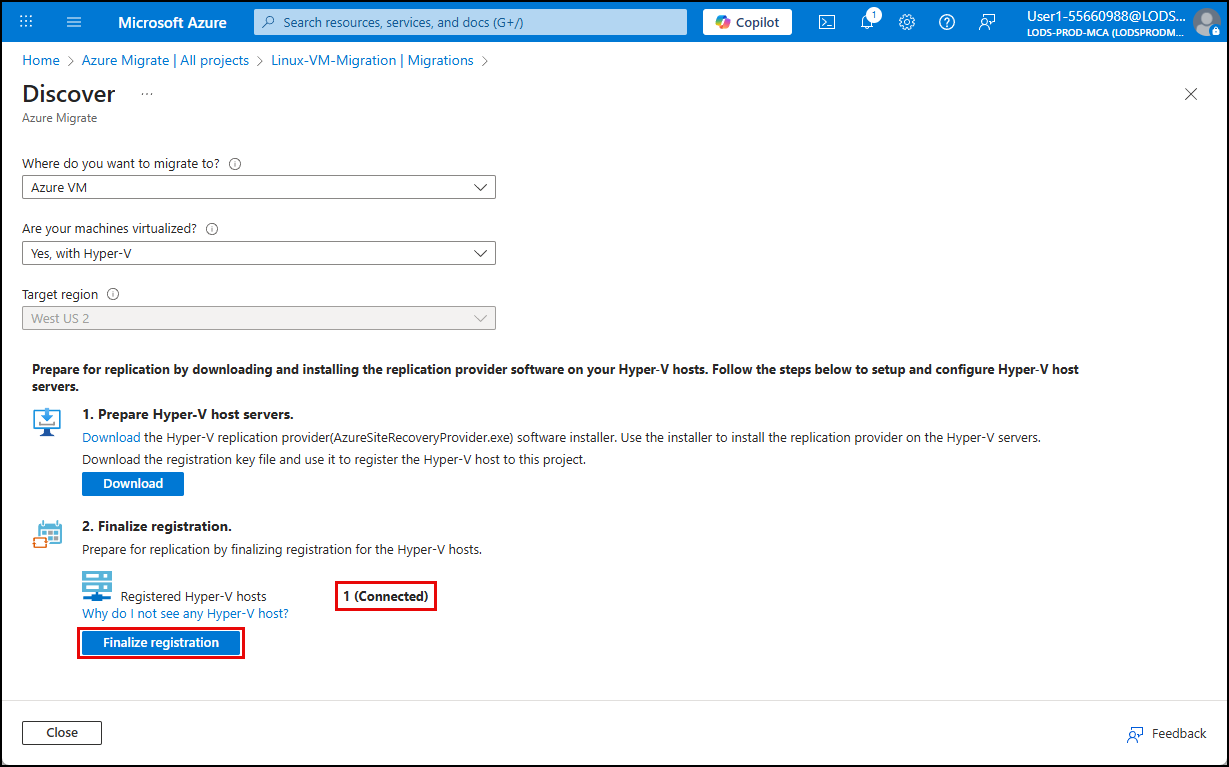
This step may take up to 3 minutes.
-
After the registration completes, verify you see the registration finalized message.
-
Select Close on the Discover page.
-
Close the RDP connection to return to the Migrate01 VM.

-
On the Your remote session will be disconnected pop up, select OK.
Configure permissions
-
In the Azure portal search bar enter and then select Recovery Services vaults.
-
Select the Migration-Project-@lab.LabInstance.Id-MigrateVault-XXXXXX.
-
Under Settings, select Identity.
-
On the System assigned page, set the Status to On, and then select Save.
-
On the Enable system assigned managed identity popup, select Yes.
-
In the Azure portal search bar enter and then select storage accounts.
-
Select the sto@lab.LabInstance.Id storage account.
-
On the left menu, select Access Control (IAM).
-
Select + Add > Add role assignment.
-
In the search field enter Storage Blob Data Contributor, and then select the role.
-
Select Next.
-
Under Assign access to, select Managed Identity, and then select + Select members.
-
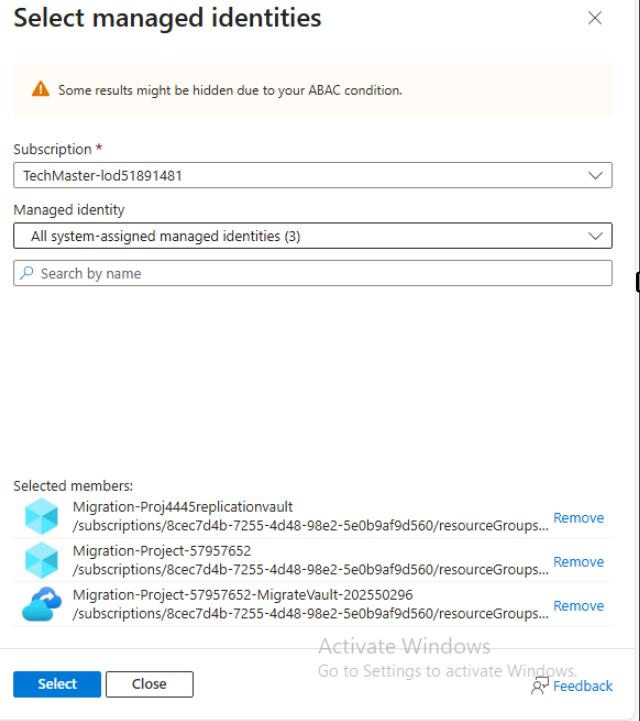
On the Select managed identities flyout, under Managed identity, select All system-assigned managed identities (3).
-
Select the all identities, and then select Select.
-
Select Review + assign twice.
-
Select + Add > Add role assignment again.
-
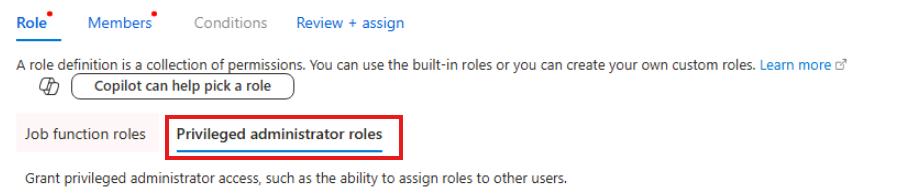
Select the Privileged administrator roles tab.
-
Select the Contributor role.
-
Select Next.
-
Under Assign access to, select Managed Identity, and then select + Select members.
-
On the Select managed identities flyout, under Managed identity, select All system-assigned managed identities (3).
-
Select the all identities, and then select Select.
-
Select Review + assign twice.
Congratulations!
You prepared Azure Migrate Server Migration for Hyper-V by deploying required resources, registering the replication provider, and configuring permissions for replication.