Task 01: Configure knowledge sources
Introduction
Contoso, Inc. needs to enhance their customer service agent by integrating various knowledge sources to provide accurate and timely information to their customers. This task demonstrates how to configure the Files knowledge source.
Description
In this task, you’ll upload a PDF file to Microsoft Copilot Studio and configure it as a knowledge source for the agent. This will enable the agent to retrieve information from the file and provide relevant answers to customer queries.
Success criteria
- You successfully uploaded a file and configured it as a knowledge source.
- You verified that the agent can access and retrieve information from the file.
- You tested the knowledge source by asking relevant questions.
Key tasks
01: Configure the Files knowledge source
-
Open a new browser window and go to:
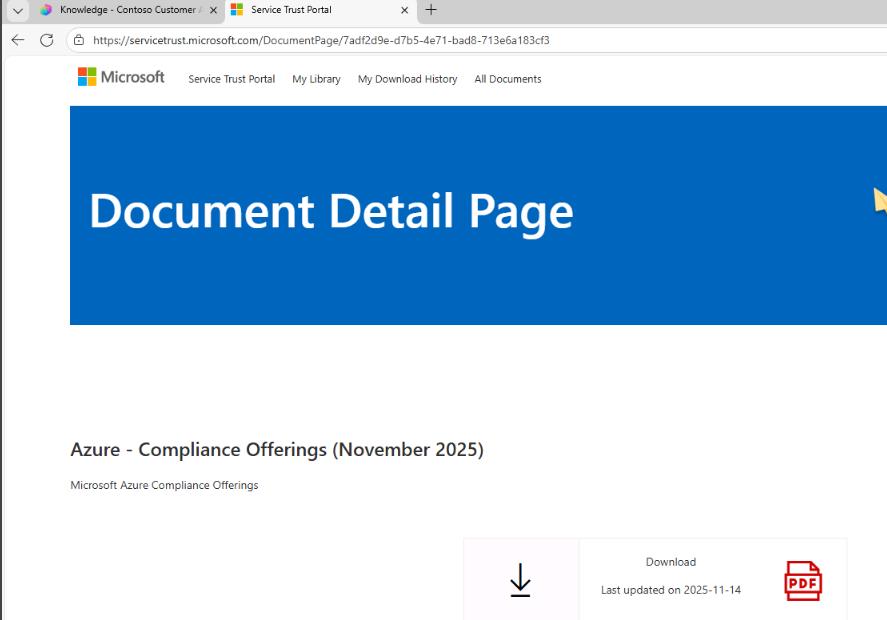
https://servicetrust.microsoft.com/DocumentPage/7adf2d9e-d7b5-4e71-bad8-713e6a183cf3 -
Select Download.
-
Return to the browser window where the agent is displayed.
-
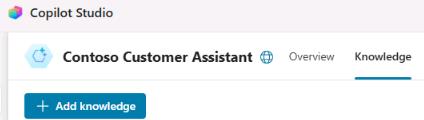
On the command bar for the agent, select Knowledge.
-
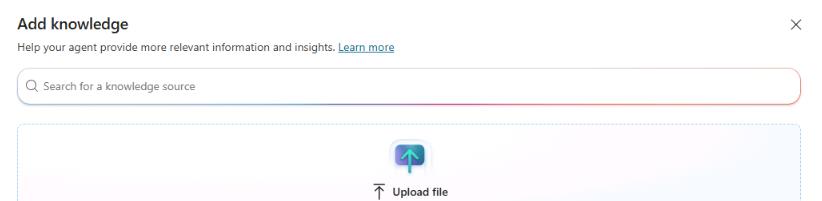
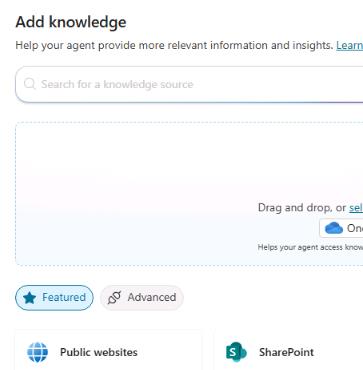
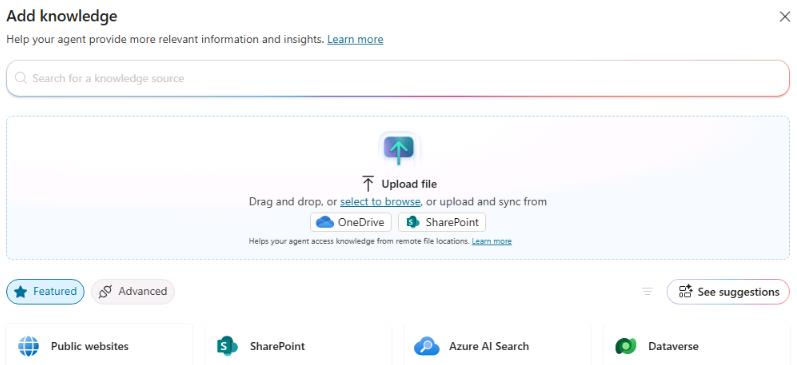
Select + Add knowledge.
-
In the Add knowledge dialog, select Upload file.
-
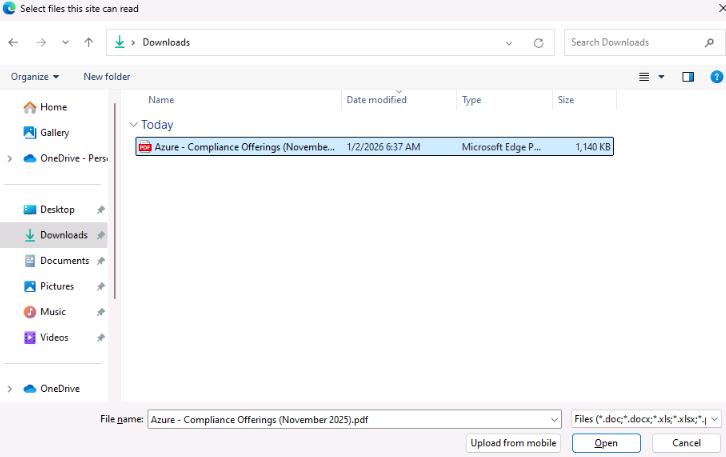
In the Select files this site can read dialog, go to your Downloads folder, select the Azure - Compliance Offerings PDF, and then select Open.
-
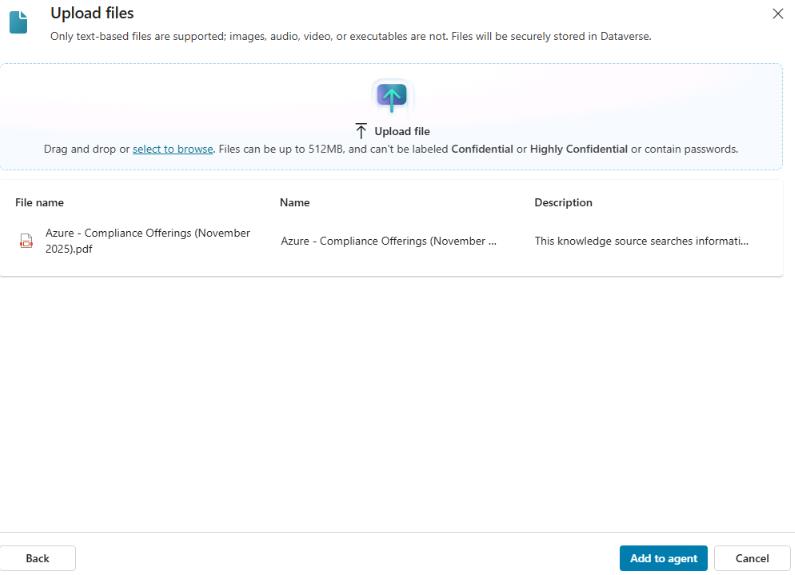
In the Upload files dialog, select Add to agent.
-
Leave the agent page open.
02: Configure a SharePoint knowledge source
-
Select + Add knowledge.
-
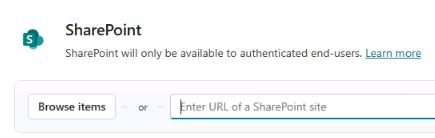
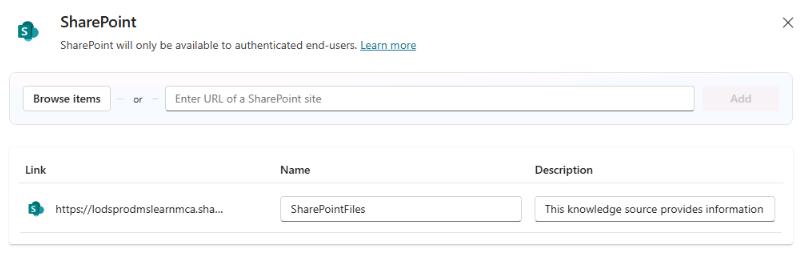
In the Add knowledge dialog, select SharePoint.
-
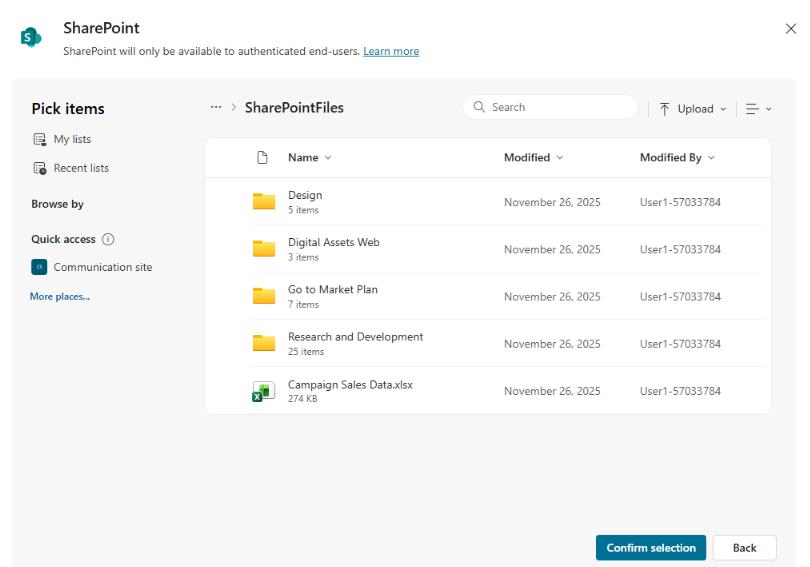
In the SharePoint dialog, select Browse items.
-
Select SharePointFiles and then select Confirm selection.
-
Select Add to agent.

-
Leave the agent page open.
03: Configure a Dataverse knowledge source
-
Select + Add knowledge.
-
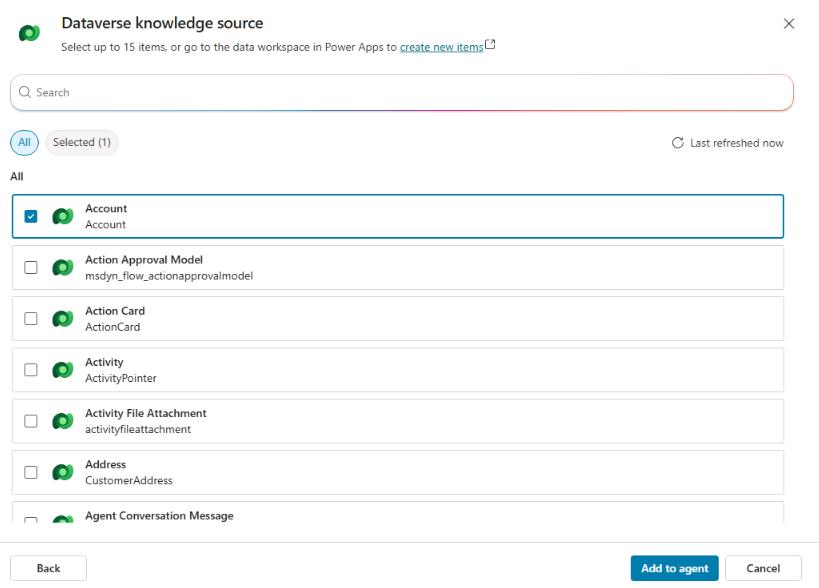
In the Add knowledge dialog, select Dataverse.
-
Select the Account table and then select Add to agent.
-
On the Knowledge pane for the agent, locate the Account knowledge source. Select the vertical ellipsis and then select Edit.

-
Select the Synonyms tab.

-
Locate the record for Address 1 and then select Add synonyms.
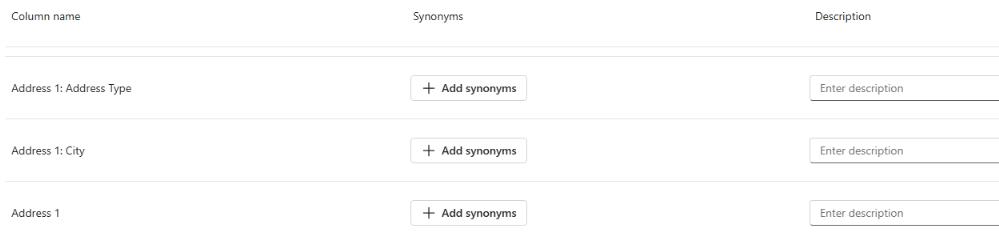
-
In the Add synonyms dialog, enter
Address, select Add, and then select Done.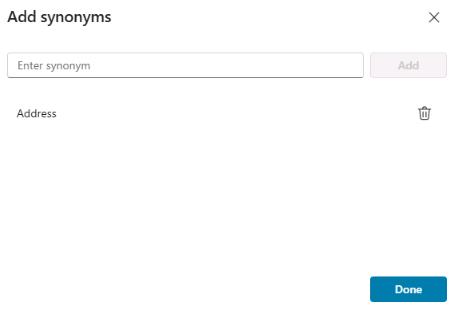
-
In the Description field for the Address 1 record, enter
Complete address of the account.
-
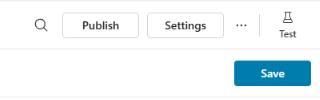
On the command bar for the agent, select Save.
-
On the command bar for the Account knowledge source, select Glossary.

-
Use the following information to configure a glossary record and then select Add:
Item Value Enter term CustomerEnter description Customer is a synonym for accountAdding the synonym and glossary record helps the agent understand questions about accounts.

-
On the command bar for the agent, select Save.
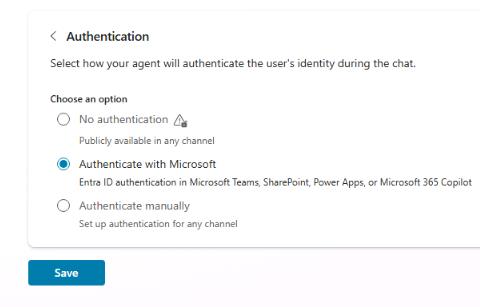
04: Configure authentication
The Dataverse data source requires authentication because searches are done in the context of the connected end user.
-
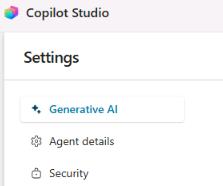
On the command bar for the agent, select Settings.

-
In the list of settings, select Security.
-
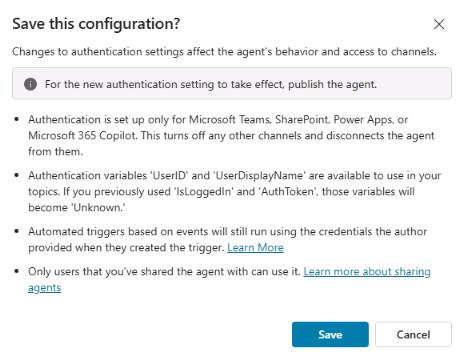
Select Authentication, select Authenticate with Microsoft, and then select Save.
-
In the confirmation dialog that displays, select Save.
-
Close the Settings page to return to the Knowledge sources page.
05: Configure a website knowledge source
To provide additional information to Contoso’s customers, you can integrate a website as a knowledge source.
-
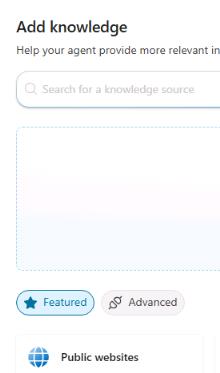
Select + Add knowledge.
-
In the Add knowledge dialog, select Public websites.
-
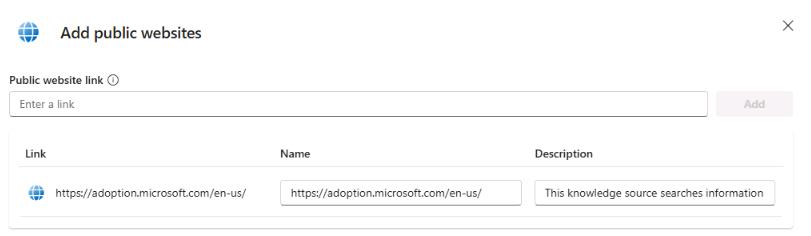
Enter
https://adoption.microsoft.com/en-us/and then select Add.
-
Select Add to agent.

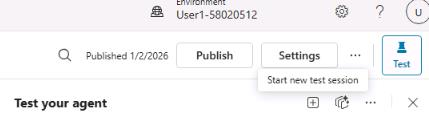
06: Test website knowledge sources
-
Open the agent testing pane and then select Start new test session.
-
Submit the following prompt:
What is Microsoft Copilot Studio?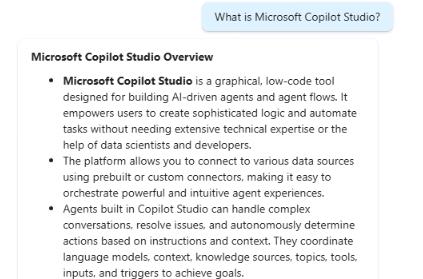
This specific question was chosen because it doesn’t match an existing topic. Instead, it will trigger the Conversational boosting topic.
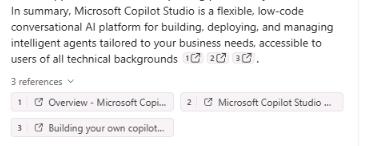
Notice there’s a citation to ground the answer on, and links to the sources that were used to generate the answer.
-
Submit the following prompt to ask a follow-up question:
How do people use it in their business environments?Although the follow-up question does not mention a specific product, the generative answer maintains context, ensuring the follow-up is interpreted in relation to the previous message.