Task 01: Create and configure a prompt
Introduction
While generative orchestration is powerful, there are scenarios - such as tightly regulated industries or highly deterministic workflows - where Contoso must disable it and fall back to the classic, topic‑only model.
Description
In this task, you’ll create a custom prompt that leverages Copilot Studio variables to generate personalized responses. You’ll configure the prompt and set up the necessary inputs and outputs.
Success criteria
- You successfully created a custom prompt with the correct inputs and outputs.
- You verified that the agent can generate personalized responses based on dynamic inputs.
- You tested the prompt by interacting with the agent.
Key tasks
01: Change to classic orchestration
-
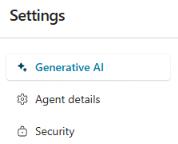
On the command bar for the agent, select Settings.

-
In the list of settings, select Generative AI.
-
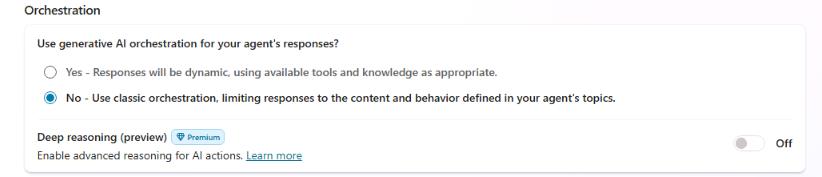
In the Use generative AI orchestration for your agent’s responses? section, select No and then select Save.
-
Close the Settings page.
02: Create a prompt
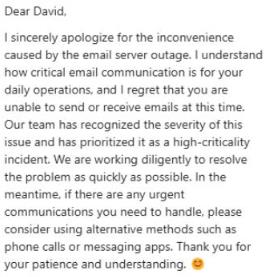
The goal here is to use Generative AI to draft a letter to the user based on the issue raised in the ServiceNow ticket.
-
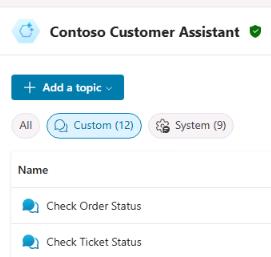
On the command bar for the agent, select Topics.
-
In the list of topics, select Check Ticket Status.
-
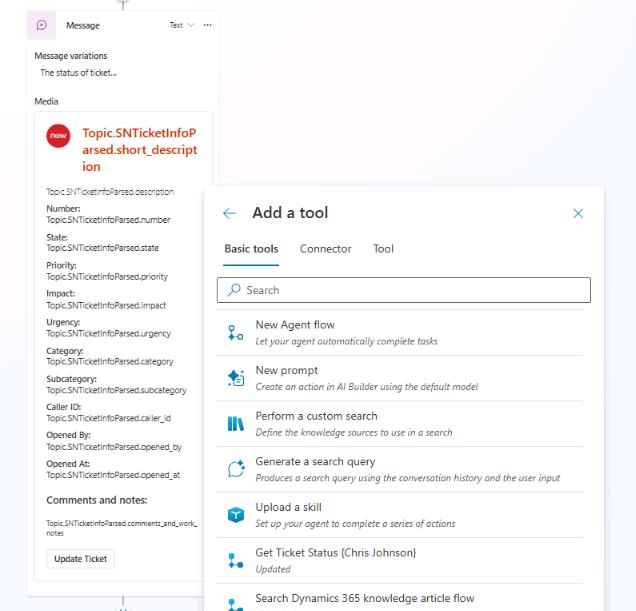
Locate the Message node. Below the Message node, select +.
-
Select Add a tool and then select New prompt.
-
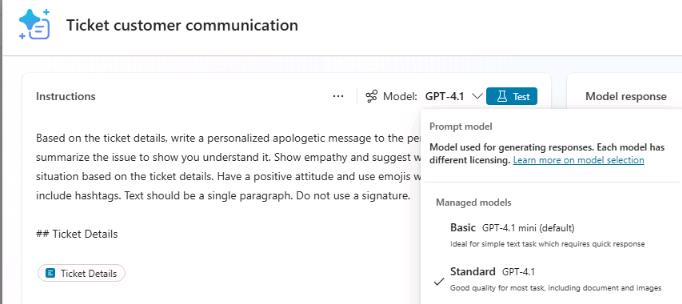
At the top of the Prompt dialog, change the name from Custom prompt to
Ticket customer communicationand then select Enter.
-
In the Instructions section, enter the following instructions:
Based on the ticket details, write a personalized apologetic message to the person impacted. You can summarize the issue to show you understand it. Show empathy and suggest ways to mitigate the situation based on the ticket details. Have a positive attitude and use emojis when applicable. Don't include hashtags. Text should be a single paragraph. Do not use a signature. ## Ticket Details -
Select Enter to add a new line below the instructions.
-
Enter
/to display the menu for adding new input or knowledge, then select Text from the dropdown menu.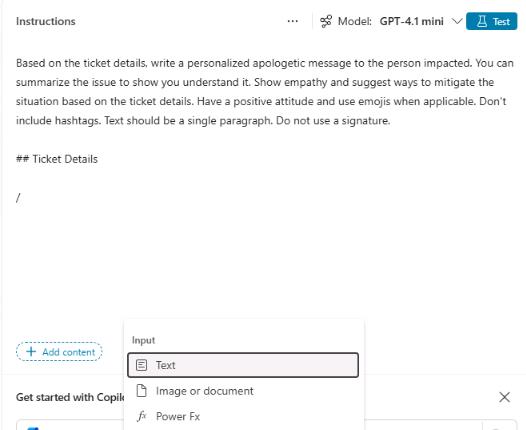
-
In the dialog that displays, in the Name field, enter
Ticket Details. -
In the Sample data field, enter the following JSON code.
This is the same JSON code you used earlier in the lab when you created a simulated connection to ServiceNow.
{ "parent": "", "made_sla": "true", "caused_by": "", "watch_list": "", "upon_reject": "Cancel all future Tasks", "sys_updated_on": "2018-12-12 23:18:55", "child_incidents": "0", "hold_reason": "", "origin_table": "", "task_effective_number": "INC0009005", "approval_history": "", "number": "INC0009005", "resolved_by": "", "sys_updated_by": "admin", "opened_by": "System Administrator", "user_input": "", "sys_created_on": "2018-08-31 21:35:45", "sys_domain": "global", "state": "New", "route_reason": "", "sys_created_by": "admin", "knowledge": "false", "order": "", "calendar_stc": "", "closed_at": "", "cmdb_ci": "", "delivery_plan": "", "contract": "", "impact": "1 - High", "active": "true", "work_notes_list": "", "business_service": "", "business_impact": "", "priority": "1 - Critical", "sys_domain_path": "/", "rfc": "", "time_worked": "", "expected_start": "", "opened_at": "2018-08-31 21:35:21", "business_duration": "", "group_list": "", "work_end": "", "caller_id": "David Miller", "reopened_time": "", "resolved_at": "", "approval_set": "", "subcategory": "Email", "work_notes": "2018-12-12 23:18:42 - System Administrator (Work notes)\nupdated the priority to high based on the criticality of the Incident.\n\n", "universal_request": "", "short_description": "Email server is down.", "correlation_display": "", "delivery_task": "", "work_start": "", "assignment_group": "", "additional_assignee_list": "", "business_stc": "", "cause": "", "description": "Unable to send or receive emails.", "origin_id": "", "calendar_duration": "", "close_notes": "", "notify": "Do Not Notify", "service_offering": "", "sys_class_name": "Incident", "closed_by": "", "follow_up": "", "parent_incident": "", "sys_id": "ed92e8d173d023002728660c4cf6a7bc", "reopened_by": "", "incident_state": "New", "urgency": "1 - High", "problem_id": "", "company": "", "reassignment_count": "0", "activity_due": "2018-12-13 01:18:55", "assigned_to": "", "severity": "3 - Low", "comments": "", "approval": "Not Yet Requested", "sla_due": "UNKNOWN", "comments_and_work_notes": "2018-12-12 23:18:42 - System Administrator (Work notes)\nupdated the priority to high based on the criticality of the Incident.\n\n", "due_date": "", "sys_mod_count": "3", "reopen_count": "0", "sys_tags": "", "escalation": "Normal", "upon_approval": "Proceed to Next Task", "correlation_id": "", "location": "", "category": "Software" } -
Select Close.

-
In the Ticket customer communication dialog, in the Instructions section, select the dropdown arrow next to Model and then select Standard GPT-41.
-
Select Save. You are returned to the Check Ticket Status topic page.
03: Configure the Prompt and Message nodes
-
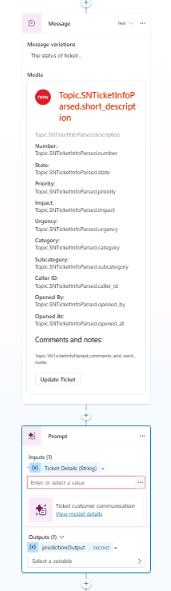
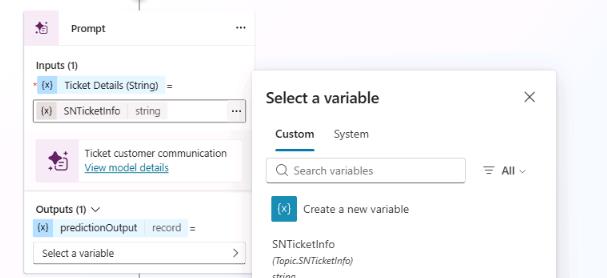
Locate the Prompt node that appears below the Message node.
-
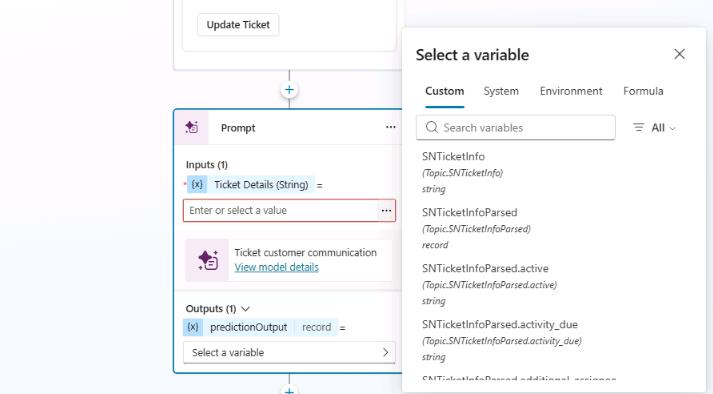
In the Inputs section, select the ellipsis (…) and then select the SNTicketInfo variable.
-
In the Outputs section, select Select a variable, then select Create a new variable.
-
Select the Var1 variable. Then, in the Variable properties pane, set Variable name to
PersonalizedMessage.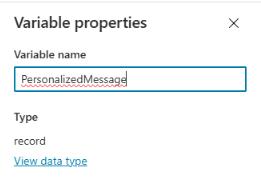
-
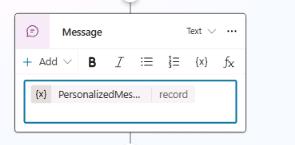
Below the Prompt node, add a Message node.

-
In the Message node, select Insert variable (the {x}) icon, then select the PersonalizedMessage.text variable.

-
On the command bar for the agent, select Save.
04: Test the changes
-
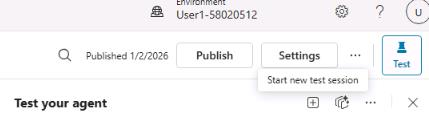
Open the agent testing pane and then select Start new test session.
-
Submit the following prompt and review the response:
Hi, could I get an update on ticket INC0007001?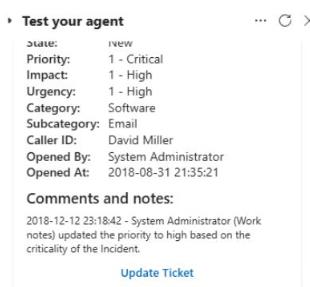
Congratulations!
You’ve successfully completed the workshop.