Task 01: Create a new topic and agent flow
Introduction
Contoso regularly receives customer inquiries about existing service tickets, equipment status, and maintenance schedules. To improve efficiency in handling these requests, the AI-powered agent must be equipped to gather specific details directly from customers during their interactions.
Description
In this task, you’ll create a new conversational topic in Microsoft Copilot Studio. This topic will include trigger phrases customers might use to request information, as well as questions to collect necessary details such as ticket numbers.
Success criteria
- You’ve created and named a new conversational topic.
- You’ve defined suitable trigger phrases.
- You’ve added a Question node to collect required customer information.
Key tasks
01: Create a new topic
-
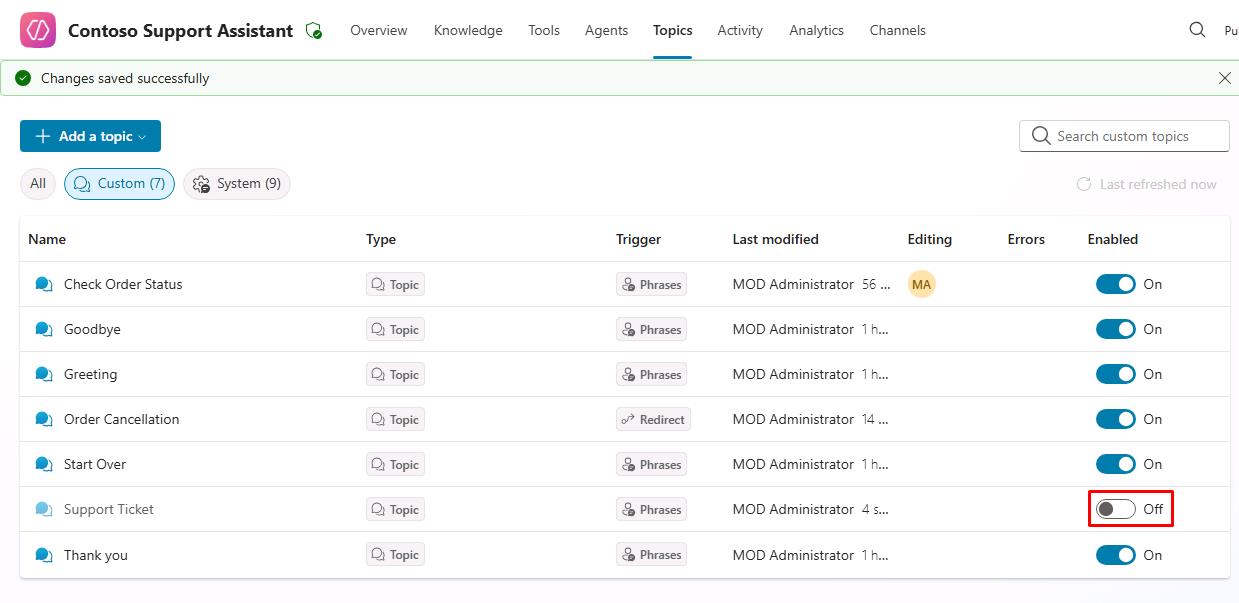
On the command bar for the agent, select Topics.
-
On the line for Support Ticket, select the toggle under the Enabled column to set it to Off.
-
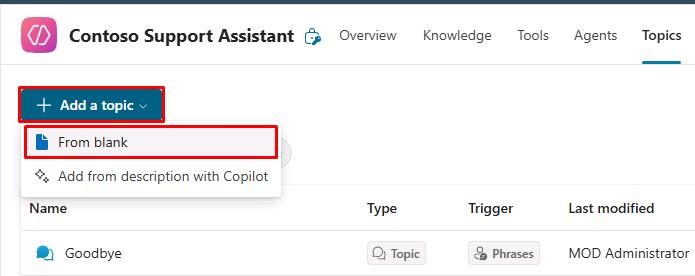
On the Topics page, select Add a topic and then select From blank.
-
Select Untitled in the upper-left part of the window and rename the topic to
Check Ticket Status.
-
Within the Trigger node, in the User says a phrase section, select Edit.
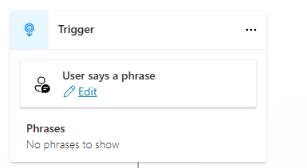
-
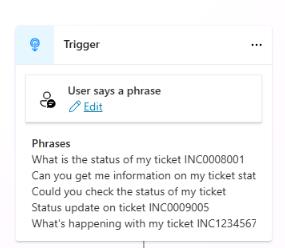
In the Phrases pane, add each of the following phrases and then close the Phrases pane.
What is the status of my ticket INC0008001Can you get me information on my ticket statusCould you check the status of my ticketStatus update on ticket INC0009005What's happening with my ticket INC1234567
-
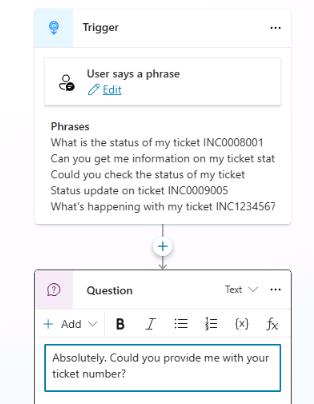
Add a Question node below the Trigger node and enter the following text:
-
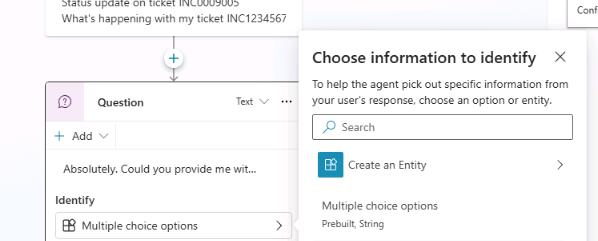
In the Identify section, select Multiple choice options and then select Create an Entity.
-
Select Regular expression (Regex).
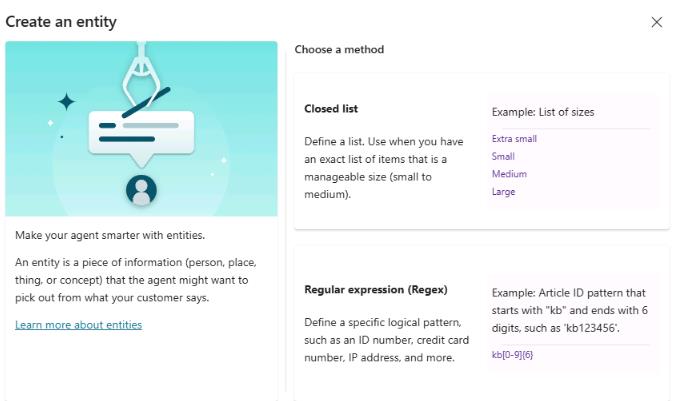
-
Use the following information to configure the entity and then select Save:
Item Value Name Ticket NumberPattern INC[0-9]{7}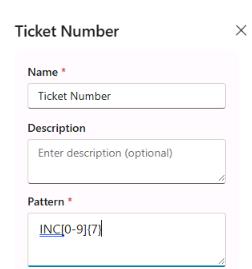
-
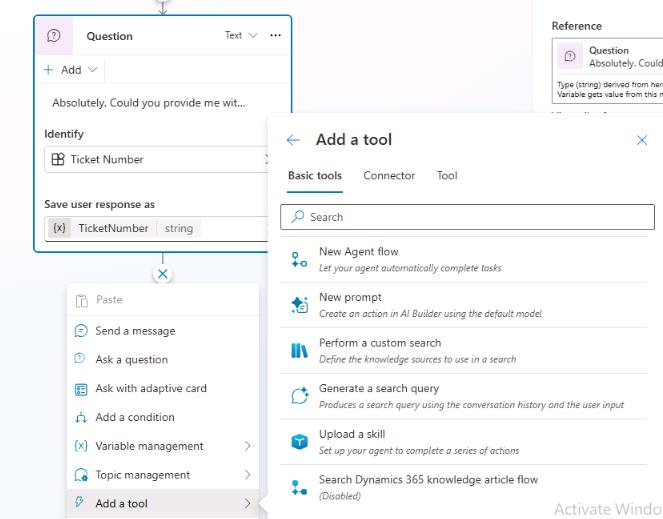
In the Question node, select the Var1 variable.
-
In the Variable properties pane, in the Variable name field, enter
TicketNumber. -
On the command bar for the agent, select Save.
-
Leave the topic page open.
02: Create an agent flow
In this section you’ll use simulated ServiceNow data. If you were using a live connection to ServiceNow, you would add a ServiceNow List Records node and configure the connection there.
-
Select the + button below the Question node. Select Add a Tool, and then select New Agent flow.
-
Select the Respond to Copilot node in the flow.

-
Select Add an output, then select Text.
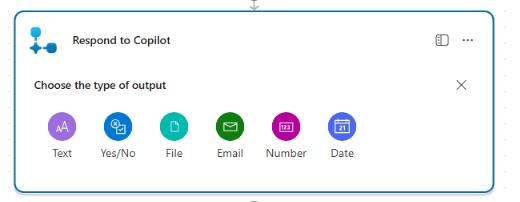
-
Set the name to
SNTicketInfo.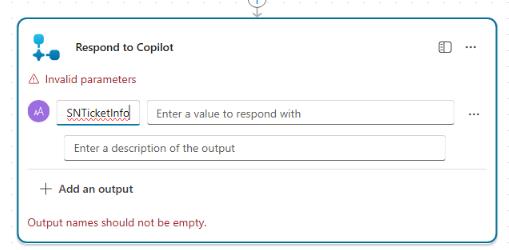
-
Select the text box to the right of SNTicketInfo for its value field.
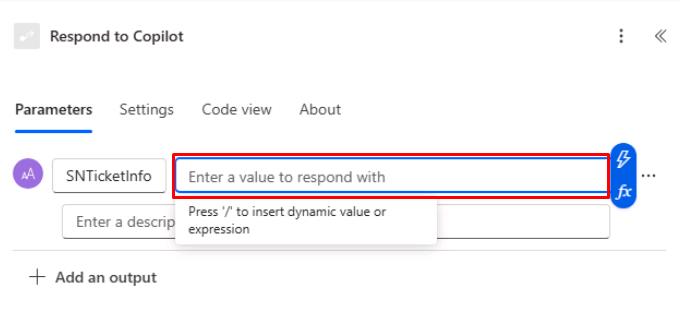
-
Paste the following payload sample into the text field:
 {
     "parent": "",
     "made_sla": "true",
     "caused_by": "",
     "watch_list": "",
     "upon_reject": "Cancel all future Tasks",
     "sys_updated_on": "2018-12-12 23:18:55",
     "child_incidents": "0",
     "hold_reason": "",
     "origin_table": "",
     "task_effective_number": "INC0009005",
     "approval_history": "",
     "number": "INC0009005",
     "resolved_by": "",
     "sys_updated_by": "admin",
     "opened_by": "System Administrator",
     "user_input": "",
     "sys_created_on": "2018-08-31 21:35:45",
     "sys_domain": "global",
     "state": "New",
     "route_reason": "",
     "sys_created_by": "admin",
     "knowledge": "false",
     "order": "",
     "calendar_stc": "",
     "closed_at": "",
     "cmdb_ci": "",
     "delivery_plan": "",
     "contract": "",
     "impact": "1 - High",
     "active": "true",
     "work_notes_list": "",
     "business_service": "",
     "business_impact": "",
     "priority": "1 - Critical",
     "sys_domain_path": "/",
     "rfc": "",
     "time_worked": "",
     "expected_start": "",
     "opened_at": "2018-08-31 21:35:21",
     "business_duration": "",
     "group_list": "",
     "work_end": "",
     "caller_id": "David Miller",
     "reopened_time": "",
     "resolved_at": "",
     "approval_set": "",
     "subcategory": "Email",
     "work_notes": "2018-12-12 23:18:42 - System Administrator (Work notes)\nupdated the priority to high based on the criticality of the Incident.\n\n",
     "universal_request": "",
     "short_description": "Email server is down.",
     "correlation_display": "",
     "delivery_task": "",
     "work_start": "",
     "assignment_group": "",
     "additional_assignee_list": "",
     "business_stc": "",
     "cause": "",
     "description": "Unable to send or receive emails.",
     "origin_id": "",
     "calendar_duration": "",
     "close_notes": "",
     "notify": "Do Not Notify",
     "service_offering": "",
     "sys_class_name": "Incident",
     "closed_by": "",
     "follow_up": "",
     "parent_incident": "",
     "sys_id": "ed92e8d173d023002728660c4cf6a7bc",
     "reopened_by": "",
     "incident_state": "New",
     "urgency": "1 - High",
     "problem_id": "",
     "company": "",
     "reassignment_count": "0",
     "activity_due": "2018-12-13 01:18:55",
     "assigned_to": "",
     "severity": "3 - Low",
     "comments": "",
     "approval": "Not Yet Requested",
     "sla_due": "UNKNOWN",
     "comments_and_work_notes": "2018-12-12 23:18:42 - System Administrator (Work notes)\nupdated the priority to high based on the criticality of the Incident.\n\n",
     "due_date": "",
     "sys_mod_count": "3",
     "reopen_count": "0",
     "sys_tags": "",
     "escalation": "Normal",
     "upon_approval": "Proceed to Next Task",
     "correlation_id": "",
     "location": "",
     "category": "Software"
 }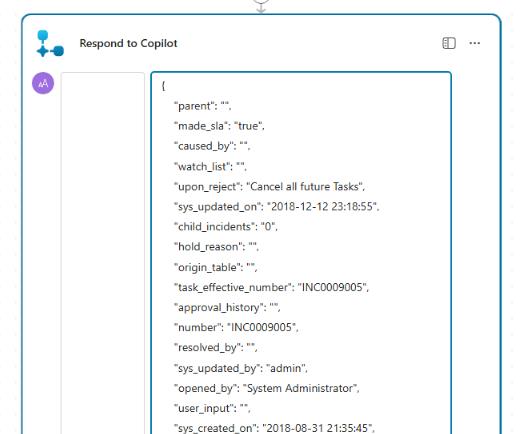
-
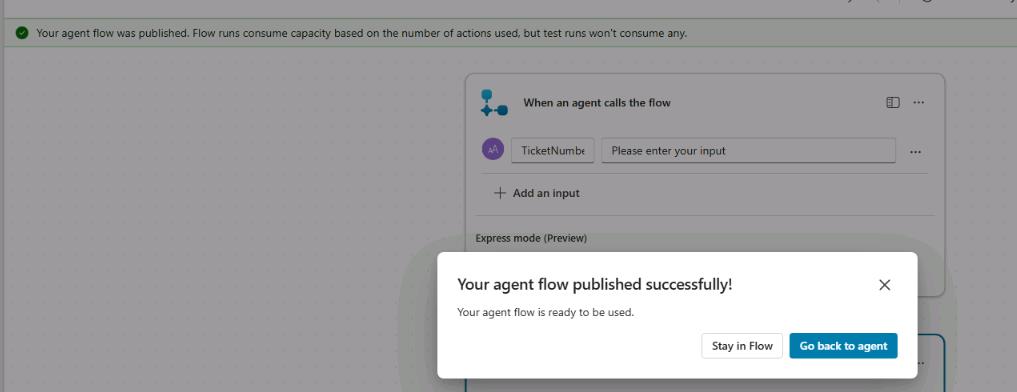
On the command bar for the agent flow, select Publish. Wait for the green success banner to display
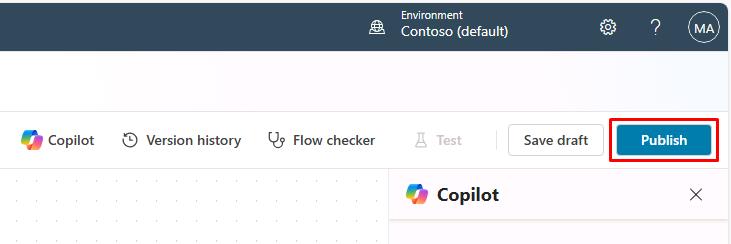
-
In the confirmation dialog, select Go back to agent.