Task 01: Set up assets
Introduction
Contoso has decided to adopt an AI-driven customer support solution to address increasing customer demands and reduce the workload on customer service representatives. To start implementing this solution, you first need to set up the required environment within the Power Platform. This task involves preparing the necessary foundational components such as Dataverse, enabling you to build the AI-powered agent effectively.
Description
In this task, you’ll create an environment and deploy Microsoft Dataverse, sample apps, and data to the environment.
Success criteria
- You’ve navigated to the Power Platform admin center and signed in by using the provided Microsoft 365 credentials.
- You’ve created an environment, enabled Dataverse, and deployed sample apps and data.
Key tasks
01: Create a Power Platform environment
First, you’ll create a Power Platform environment to store all the component parts for your solution.
-
Sign in to the virtual machine by using the following credentials:
Item Value Username Admin Password +++@lab.VirtualMachine(Win11).Password+++ -
Open Microsoft Edge and go to the Power Platform.
-
Sign in by using the following credentials:
Item Value Username @lab.CloudPortalCredential(User1).UsernameTAP Token @lab.CloudPortalCredential(User1).AccessToken -
Close the various dialogs that display.
-
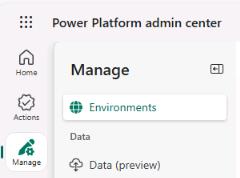
In the left pane, select Manage and then select Environments.
When the Environments page first displays, you may see an error that resembles the following screenshot. This error indicates that Power Platform is not yet fully provisioned and configured.

If you see the error, continue with the rest of the steps in this task anyway.
It may take 10-15 minutes to deploy the environment.
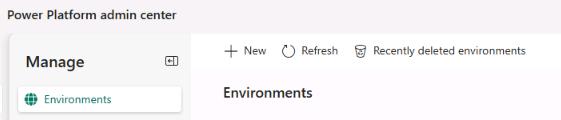
On the command bar at the top of the page, select Refresh periodically until the error no longer displays and the environnment you created displays..
-
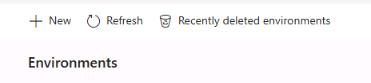
On the command bar at the top of the page, select + New.
-
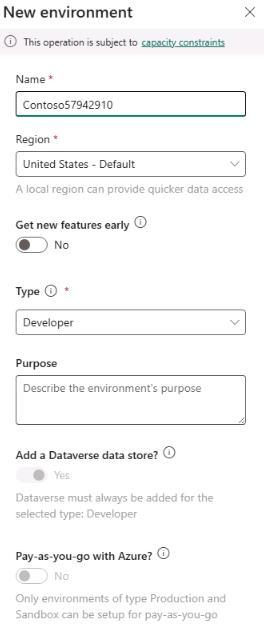
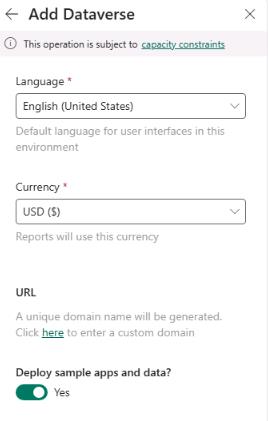
Configure the New environment pane by using the following values and then select Next:
Item Value Name Contoso@lab.LabInstance.IdType Developer Be sure to select Developer as the environment type.
-
Set Deploy sample apps and data? to Yes and then select Save.
Do not skip this step. You’ll need the sample data later in the lab.
-
Wait until the Contoso environment’s State column shows Ready.
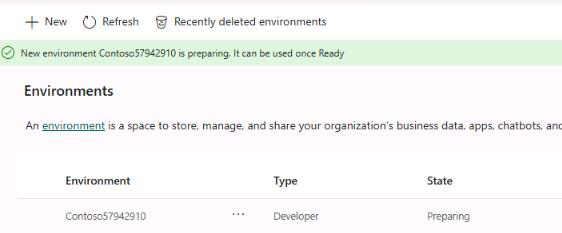
You can continue with part 02 of this task (Configure SharePoint) while you wait for your environment deployment to complete.
Lab activities for “test out” version of lab are in progress. Please disregard Score button for now.
02: Configure SharePoint
Next, you’ll set up a SharePoint site and upload documents to the site. The agent that you create will use the documents as an authoritative source of information.
-
Open a new browser tab and go to
lodsprodmslearnmca.sharepoint.com/_layouts/15/sharepoint.aspx. -
If prompted, sign in by using the following credentials:
Item Value Username @lab.CloudPortalCredential(User1).UsernameTAP Token @lab.CloudPortalCredential(User1).AccessToken -
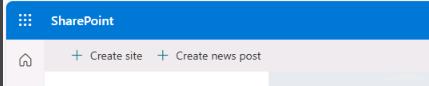
On the top bar, select Create site.
-
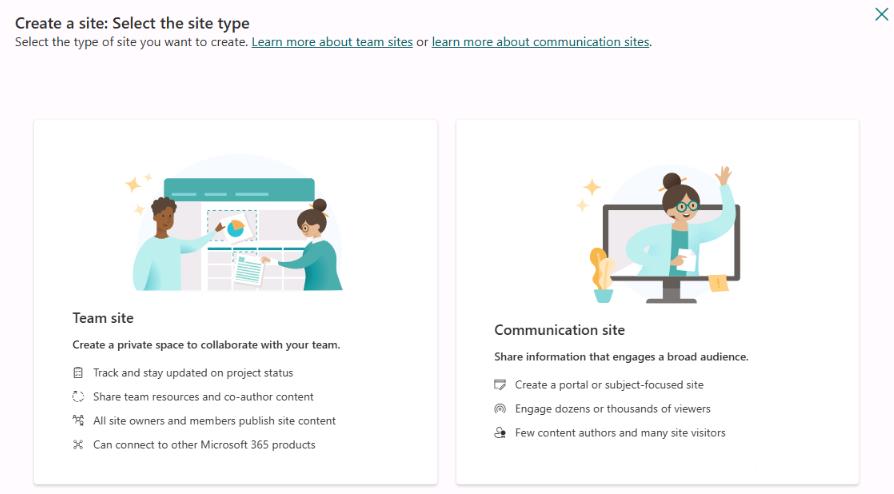
In the Create a site: Select the site type dialog, select Communication site.
-
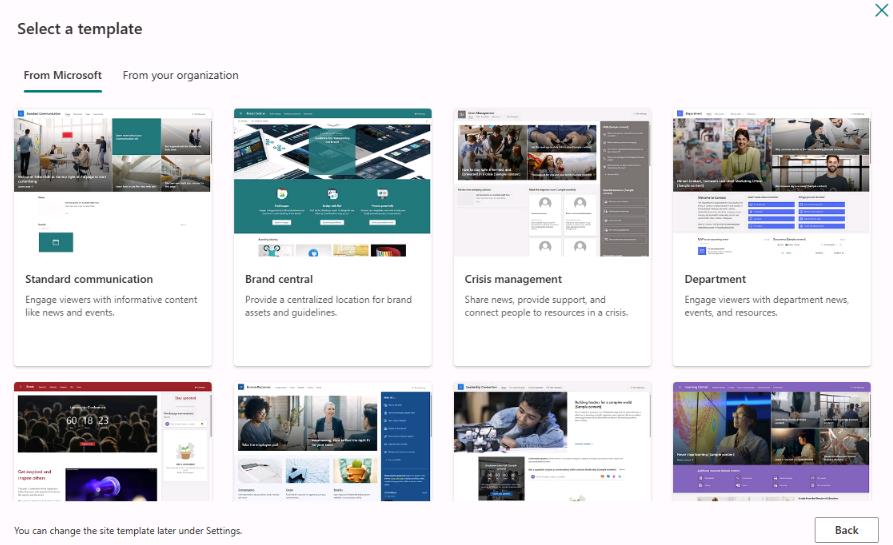
In the Select a Template dialog, select Standard communication.
-
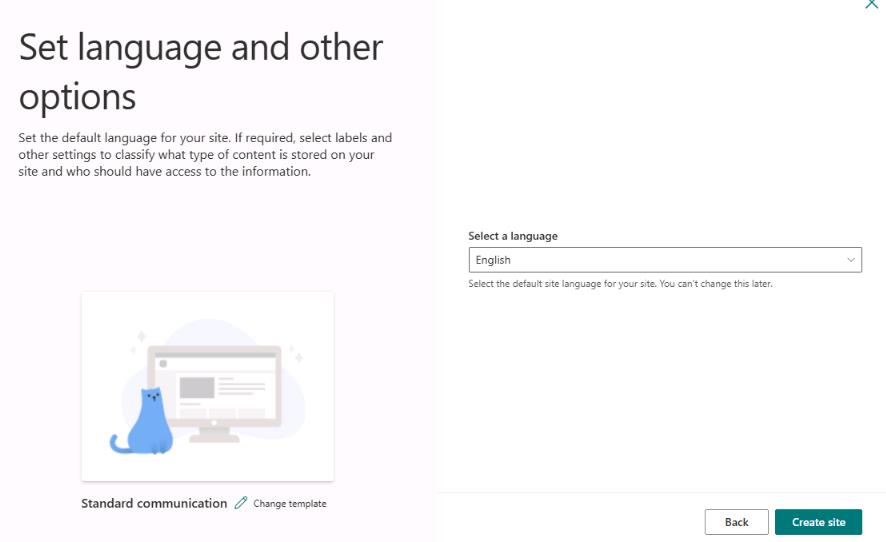
In the Preview and use… dialog, select Use template.
-
In the Give your site a name dialog, enter the following details and then select Next.
Item Value Site name Mark 8 Project TeamSite description The team dedicated to the Mark 8 Project.Site address Mark8ProjectTeam@lab.LabInstance.Id -
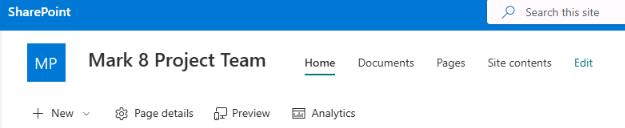
Select Create site.
-
On the command bar for the site, select Documents.
-
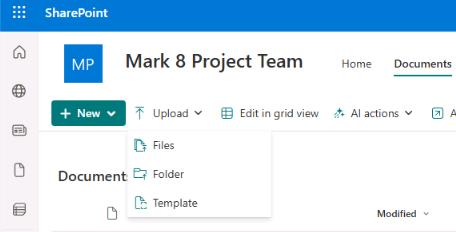
On the Documents page, on the command bar, select Upload and then select Folder.
-
Go to
F:\LabFiles, select SharePointFiles, and then select Upload.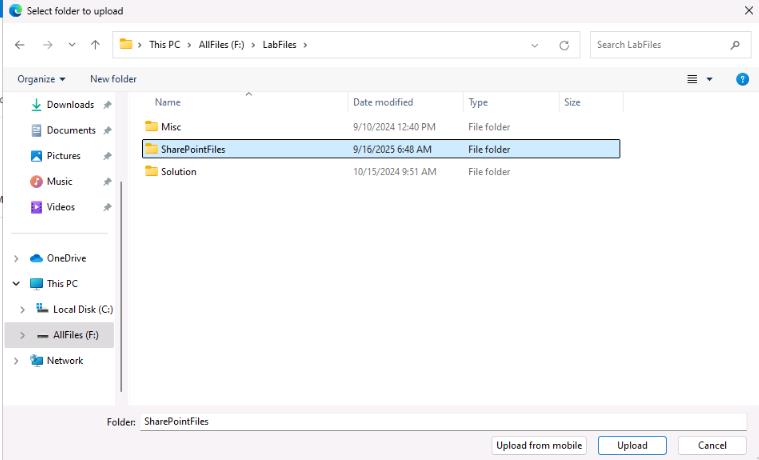
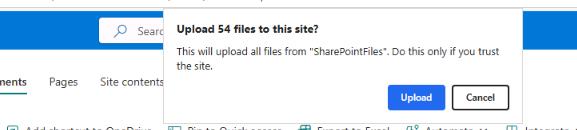
-
In the confirmation dialog that displays, select Upload.
-
After the upload completes, close the SharePoint browser window.

Do not move on to Task 02 until you confirm that the status for the environment you created is Ready.
Lab activities for “test out” version of lab are in progress. Please disregard Score button for now.