Task 03: Test other knowledge sources and publish the updated agent
Introduction
Now that you’ve configured knowledge sourceds you need to do some testing.
Description
In this task, you’ll test the knowledge sources that you configured.
Success criteria
- You successfully reviewed the Generative answers node in Microsoft Copilot Studio.
- You verified that the agent can retrieve structured data from the configured knowledge sources and provide relevant answers.
- You’ve published the agent.
Key tasks
01: Review the Generative answers node
-
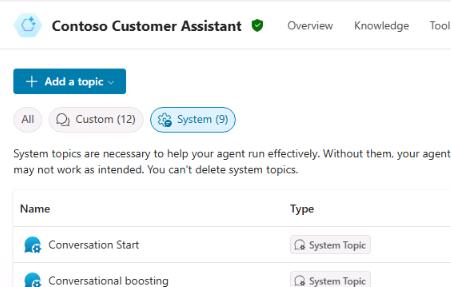
On the command bar for the agent, select Topics.

-
Select System and then select the Conversational boosting topic.
-
Locate the Create generative answers node. Select the ellipsis (…) and then select Properties.

-
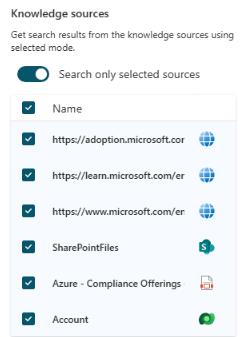
In the Knowledge sources section, set Search only selected sources to On (enabled).
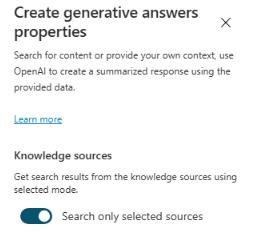
With this option enabled, you can hand pick the knowledge sources that should be used when entering that specific node.
-
Select all the available knowledge sources by selecting the checkbox next to the Name header.
-
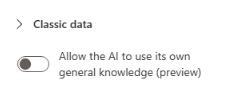
In the Classic datasection, set Allow the AI to use its own general knowledge to Off (disabled).
-
In the Content moderation level section, select the Customize checkbox.
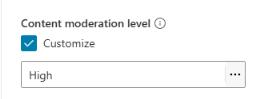
The Content moderation setting helps keep the agent from hallucinating (coming up with a wrong answer to a question by misinterpreting or overinterpreting grounding data).

-
On the command bar for the agent, select Save.

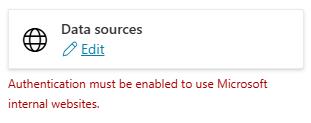
Disregard any authentication errors that may display, as they won’t apply to the tests in this lab.
02: Test the Dataverse knowledge source
-
On the command bar for the agent, select Knowledge.
-
Verify Dataverse shows as Ready under Status before proceeding.


-
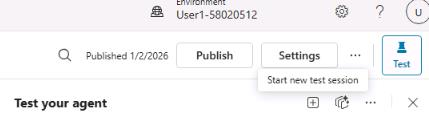
Open the agent testing pane and then select Start new test session.
-
Submit the following prompt and review the response:
Which customers are located in Redmond? List them in a table with their name and address.If the agent does not return any data, continue to the next task, as the Dataverse sample data is currently not deploying.
-
Ask a follow-up:
Thanks. Who's the primary contact at city power and light?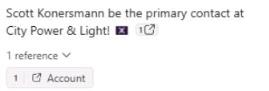
03: Test the SharePoint knowledge source
-
On the command bar for the agent, select Knowledge.
-
Verify SharePoint shows as Ready under Status before proceeding.

While the Status will show Ready for the SharePoint knowledge source, it may take more time to index all its contents. It should not affect this test, as you’ll simply verify it can pull any content.
-
Open the agent testing pane and then select Start new test session.
-
Submit the following prompt and review the response:
Give me some information about what the Mark 8 Project Team is working on.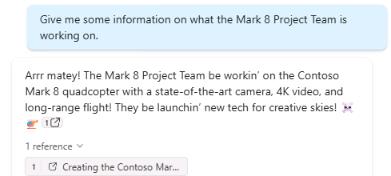
04: Test the Files knowledge source
-
On the command bar for the agent, select Knowledge.
-
Verify **Azure - Compliance Offerings** shows as Ready under Status before proceeding.

-
Open the agent testing pane and then select Start new test session.
-
Submit the following prompt and review the response:
What are Microsoft's distinct Azure cloud environments?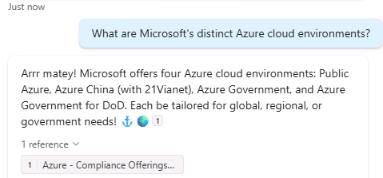
05: Publish the agent
-
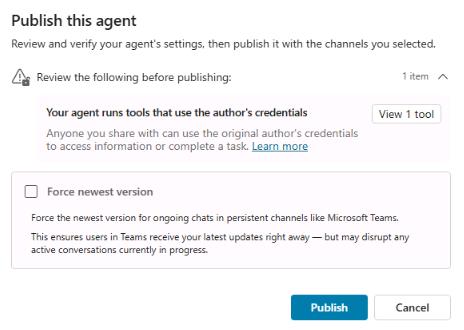
On the command bar for the agent, select Publish.

-
In the confirmation dialog, select Publish.
You can share your agent by using the Channels page for the agent. One method for sharing is to download the app package, distribute the package to colleagues, and ask the colleagues to upload the content.
- Download the app package (ZIP file) from Microsoft Copilot Studio. You can find this under Channels by selecting the Download app option.
- Open Microsoft Teams and go to the Apps section.
- Select Upload a custom app and upload the ZIP file.
- Assign the app to the appropriate Teams channel or users.