
TIP
💡 Learn more : Azure Machine Learning Overview (opens new window).
💡 Checkout Azure ML for data scientists page (opens new window).
# Guided tour of Azure Machine Learning Studio
In a world where there are WYSIWIG editors for practically everything, have you ever wondered why there isn’t a drag-and-drop web app for machine learning? Well, actually there is: Azure Machine Learning Studio (opens new window). Today, I want to give you a personal tour of ML Studio and give you an idea of just how much you can do without writing a lick of code.
# No programming required
If it makes the tool more approachable, you could think of Azure ML Studio as the low bar for machine learning that makes it easy for everyone to get into AI. I like to think of it more simply as a playroom where I do experiments with machine learning that no else needs to see.
ML Studio has a completely free tier (opens new window) that gives you two hours of compute a month so you aren’t racking up a bill while you are trying things out. You’ll want to take advantage of that.
The ML Studio home screen is called your workspace. This is where you’ll collect goodies like datasets, predictive models, experiments, and notebooks, which you can organize under different projects.
Projects are collections of experiments, datasets, notebooks, and other resources.
Experiments are what you create with the drag-and-drop tool.
Web services are deployed from your experiments.
Notebooks are Jupyter (opens new window) notebooks where you collect code snippets, equations, links, and figures. It’s awesome.
Datasets are really important in machine learning, since your predictions are only as good as the data you work with. Fortunately, ML Studio gives you access to lots of interesting datasets.
Trained models are your machine learning output. You plug them into your apps.
Settings hold your account configuration.
There are lots of great things in the ML Studio home screen, but I want to call out two in particular.
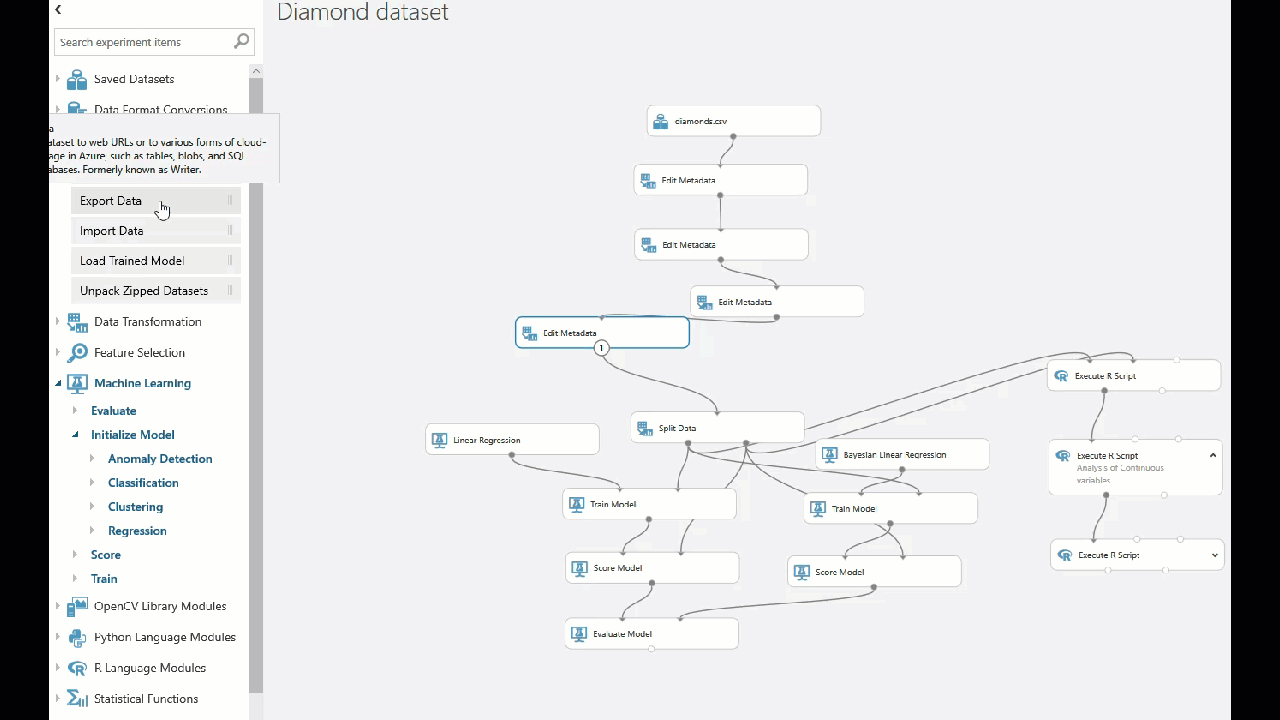
First, the Experiments tab is where you put together a machine learning project visually and with no actual code. This is one of the best ways to learn machine learning by playing around and seeing how things connect together. The tray to the left of your work area gives you access to algorithms, data, and workflows you can pull into your experiment. Let’s take a closer look at some of the functionality packaged there for you.
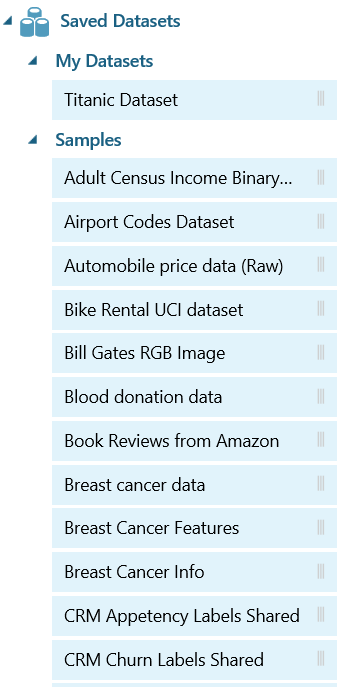
To work with machine learning, your first step is always going to be to find training data to work with. The easiest thing to do is to expand the Saved Datasets node in the navigation window and drag one of the Sample datasets, like “Movie Ratings”, into your experiment.
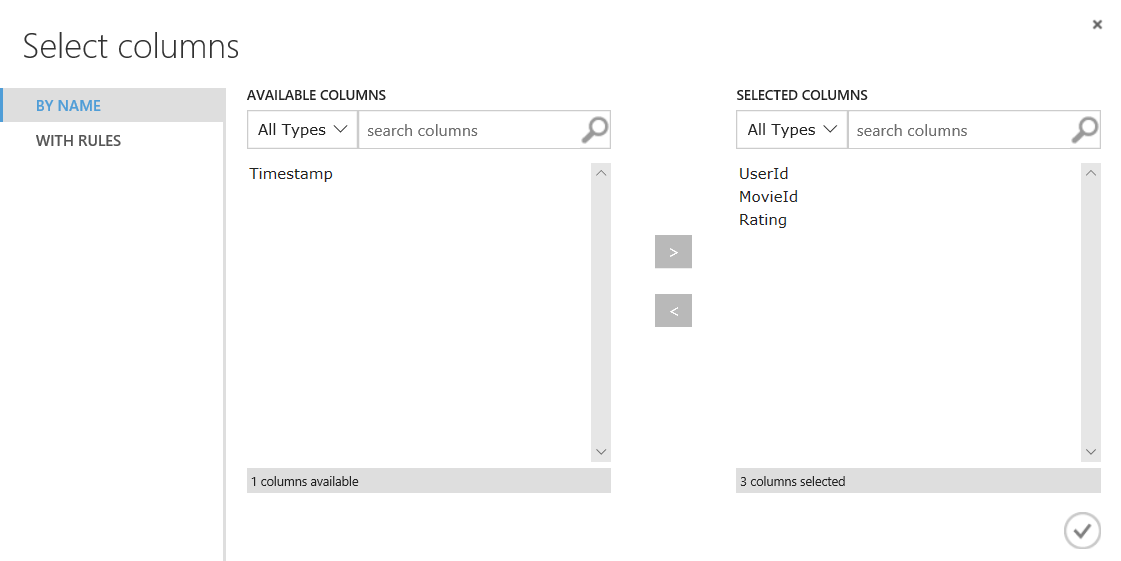
The Data Transformation node in the navigation window gives you a lot of choices in how to select and filter your datasets. You can drag “Select Columns in Dataset” into your experiment and draw an arrow to it from Movie Ratings to add it into your workflow and pick some data columns to use.
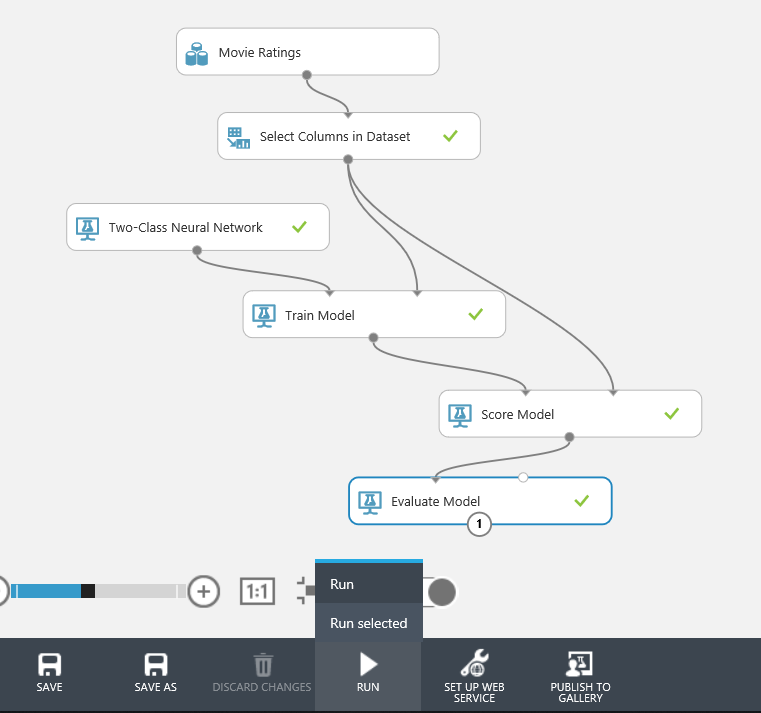
To complete a rudimentary experiment, add Machine Learning | Train Model as the next step in your workflow and select Machine Learning | Initialize Model | Classification | Two-Class Neural Network as the kind of learning algorithm you want to create. Finally score and evaluate your model by adding those nodes and Run your experiment.
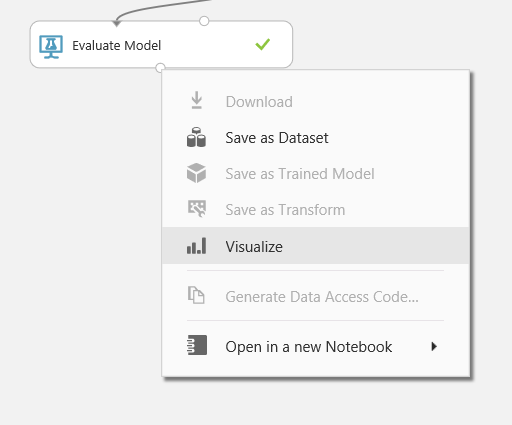
To see how good your model is, left click on the Evaluate Model module and select Visualize.
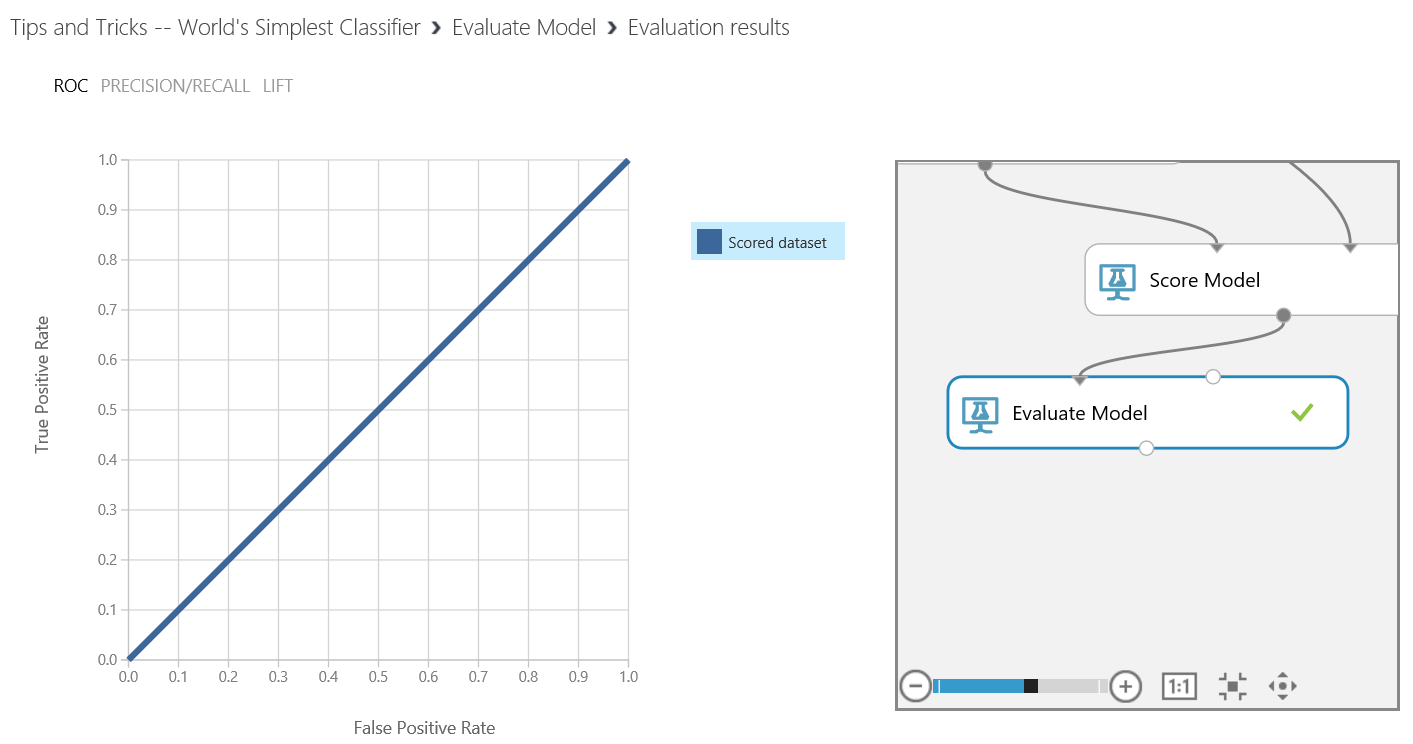
This will now show you how good your machine learning algorithm is (hint, not very good in this case). There are several things you can do next to improve your model like splitting off some of your data for training and some of it for scoring, but I’ll leave that to you to experiment with.
# Write this down
The other thing I especially want to highlight is the Notebooks tab. It took me a long time to understand how cool Jupyter Notebook is, and I don’t want you to miss out like I did.
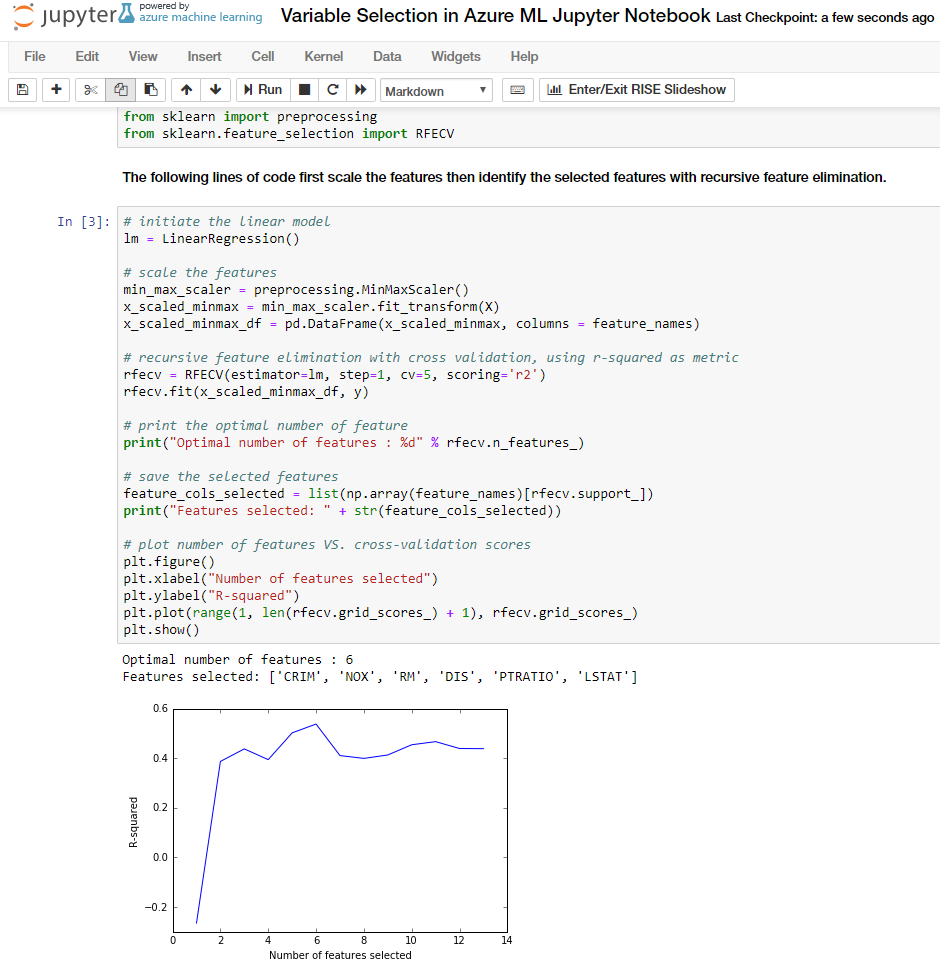
As you can see above, it looks like a scientist’s book of secret formulas. What makes it extra neat is that it’s also an application that can run live code, create visualizations, clean data, and even make predictive models for you. Jupyter Notebook is a broadly used tool in the world of data science. Whether you plan to use ML Studio or not, you should still make a point to become familiar with it.
# The gallery is your friend
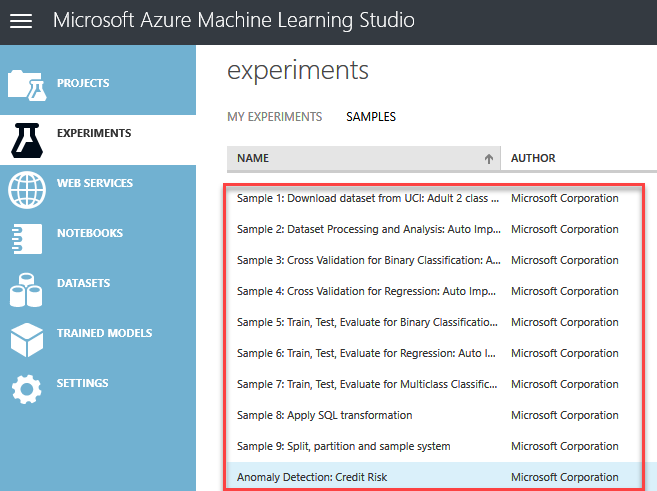
Still intimidated? That’s okay. The Azure AI Gallery (opens new window)"> has many prebuilt experiments written by other people that you can simply load into your workspace and modify to learn.
When you browse the AI Gallery and find an experiment you like, just click on the Open in Studio button to conveniently copy the whole thing directly into ML Studio. Give it a shot. Until we finally get to the point where AI is training our models for us, using drag-and-drop in Azure ML Studio may be the best thing going.