Task 03: Upload data to the litwareuc storage account
Introduction
Before Fabric and Databricks can work with Litware’s data, the data must be uploaded into Azure Data Lake Storage. In this task, you’ll create a container and upload the source datasets that will be used throughout the lab.
Description
In this task, you’ll create a container in the litwareuc@lab.LabInstance.Id storage account. Then, you’ll upload data to the container.
Example scenario
Litware has shared historical sales, product, and website data with Zava. This data needs to be stored centrally so it can be accessed by Fabric lakehouses and Databricks pipelines.
Success criteria
The Litware storage account contains all required folders and files, and the data is visible in the storage container.
Learning resources
- Azure Storage Explorer overview
- Azure Data Lake Storage Gen2 fundamentals
Key tasks
01: Get the access key for the storage account
-
On the Azure home page, in the Search field, search for and select
Storage accounts.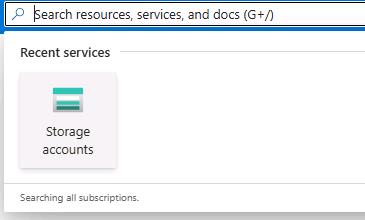
[!alert] Be sure to use Storage accounts and not Storage accounts (classic). The instructions and screenshots will not be correct if you use Storage accounts (classic).
-
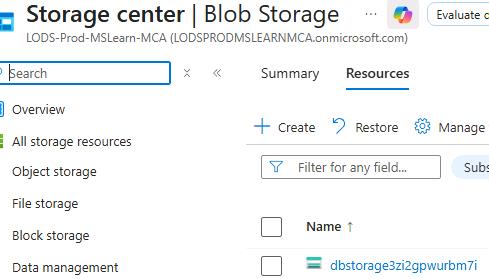
On the Storage Accounts page, select litwareuc@lab.LabInstance.Id.
-
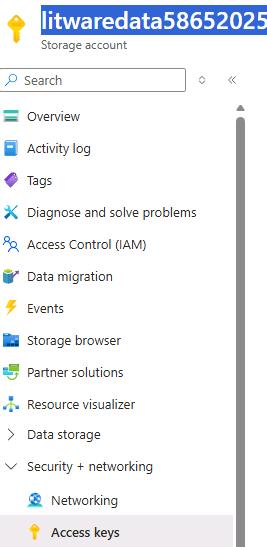
In the left pane, select Security + networking and then select Access keys.
-
In the key1 section, in the Key field, select Show.

-
Copy the key and paste it into the following text field. You’ll use the key later in the workshop to create a shortcut from the Fabric workspace to the data.
@lab.TextBox(LitWareDataAccessKey)
02: Upload files to the storage account
-
On the virtual machine taskbar, select the shortcut to launch Azure Storage Explorer.
-
Select Sign in with Azure.
-
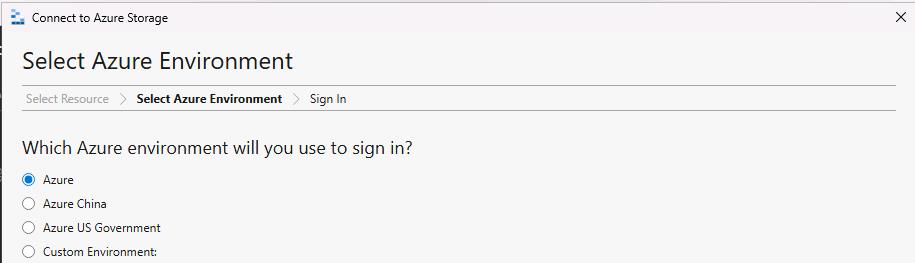
In the Select Azure environment dialog, select Azure and then select Next.

-
Sign in by using the following credentials:
Setting Value Username @lab.CloudPortalCredential(User1).UsernameTemporary Access Pass (TAP) token @lab.CloudPortalCredential(User1).AccessToken -
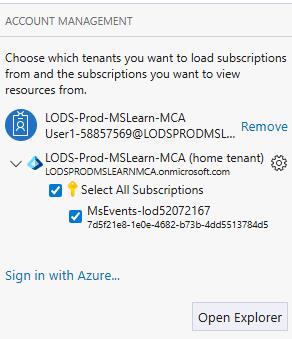
On the Account Management pane, select Open Explorer.
-
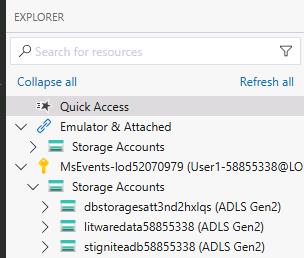
In the Explorer pane, expand the folder with the key symbol and then expand Storage Accounts.
-
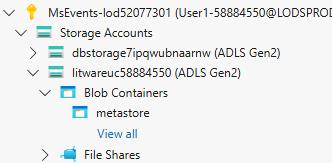
Expand litwareuc@lab.LabInstance.Id.
-
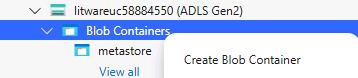
Right-click Blob Containers and then select Create Blob Container.
-
In the text field, enter
litwaredataand then select Enter.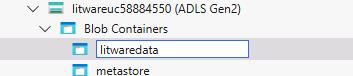
-
On the new tab that opens, on the command bar, select Upload and then select Upload Folder.
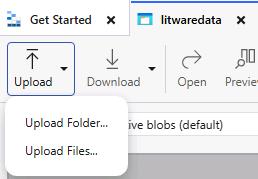
-
In the Upload Folder dialog, in the Selected folder field, select the ellipses (…).
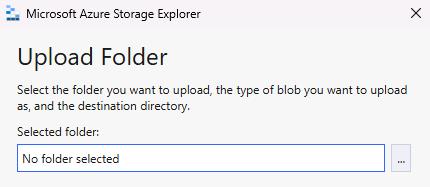
-
In the Choose folder to upload dialog, go to
C:\Lab Assets\LitwareData. Select data and then select Select folder.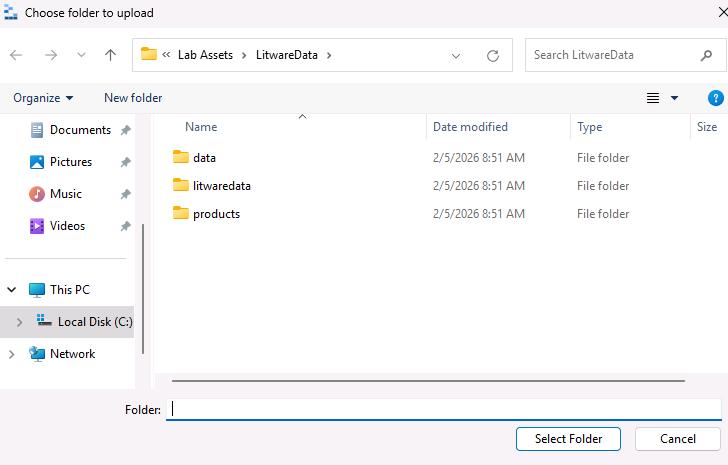
-
Select Upload.

-
Wait while the files upload.
-
Repeat Steps 10-14 to upload the litwaredata and Products folders.
-
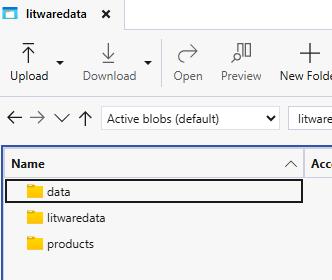
In the litwaredata pane, verify that all three folders are listed and that there are files in each folder.
-
Close Azure Storage Explorer.