Task 02: Create a KQL database and an Eventstream
Introduction
To ensure optimal in-store conditions during Zava’s Thanksgiving sale, the operations team needs near real-time visibility into IoT telemetry such as thermostat readings. In this task, you’ll create an Eventstream and prepare a KQL database to ingest streaming data for real-time analysis and anomaly detection.
Description
In this task, you’ll create an Eventstream and configure a KQL database to ingest and store streaming telemetry data.
Example scenario
Zava needs a scalable way to capture and analyze IoT data as it arrives.
Success criteria
Streaming data appears in the KQL database and can be queried.
Learning resources
- Eventstream concepts
- KQL databases in Fabric
Key steps
01: Create an Eventstream and ingest data into a KQL database
-
Open Microsoft Edge and go to Power BI homepage.
-
If prompted, sign in.
-
In the left pane, select the Zava@lab.LabInstance.Id workspace.
-
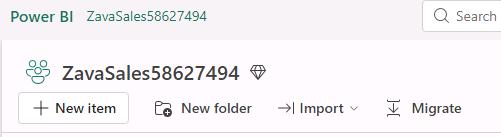
On the workspace page, select + New item.
-
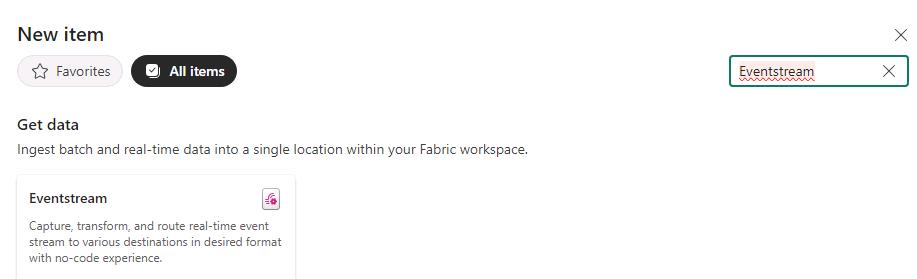
In the New item window, in the Get data section, select Eventstream.
-
In the Name field, enter
RealtimeDataToKQLDB@lab.LabInstance.Idand then select Create.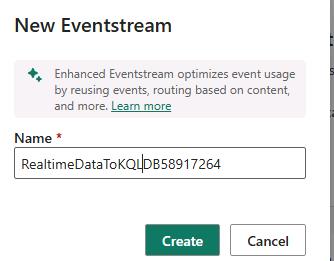
-
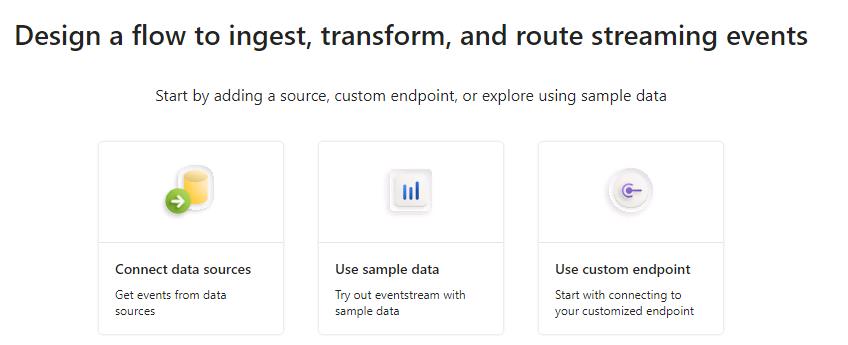
On the Eventstream canvas, select Connect data sources.
-
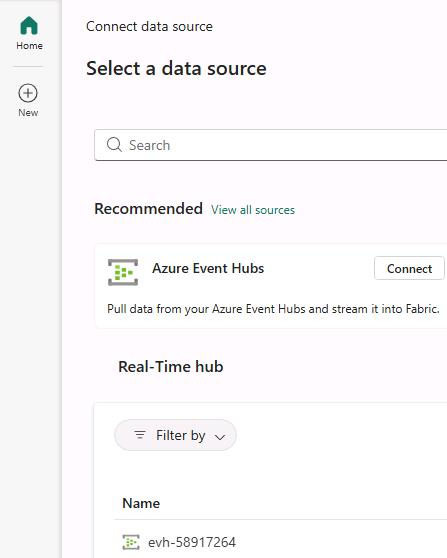
In the Select a data source dialog, select evh-@lab.LabInstance.Id.
-
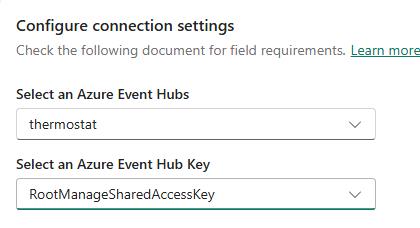
In the configure connection settings dialog, in the Select an Azure Event Hubs field, select thermostat.
-
In the Select an Azure Event Hub Key field, select RootManagedSharedAccessKey.
-
Select New Connection.
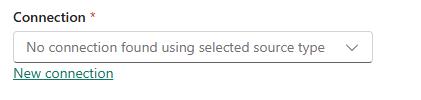
-
Select Connect.
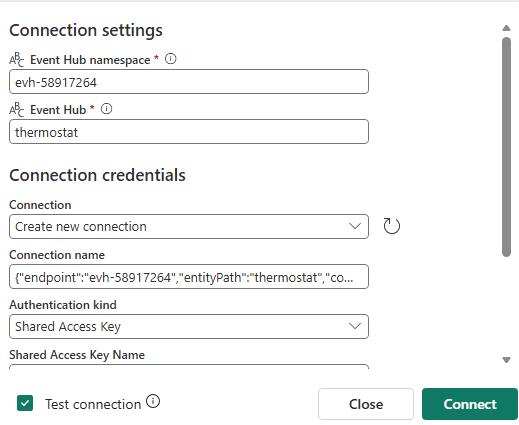
The values for the Connection settings dialog should be prepopulated for you.
-
Select Next.
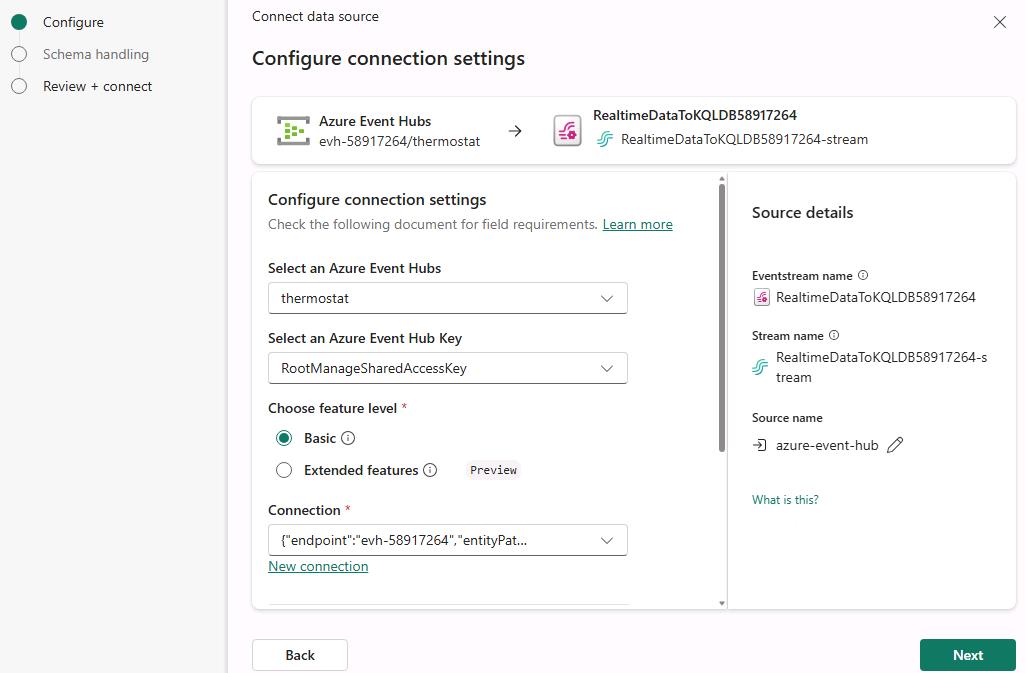
-
Select Add.
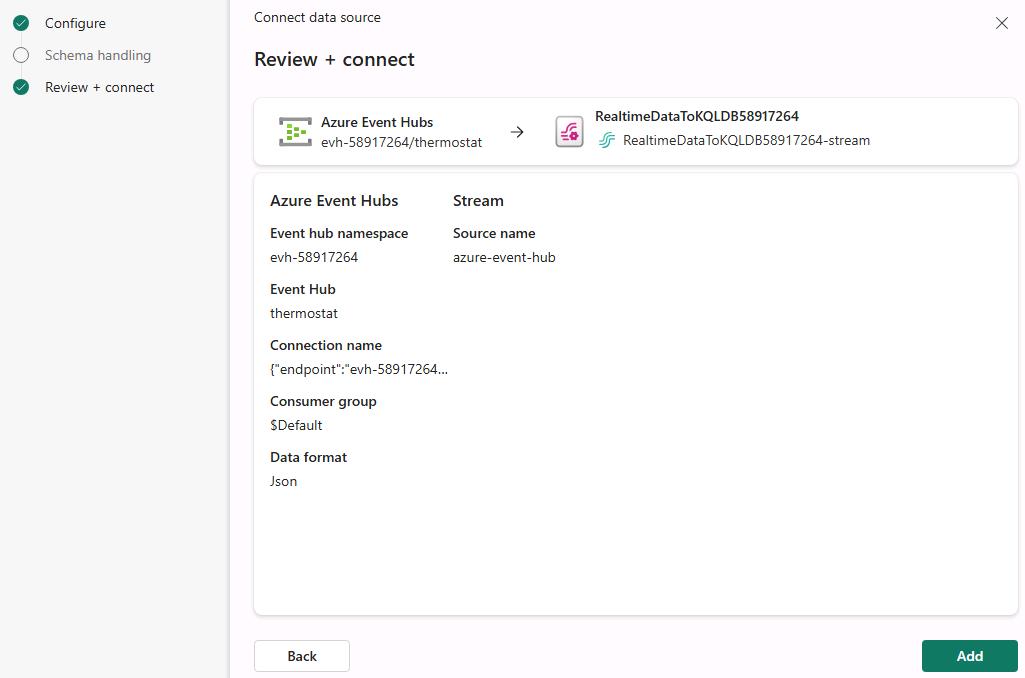
-
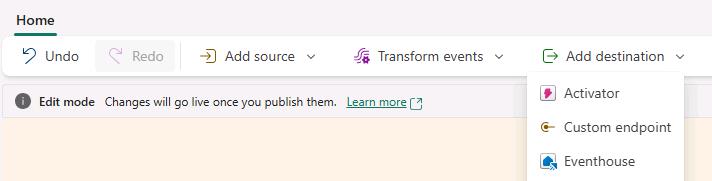
On the command bar, select Add destination and then select Eventhouse.
-
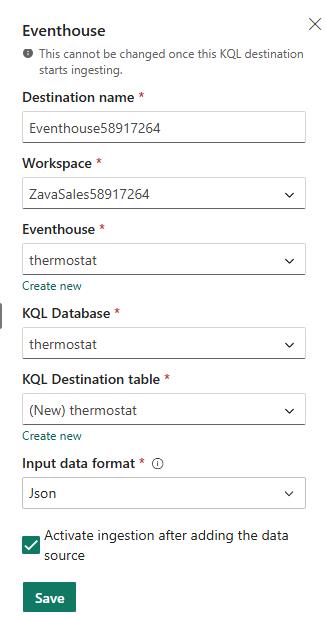
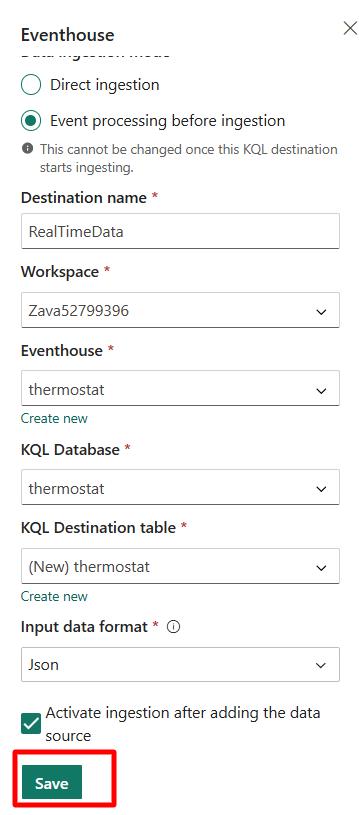
Configure the Eventhouse pane by using the following information:
Field Value Destination name Eventhouse@lab.LabInstance.IdWorkspace ZavaSales@lab.LabInstance.IdEventhouse thermostat KQL database thermostat Table thermostat For the Eventhouse and KQL Destination table fields, you’ll need to select Create new to add the resource.
-
Select Save.
-
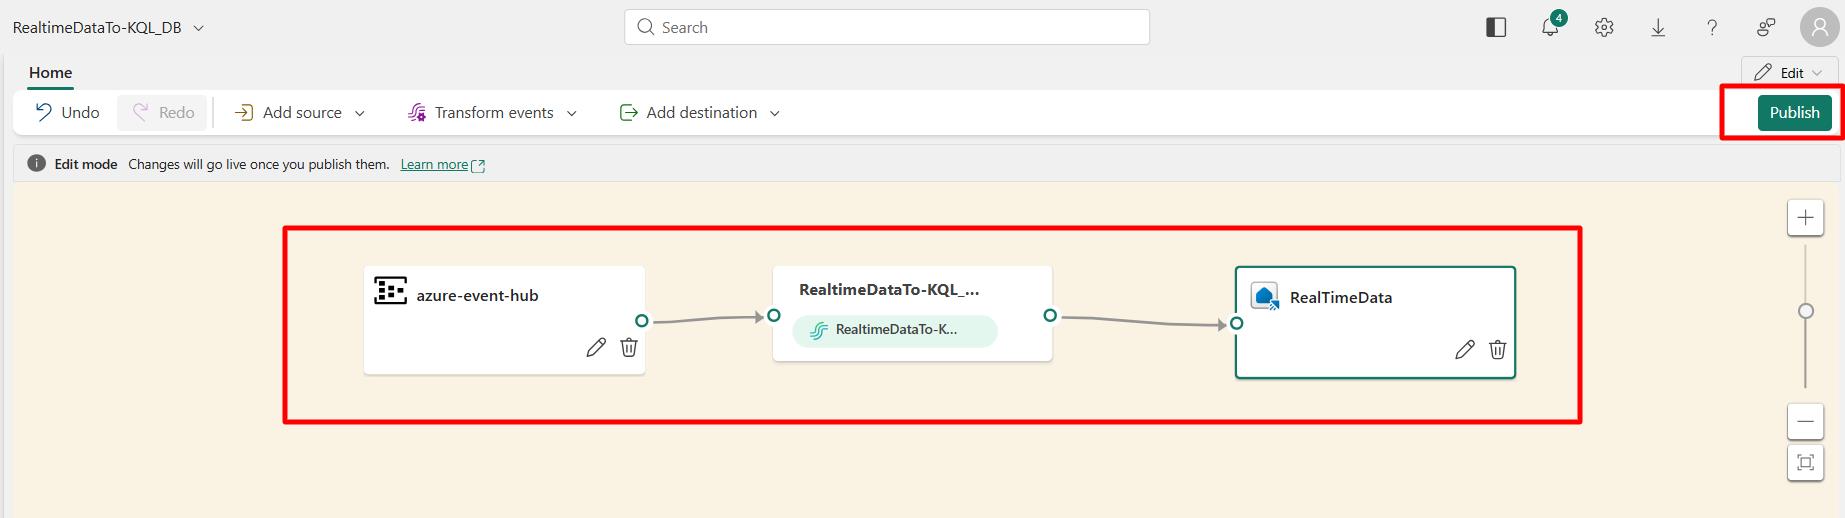
Place your mouse cursor over the green circle that appears on the right side of the RealtimeDataToKQLDatabase node on the canvas.

-
Hold your left mouse button down and drag the cursor to the red circle that appears on the left side of the Eventhouse@lab.LabInstance.Id node. This creates a connection between the nodes. Your canvas should resemble the screenshot below.

-
Select Publish.
-
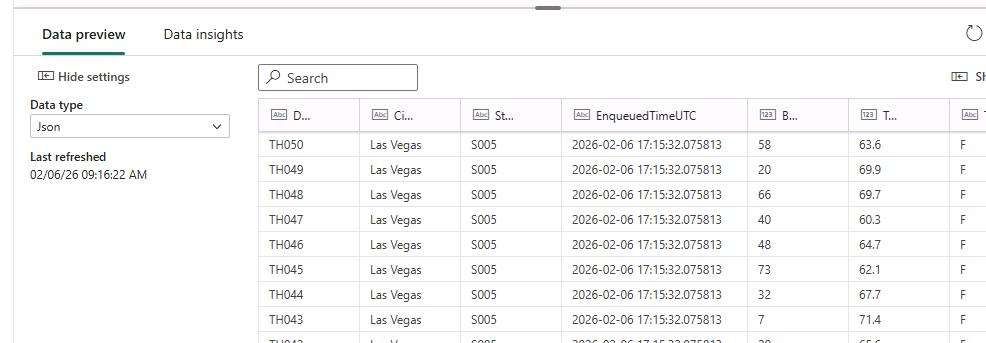
Once the data starts streaming into EventHub, you can see the data in the Data preview pane that appears at the bottom of the window.
It may take several minutes before you start seeing data. On the design canvas, the status for the Eventhouse@lab.LabInstance.Id node changes from Loading to Ready once the resources are ready to ingest data.

-
Do not proceed to Task 3 until the Data preview pane displays records.