Task 01: Create a Microsoft Fabric-enabled workspace and add lakehouses
Introduction
In this task, you’ll create a workspace and then add a lakehouse to the workspace.
Key steps
01: Create a workspace
-
Open Microsoft Edge and go to Power BI.
-
If prompted, sign in.
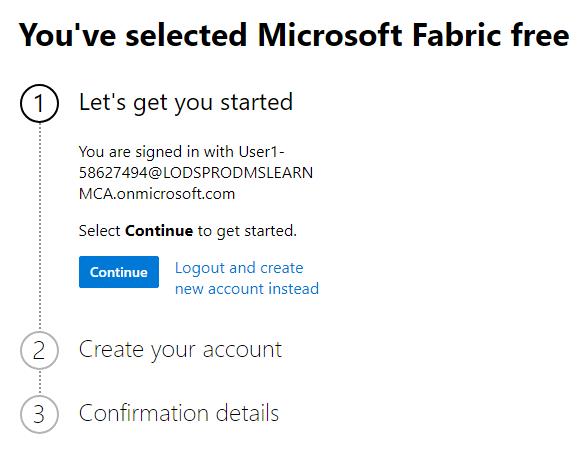
When you sign in, you may see a message that resembles the screenshot below. If you see this page, close the browser and repeat Step 1 of this task.
-
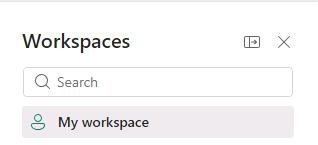
In the left pane, select Workspaces.

-
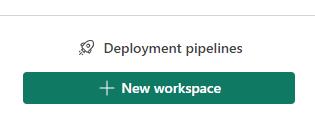
On the Workspaces pane, select + New workspace.
-
In the Create a workspace pane, in the Name field, enter
ZavaSales@lab.LabInstance.Id.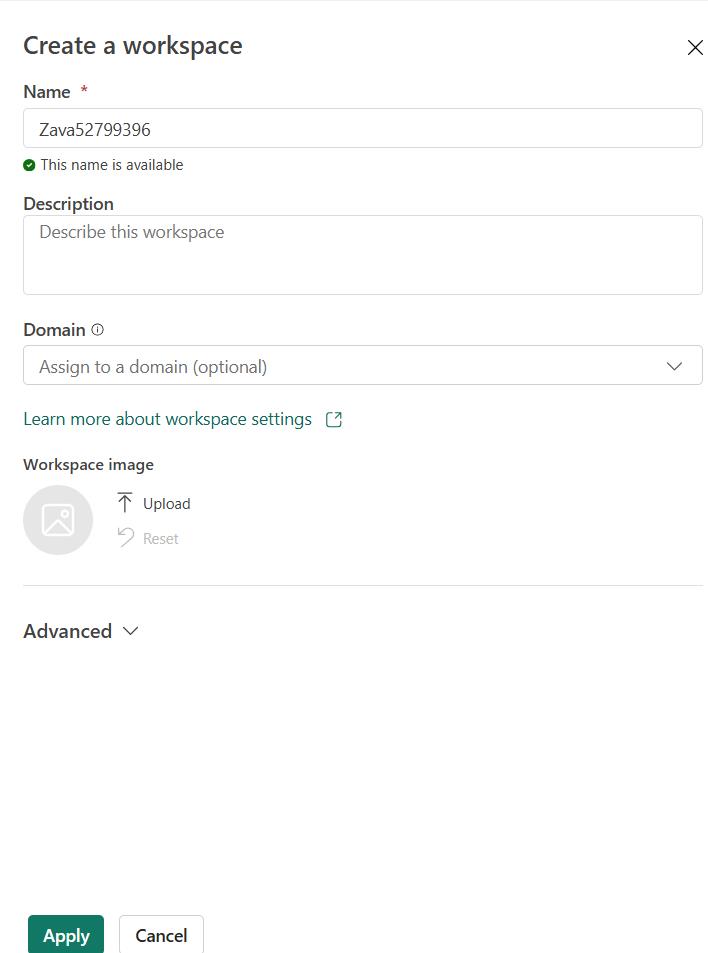
-
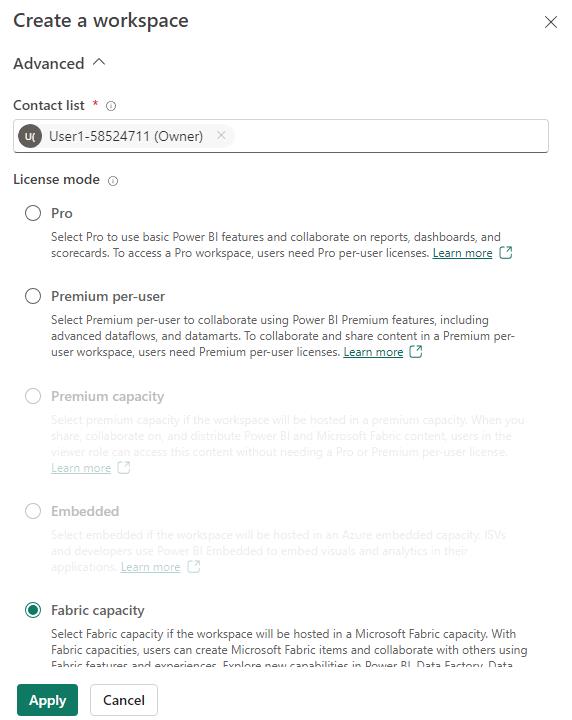
In the Create a workspace pane, expand the Advanced node.
-
Ensure that Fabric capacity is selected and then select Apply.
When you first expand the Advanced node, if Fabric capacity is not selected, wait 30-60 seconds for the pane to update.
Alert your coach if Fabric capacity never becomes selected.
02: Create a lakehouse for Zava data
-
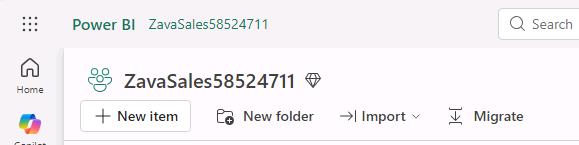
At the top left of the Workspace page, select + New item.
-
In the new item pane, move down to the Store data section and then select Lakehouse.
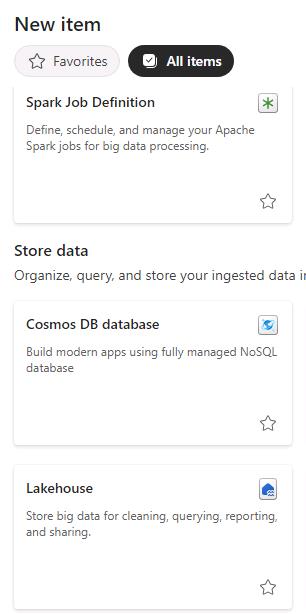
You can also use the Filter by item type field to locate an item.

-
In the New lakehouse dialog, in the Name field, enter
ZavaLakehouse@lab.LabInstance.Id. -
Select the Lakehouse schemas checkbox and then select Create.
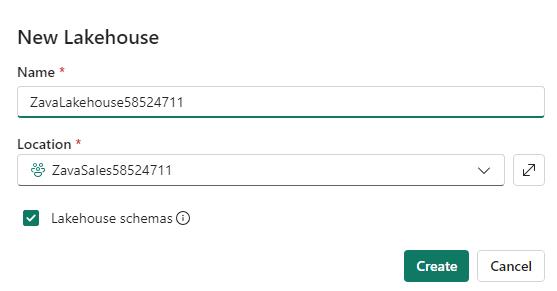
Wait while the lakehouse loads. Fabric creates the lakehouse and then adds a SQL endpoint and a default semantic model.
There is no need to set up any storage accounts or worry about configuring networks, infrastructure, key vaults, Azure subscriptions, or other resources.
-
Leave the Fabric page open.