Task 04: Generate a key for Databricks in Key Vault
Introduction
Sensitive credentials should never be embedded directly in notebooks or code. Azure Key Vault provides a secure way to store secrets and keys that Databricks can access at runtime.
Description
You’ll be using Azure Databricks in this workshop to process data. In this task, you’ll generate a key for Azure Databricks in Azure Key Vault. The key will be used later in the workshop to allow access to resources.
Example scenario
Zava’s Databricks workloads require secure access to external services. Instead of hardcoding secrets, the team stores credentials in Key Vault and references them securely from Databricks.
Success criteria
A Key Vault secret is created and the Key Vault URI and Resource ID are available for later use in the lab.
Learning resources
- Azure Key Vault overview
- Secure secrets management for Databricks
Key tasks
01: Create a key vault access policy
-
Return to the Azure web page.
-
In the Search field, search for and select
Key vaults.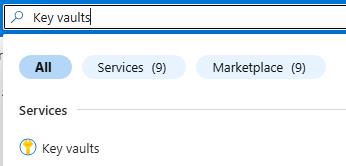
-
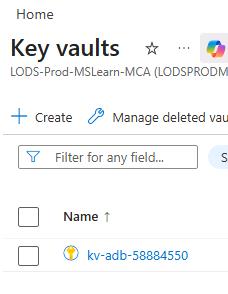
Select the kv-adb-@lab.LabInstance.Id key vault.
-
In the left pane, select Access policies.

-
On the Access policies page, select + Create.

-
In the Secret permissions column, select the following options and then select Next:
- Get
- List
- Set

-
On the Principal page, search for and select
@lab.CloudPortalCredential(User1).Username. Then, select Next twice.
-
On the Review + create page, select Create.

02: Create a secret
-
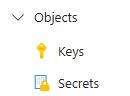
In the left pane, expand Objects and select Secrets.
-
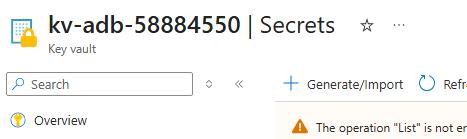
On the command bar, select + Generate/Import.
-
Configure the secret by entering the following values and then select Create.
Field Value Name DatabricksSecretValue SecretValueFor@lab.LabInstance.Id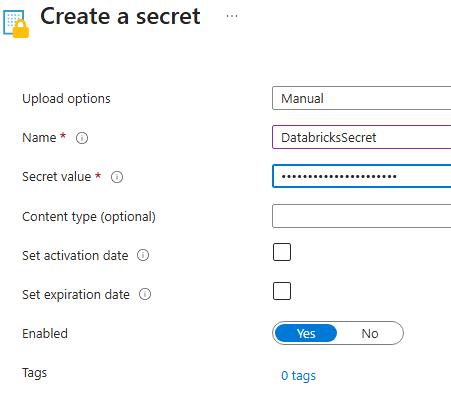
-
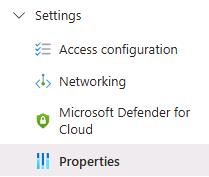
In the left pane, expand Settings and select Properties.
-
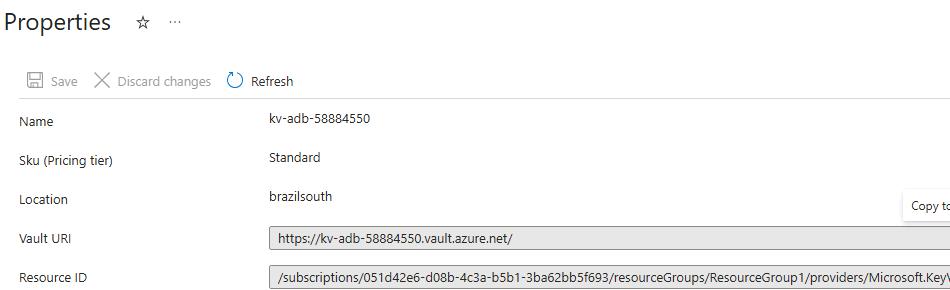
In the Vault URI field, copy the value.

-
Paste the value into a Notepad file, for later use.
-
In the Resource ID field, copy the value.
-
Paste the value into a Notepad file, for later use.
-
Leave the Azure page open.