Task 03: Create a Mirrored Azure Databricks Catalog in Fabric and analyze data by using Transact-SQL
Introduction
Mirroring the Azure Databricks Catalog structure in Fabric allows seamless access to the underlying catalog data by using shortcuts. This means that any changes made to the data are instantly reflected in Fabric, without the need for data movement or replication. Eva is Zava’s data engineer.
In this task, let’s step into Eva’s shoes to create a Mirrored Azure Databricks catalog and analyze the data by using Transact-SQL.
Key steps
01: Create a secret scope for Databricks
Create a Delta Live Table pipeline to transform data
-
Open a browser tab and go to
@lab.Variable(DatabricksWorkspaceURL)#secrets/createScope. -
Configure the Create Secret Scope page by using the following values and then select Create.
Field Value Scope name service-account-scopeManage Principal All workspace users DNS Name @lab.Variable(KeyVaultURI)Resource ID @lab.Variable(KeyVaultResourceID)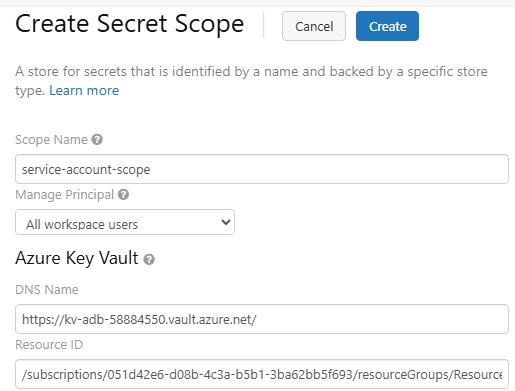
-
In the confirmation dialog, select OK.

02: Create the mirrored catalog
-
Return to the browser tab that displays the Fabric website or go to
https://app.powerbi.com/. -
If prompted, sign in by using the following credentials:
Setting Value Username @lab.CloudPortalCredential(User1).UsernameTemporary Access Pass (TAP) token @lab.CloudPortalCredential(User1).AccessToken -
In the left pane, select Workspaces and then select the Zava@lab.LabInstance.Id workspace.
-
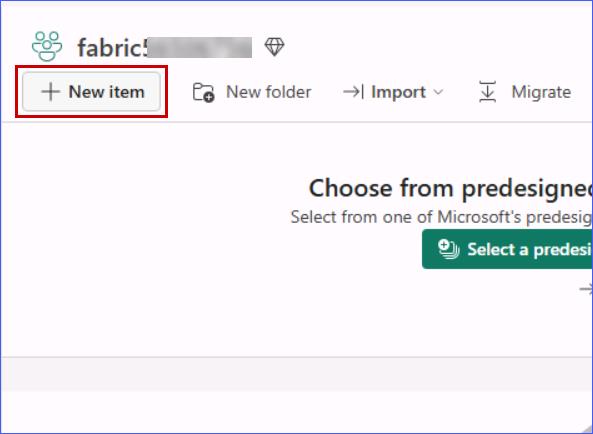
On the workspace page, on the command bar, select New item.
-
In the New item dialog, search for
Mirrored Azure Databricks catalog. -
In the list of search results, select Mirrored Azure Databricks catalog.
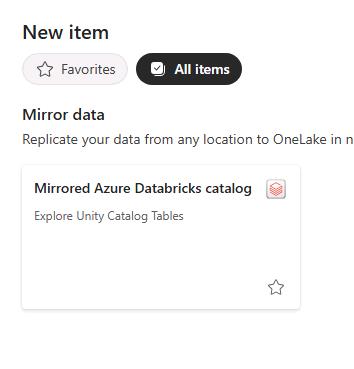
This page can be slow to load.
-
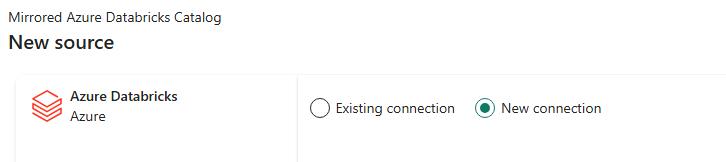
On the New source page, select New connection.
-
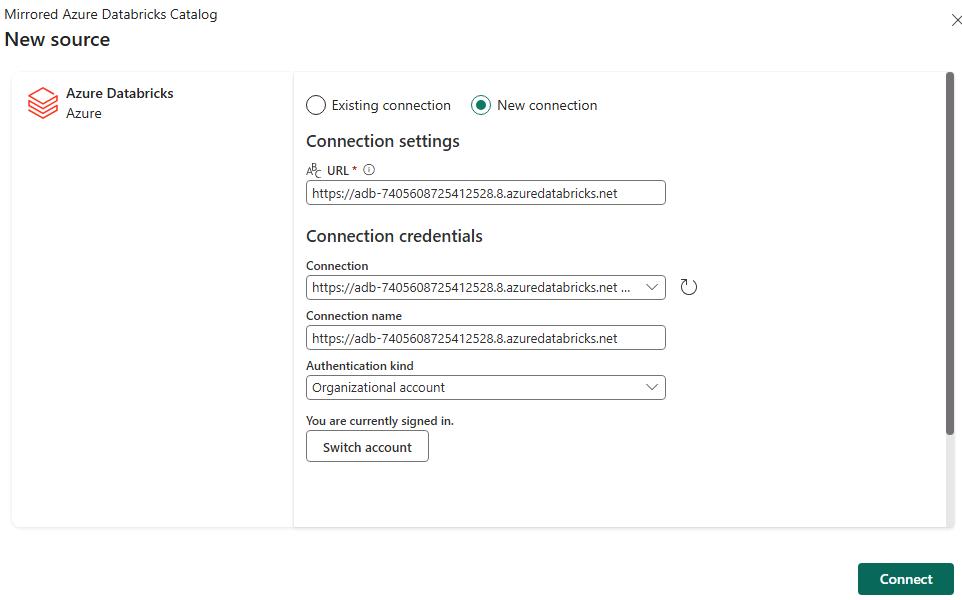
In the URL field, enter
@lab.Variable(DatabricksWorkspaceURL). -
In the Authentication kind field, select Organizational account
-
Sign in by using the following credentials:
Setting Value Username @lab.CloudPortalCredential(User1).UsernameTemporary Access Pass (TAP) token @lab.CloudPortalCredential(User1).AccessToken -
Select Connect.
-
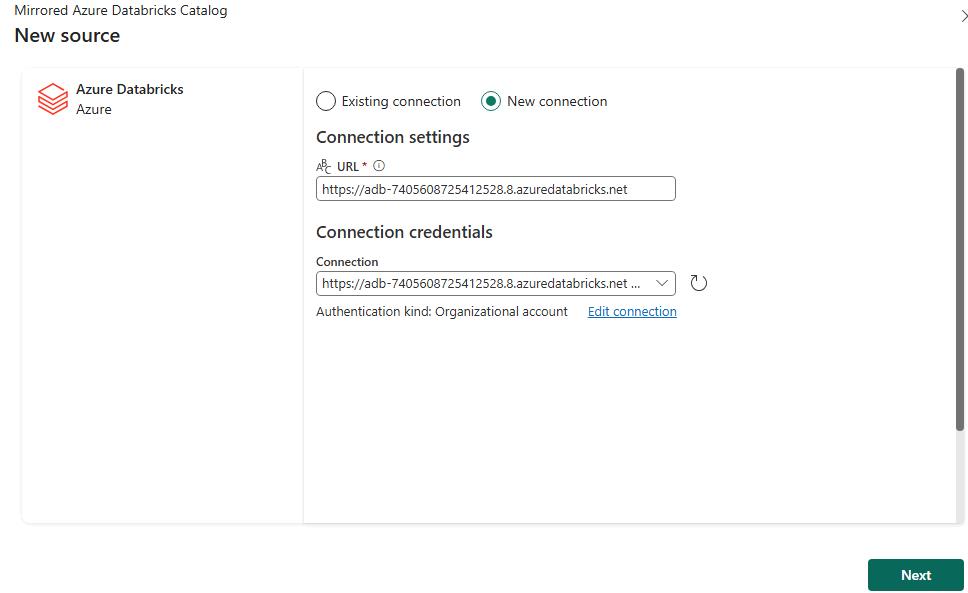
Select Next.
-
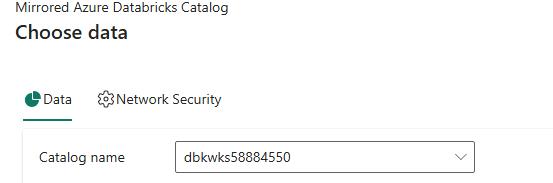
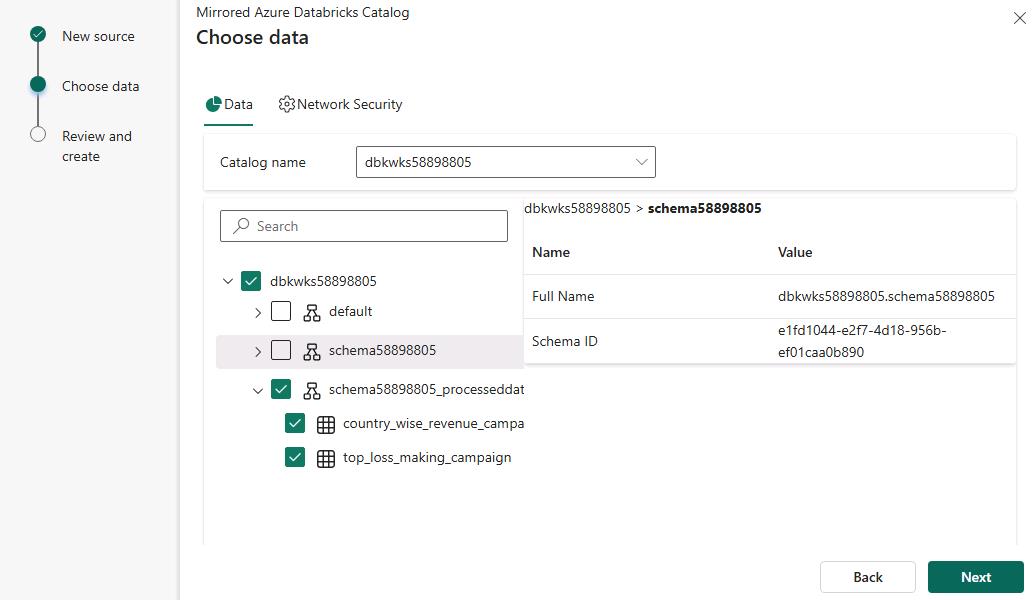
On the Choose data page, in the Catalog name field, select dbkwks@lab.LabInstance.Id.
During development and testing for this workshop, on occasion the catalog does not appear in the Catalog name field. The issue appears to be related to propagation of information from Azure Databricks to Fabric.
If the issue occurs, close the dialog and then restart Task 03.
-
Select schema@lab.LabInstance.Id_processeddata. Clear the checkboxes for all other schemas. Select Next.
-
If you see a dialog that shows the Automatically sync future catalog changes for the selected schema option, select the option and then select Next.

-
Select Create.
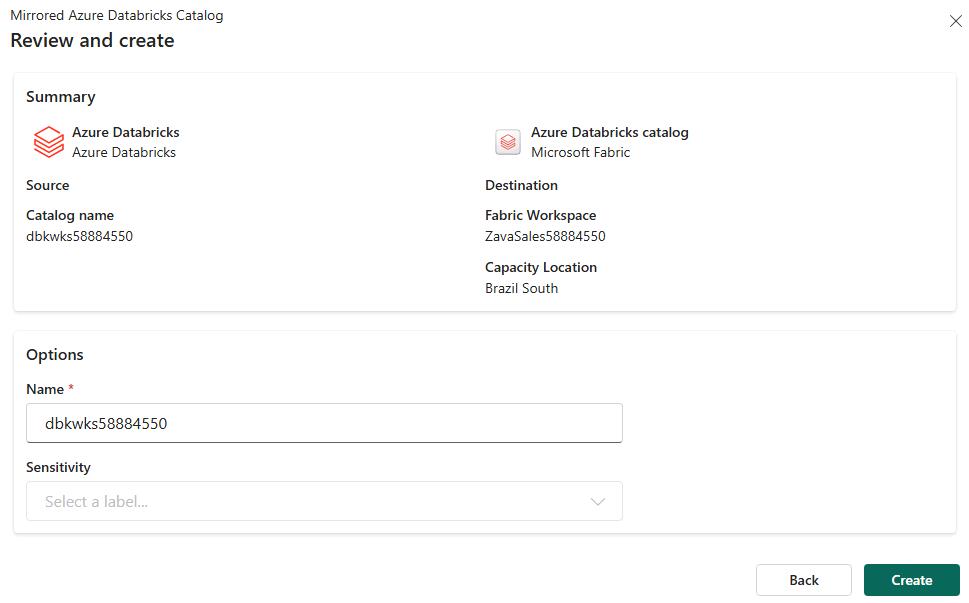
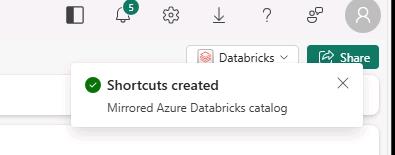
Do not proceed to the next step until the Shortcuts created message displays The message will display at the top right of the page..
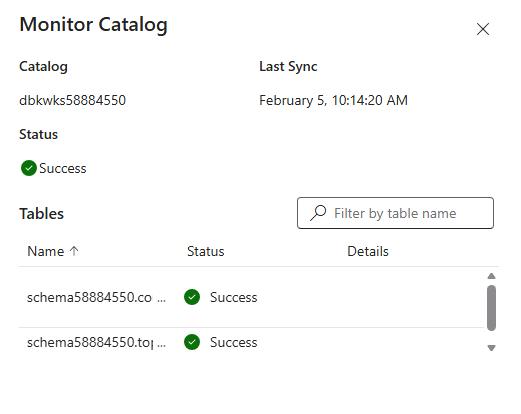
You can monitor the process. On the command bar, select Monitor catalog to track the mirroring status.
-
You’re returned to Fabric. On the Explorer pane, select Refresh.
-
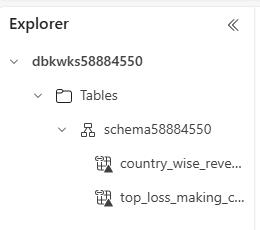
Expand schema@lab.LabInstance.Id and then expand Tables. Verify that two tables are listed.
If you attempt to open the tables from within Fabric to see the data, the operation will fail. In this lab environment, we have not enabled the permissions that allow you to view the data here. You can view the data from within Databricks.