Task 02: Connect Azure Databricks Genie to Microsoft Foundry
Introduction
Microsoft Foundry allows AI agents to connect to external tools, including Databricks Genie.
Description
In this task, you’ll add an agent and add your Genie MCP server as a tool.
Example scenario
Zava exposes Genie-powered insights through a Foundry agent for broader consumption.
Success criteria
The Foundry agent successfully queries Genie and returns insights.
Learning resources
- Microsoft Foundry agents
- Tool grounding and orchestration
Key steps
01: Create a Microsoft Foundry agent
-
Open a browser tab and go to
https://portal.azure.com. -
If prompted, sign in by using the following credentials:
Setting Value Username @lab.CloudPortalCredential(User1).UsernameTemporary Access Pass (TAP) token @lab.CloudPortalCredential(User1).AccessToken -
In the Search field, enter
Resource Groups.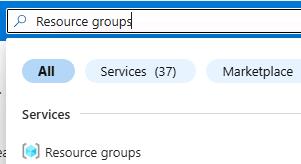
-
In the list of resource groups, select ResourceGroup1.
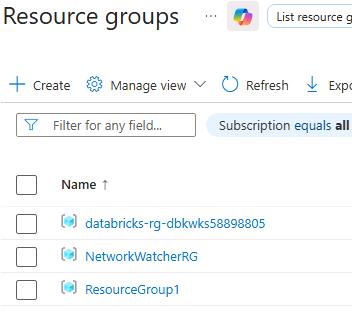
-
In the list of resources, select the firstproject project.

-
On the page for the project, select Go to Foundry portal to launch Microsoft Foundry.
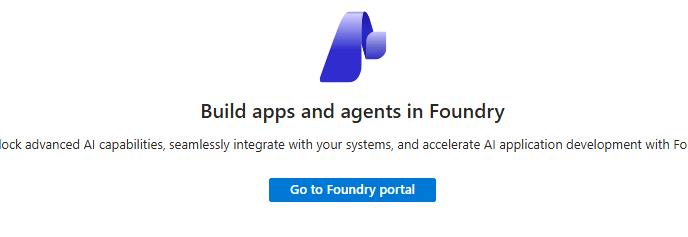
-
At the top of the page, set New Foundry to On.

-
On the command bar, select the dropdown arrow next to firstproject and then select Create a new project.

-
Foundry creates a project name. Remove the [-####] suffix from the end of the name.
The created project name will look like this example: User1-11111111-2222
Removing the suffix will render the name like this example: User1-11111111
-
Expand the Advanced options and change the resource group to ResourceGroup1 if necessary.
-
In the Create a project dialog, select Create.

-
In the confirmation dialog that displays, select Let’s go.

-
In the Start building field, select Create agents.

-
In the Create an agent dialog, in the Agent name field, enter
Genie-Agent@lab.LabInstance.GlobalIdand then select Create.
02: Connect the agent to the genie
-
In the left pane, select Tools.

-
On the Tools page, select Connect a tool.

-
In the Select a tool dialog, select the Catalog tab and then select Azure Databricks Genie.

-
Select Create.
-
Configure the tool by entering the following values and then select Connect.
Field Value Name AzuretGenie@lab.LabInstance.Idgenie_space_id @lab.Variable(GenieSpaceID)workspace-hostname @lab.Variable(DatabricksAccountID)OAuth Provider Managed 
-
On the AzureGenie page, select Use in an agent and then select Genie-Agent@lab.LabInstance.GlobalId.

-
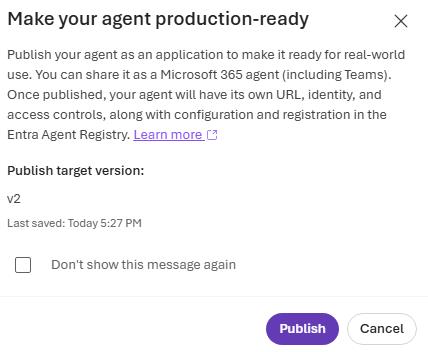
On the command bar, select Publish and then select Publish agent.

-
In the confirmation dialog, select Publish.
-
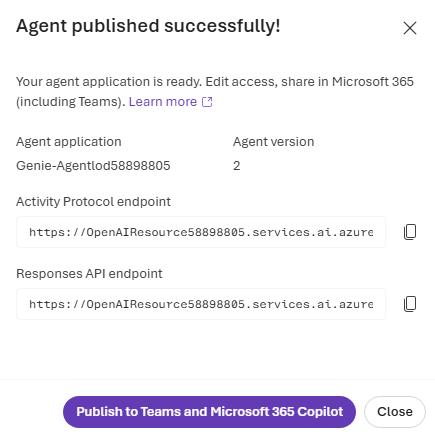
In the Agent published successfully dialog, select Close.
-
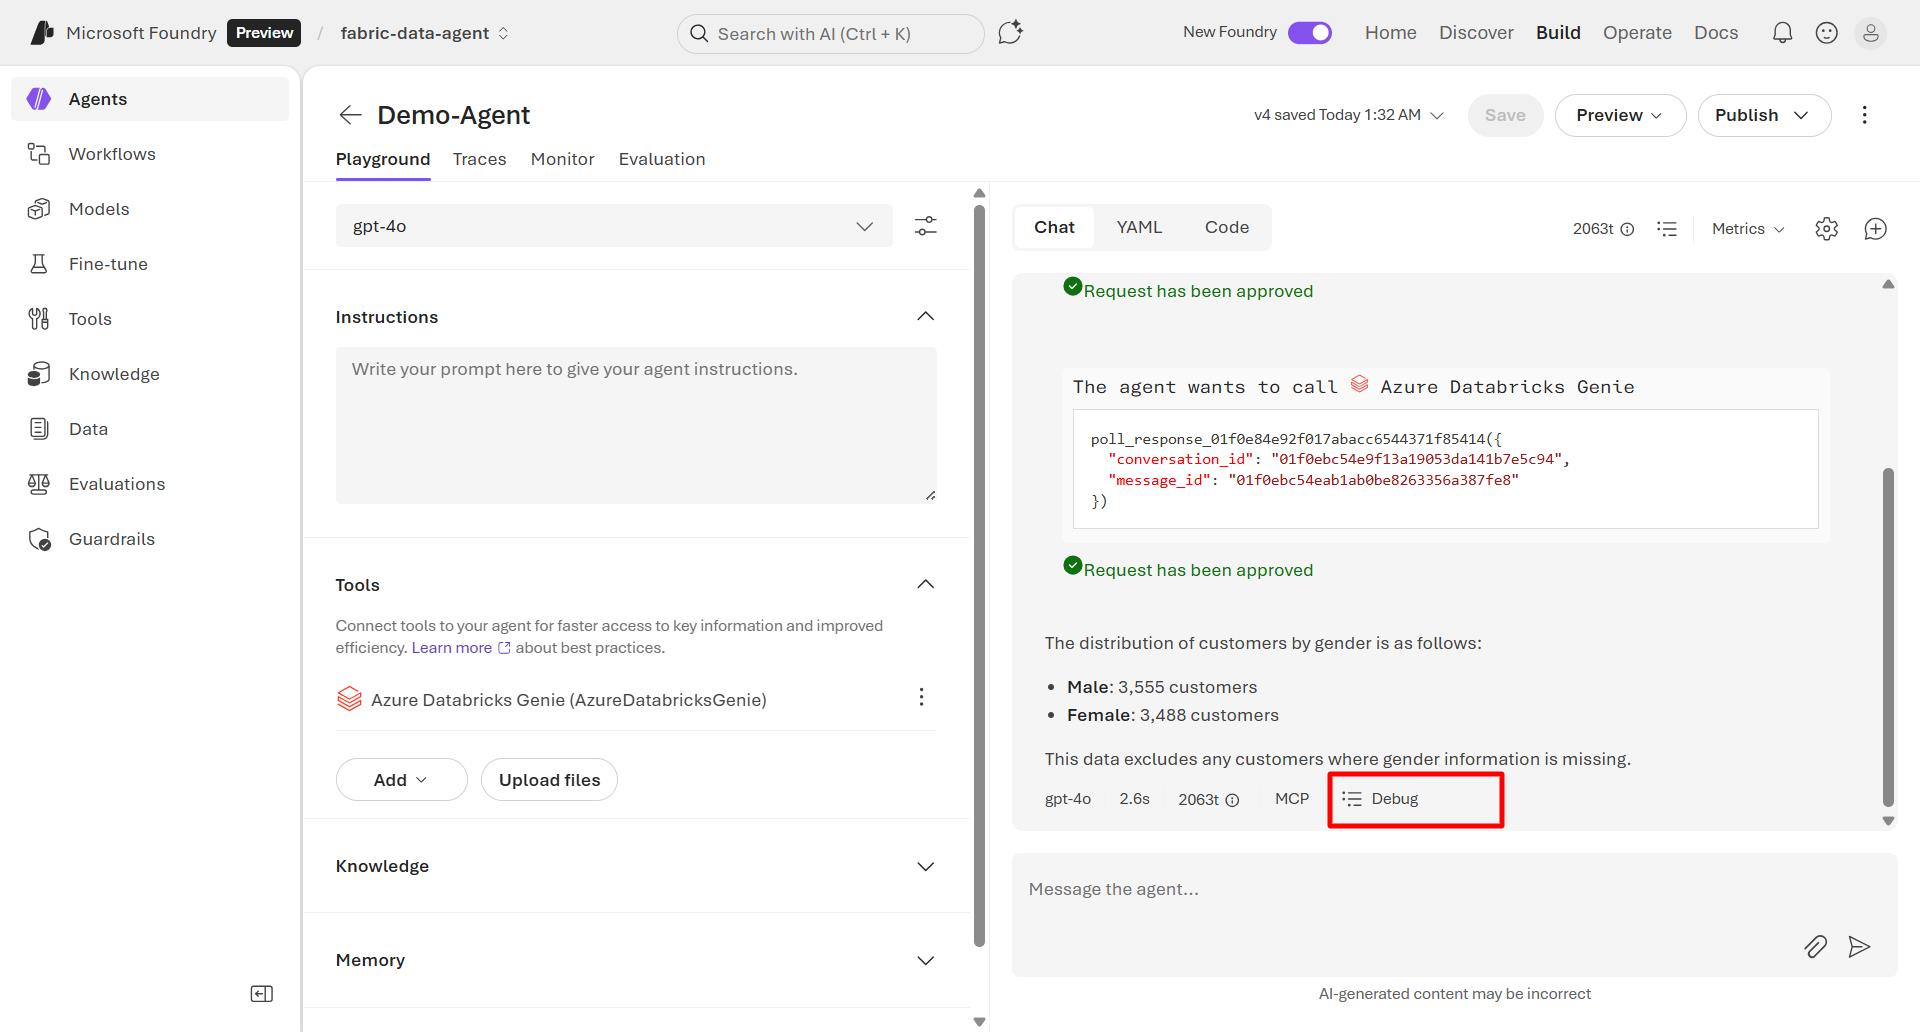
Submit the following prompt:
What is the distribution of customers by Gender?Azure Databricks Genie in Microsoft Foundry supports up to five questions per minute due to Genie API rate limits.
-
If prompted, sign in by using the following credentials and then select Allow access:
Setting Value Username @lab.CloudPortalCredential(User1).UsernameTemporary Access Pass (TAP) token @lab.CloudPortalCredential(User1).AccessToken -
In the response from the agent, select Approve and then select Always approve this tool.

-
In the response, select Debug to view the conversation flow and tool usage.