Task 01: Create a Delta Live Table pipeline to transform data
Delta Live Tables (DLT) allow you to build and manage reliable data pipelines that deliver high-quality data in a lakehouse. DLT helps data engineering teams simplify ETL development and management by providing declarative pipeline development, automatic data testing, and deep visibility for monitoring and recovery.
In this task, you will create a DLT pipeline to transform Litware data.
Key steps
01: Configure the Unity catalog
-
Open Edge and go to Azure portal homepage.
-
If prompted, sign in by using the following credentials:
Setting Value Username @lab.CloudPortalCredential(User1).UsernameTemporary Access Pass (TAP) token @lab.CloudPortalCredential(User1).AccessToken -
Search for and then select
Azure Databricks.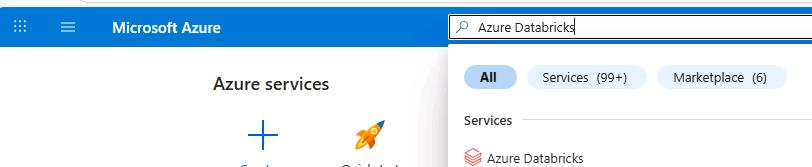
-
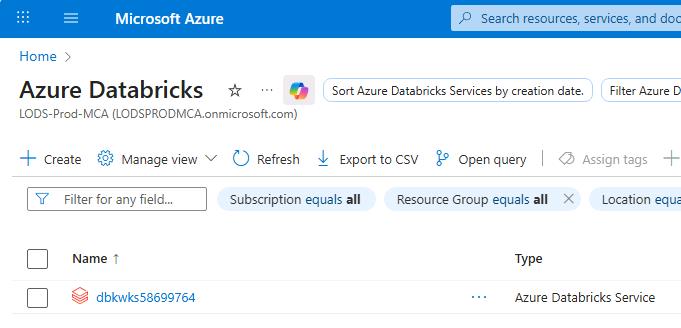
Select the dbkwks@lab.LabInstance.Id Azure Databricks Service resource that was provisioned for you.
-
Select Launch workspace.
-
On the Welcome to Databricks page, in the Address field at the top of the page, copy the portion of the URL that from https:// to azuredatabricks.net.
The URL should resemble https://adb-7405608725412528.8.azuredatabricks.net/.
-
Paste the value into a notepad for later use.
-
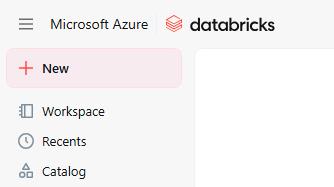
On the Welcome to Databricks page, in the left pane, select Catalog.
-
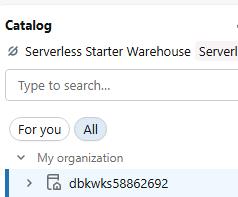
On the Catalog page, in the list of catalogs, select dbkwks@lab.LabInstance.Id.
-
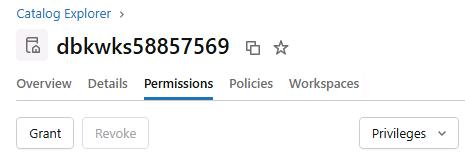
On the command bar for the catalog, select Permissions and then select Grant.
-
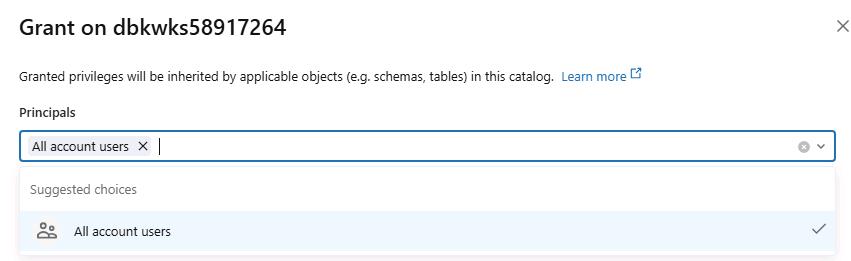
In the Principals field, select All account users.
-
At the bottom left of the Grant… dialog, select the following privileges and then select Confirm:
- ALL PRIVILEGES
- EXTERNAL USE SCHEMA
- MANAGE

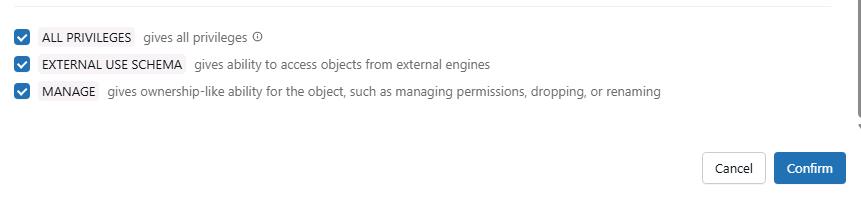
In a production environment, you would be more selective with regards to the privileges that you grant.
02: Create a schema and two volumes
-
On the command bar for the catalog, select Create schema.

-
In the Create a new schema dialog, in the Schema name field, enter
schema@lab.LabInstance.Id. -
In the Storage location section, select dbkwks@lab.LabInstance.Id.
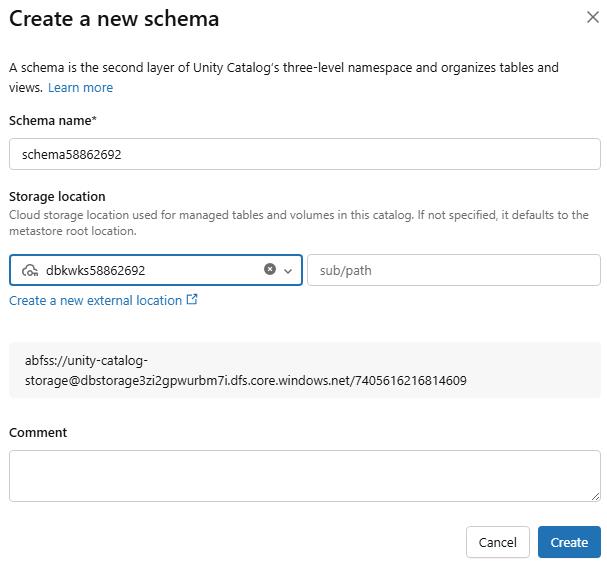
-
Copy the abfss location that displays in the dialog. Paste the value into a notepad file.
-
Select Create.
-
On the command bar for the schema, select Create and then select Volume.

-
In the Create a new volume dialog, in the Volume name filed, enter the following value and then select Create:
Volume@lab.LabInstance.Id -
In the Catalog pane, select dbkwks@lab.LabInstance.Id and then select schema@lab.LabInstance.Id.
-
On the command bar for the schema, select Create and then select Volume.
-
In the Create a new volume dialog, in the Volume name filed, enter the following value and then select Create:
litware_data_extracted
03: Upload data to the Volume@lab.LabInstance.Id volume and extract files
-
In the Catalog pane, select the volume@lab.LabInstance.Id volume.
-
On the command bar for the volume, select Upload to this volume.

-
In the Upload files to a Volume in Unity Catalog dialog, select browse and then select Select files.
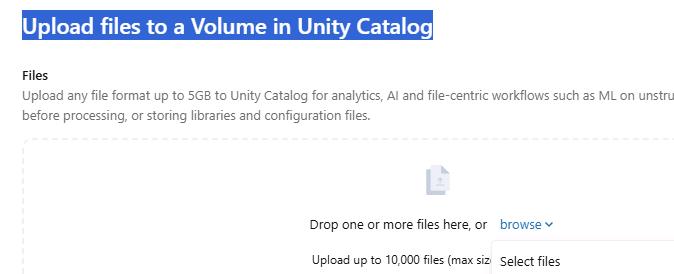
-
In the file Open dialog, go to C:\Lab Assets. Select the LitwareData compressed (zipped) folder and then select Open.
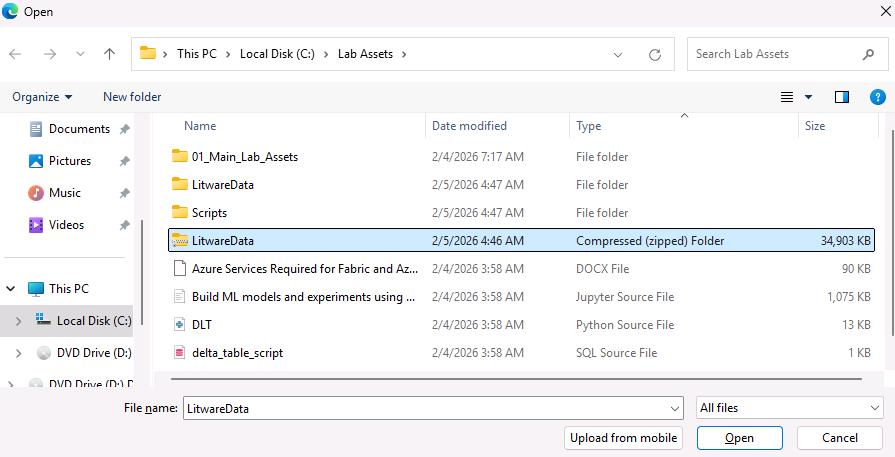
-
In the Upload files to a Volume in Unity Catalog dialog, select Upload.
-
Wait for the upload to complete.
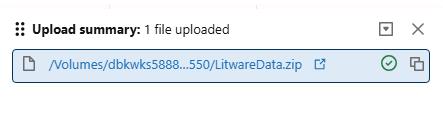
-
In the left pane, select + New and then select Notebook.
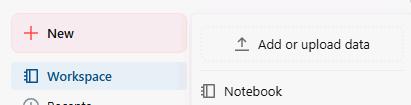
-
In the Name field at the top of the page, enter
ExtractFilesand then select the Enter key to save the change.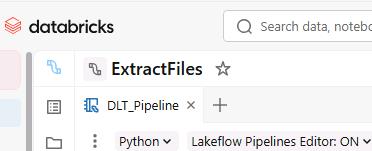
-
Paste the following code into the code cell in the notebook:
import zipfile import io # Create the volume if it doesn't exist spark.sql("""CREATE VOLUME IF NOT EXISTS dbkwks@lab.LabInstance.Id.schema@lab.LabInstance.Id.litware_data_extracted""") # Read zip file using Spark zip_path = "/Volumes/dbkwks@lab.LabInstance.Id/schema@lab.LabInstance.Id/Volume@lab.LabInstance.Id/LitwareData.zip" zip_binary = spark.read.format("binaryFile").load(zip_path).collect()[0] zip_bytes = zip_binary['content'] # Extract to Volume location extract_to = "/Volumes/dbkwks@lab.LabInstance.Id/schema@lab.LabInstance.Id/litware_data_extracted/" print("Extracting files to Volume...\n") with zipfile.ZipFile(io.BytesIO(zip_bytes)) as z: file_list = z.namelist() print(f"Found {len(file_list)} items in zip\n") for file_name in file_list: if not file_name.endswith('/'): # Skip directories file_content = z.read(file_name) target_path = f"{extract_to}{file_name}" # Write using dbutils.fs.put for text files, or create a single-row DataFrame for binary try: # Try as text first (for CSV, JSON, TXT files) text_content = file_content.decode('utf-8') dbutils.fs.put(target_path, text_content, overwrite=True) print(f"Extracted (text): {file_name}") except UnicodeDecodeError: # For binary files, write using Spark from pyspark.sql.types import BinaryType df = spark.createDataFrame([(file_content,)], ["content"]) df.coalesce(1).write.mode("overwrite").format("binaryFile").save(target_path + "_binary") print(f"Extracted (binary): {file_name}") print(f"\nExtraction complete! Files are in {extract_to}") -
On the command bar, select Run all.

- Wait for code execution to complete. This process takes 1-2 minutes.
04: Upload the pipeline script
-
In the left pane, select Workspace.
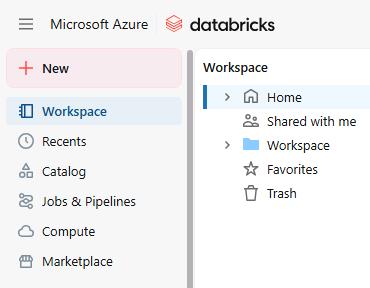
-
In the Workspace pane, select Workspace and then select Shared.
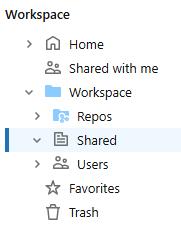
-
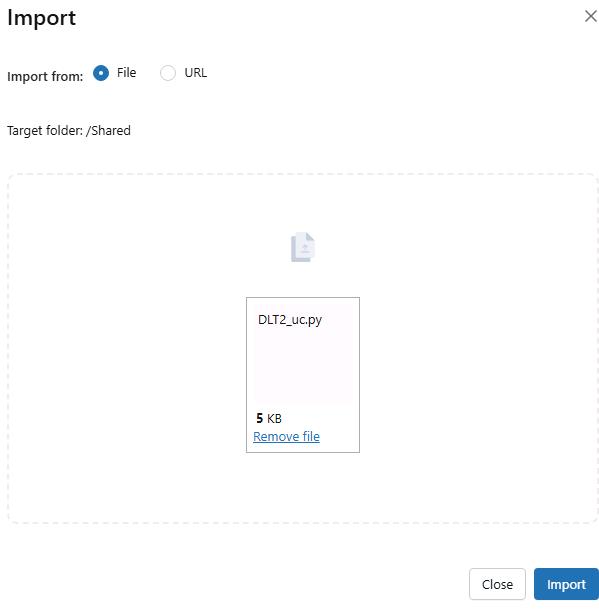
On the command bar, select the vertical ellipses (…) and then select Import.
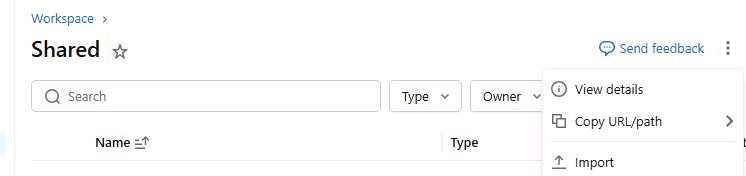
-
In the Import dialog, select browse.
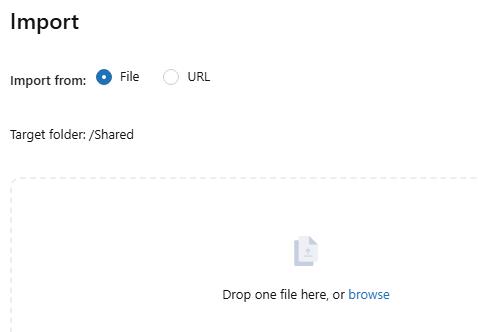
-
Go to C: \Lab Assets\Scripts. Select DLT2_py and then select Open.
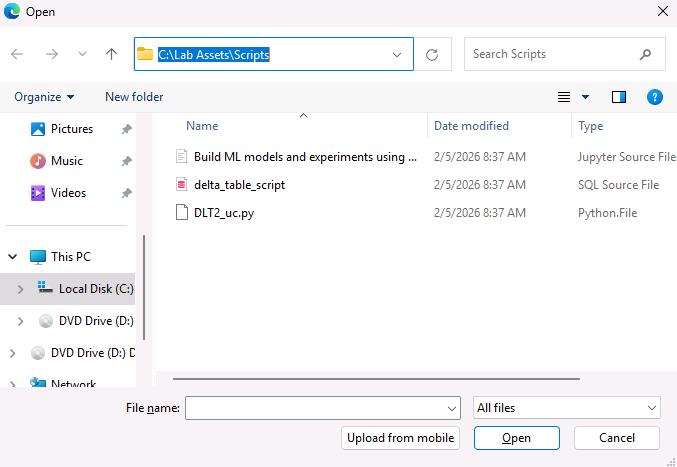
-
Select Import.
05: Set up and run the pipeline
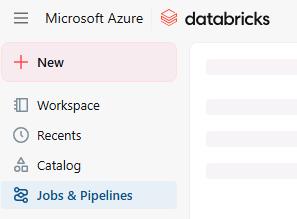
- In the left pane. select Jobs & Pipelines.
-
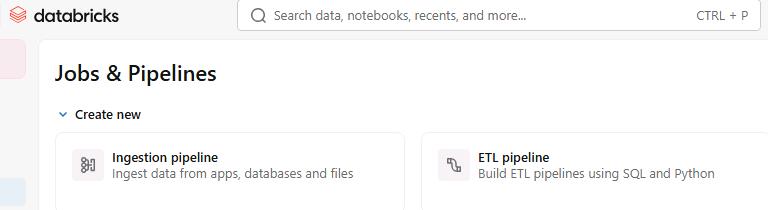
In the Create new section, select ETL pipeline.
-
In the Name field at the top of the page, enter
DLT_Pipelineand then select the Enter key to save the change.
-
Just below the name field, select the current catalog and then select dbkwks@lab.LabInstance.Id catalog.
-
Select the Schema@lab.LabInstance.Id schema.
You may see leftover schemas that have not yet been recycled. Be sure to select your schema (schemaschema@lab.LabInstance.Id).
-
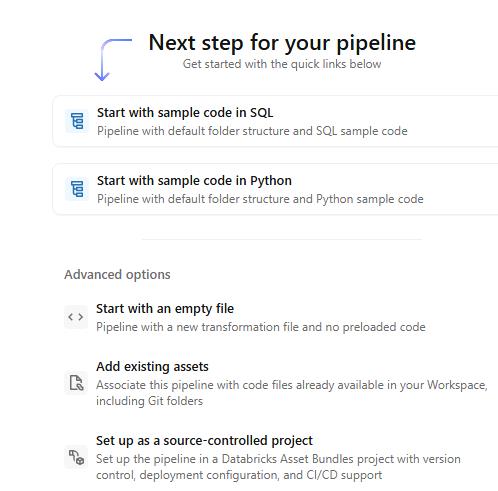
On the pipeline page, in the Advanced options section, select Add existing assets.
-
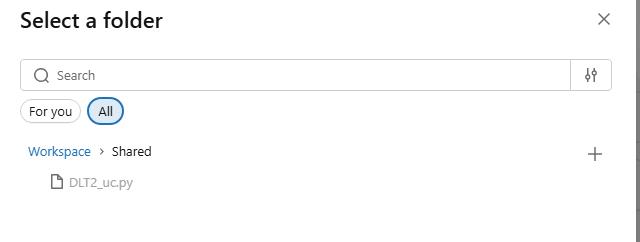
In the Pipeline root folder field, select /Workspace/Shared.
-
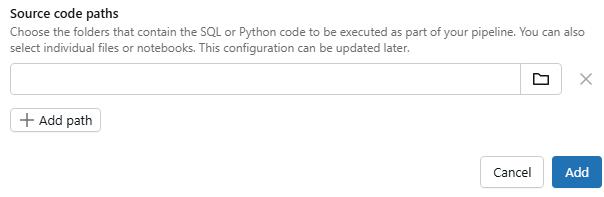
In the Source code paths field, select the folder icon.
-
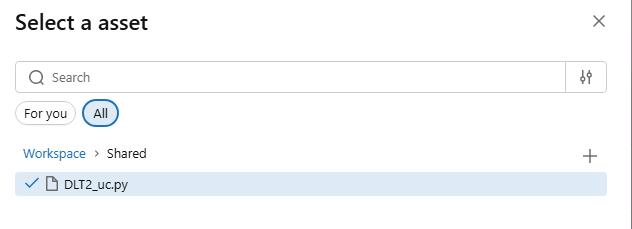
In the Select a asset dialog, select /Workspace/Shared and then select DLT2_uc.py.
-
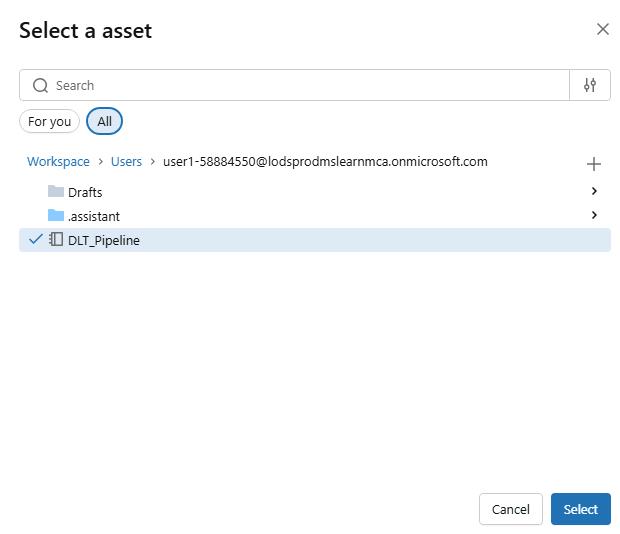
Select Select.
-
Select Add.
-
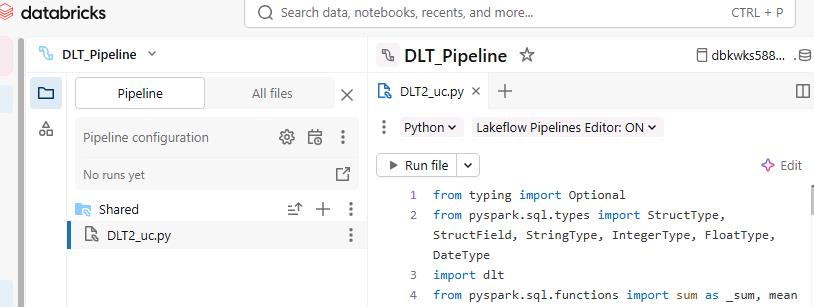
In the DLT_Pipeline pane, select DLT2_uc.py. The code will open in the center pane.
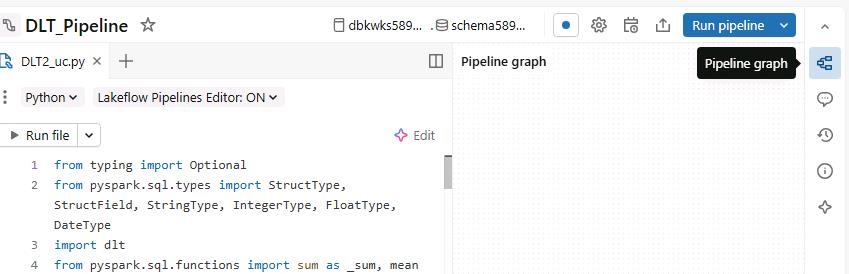
On the right command bar, select Pipeline graph. This will give you more room in the window to view code.
-
On the command bar for the code window, select Edit.

-
Locate the line of code that sets the value for VOLUME_BASE.
VOLUME_BASE = "/Volumes/dbkwks58884550/schema58884550/litware_data_extracted/LitwareData/"The code should resemble the code segment above and usually appears on or at line 9.
-
Replace the following values in the code with the new values in the table below. This updates the code to use your catalog and schema.
Original value New value dbkwks58884550 dbkwks@lab.LabInstance.Idschema58884550 schema@lab.LabInstance.Id -
On the command bar, select Settings (the gear icon).

-
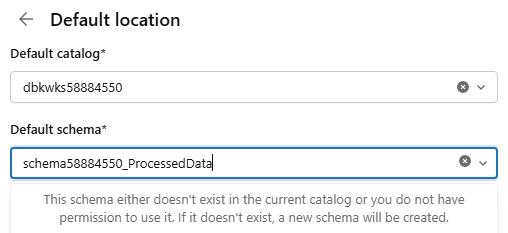
Move down to the Default location for data assets section and select Edit catalog and schema.
-
In the Default schema field, enter
schema@lab.LabInstance.Id_ProcessedDataand then select Save. -
Close the Pipeline settings pane.
-
On the command bar, select Run Pipeline.
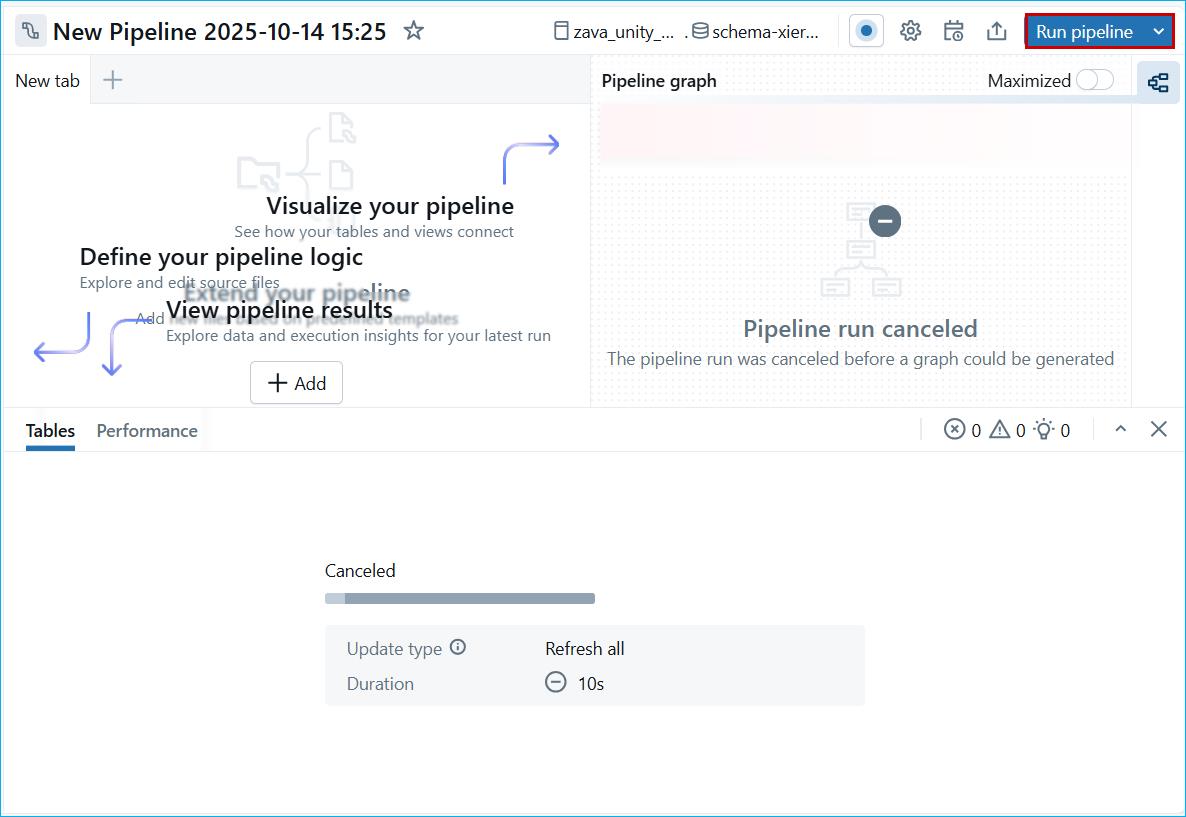
The pipeline can take 2-3 minutes to complete. While the code runs, continue with the remaining steps in this task.
06: Create additional tables
-
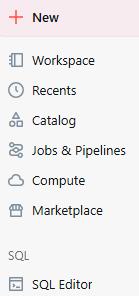
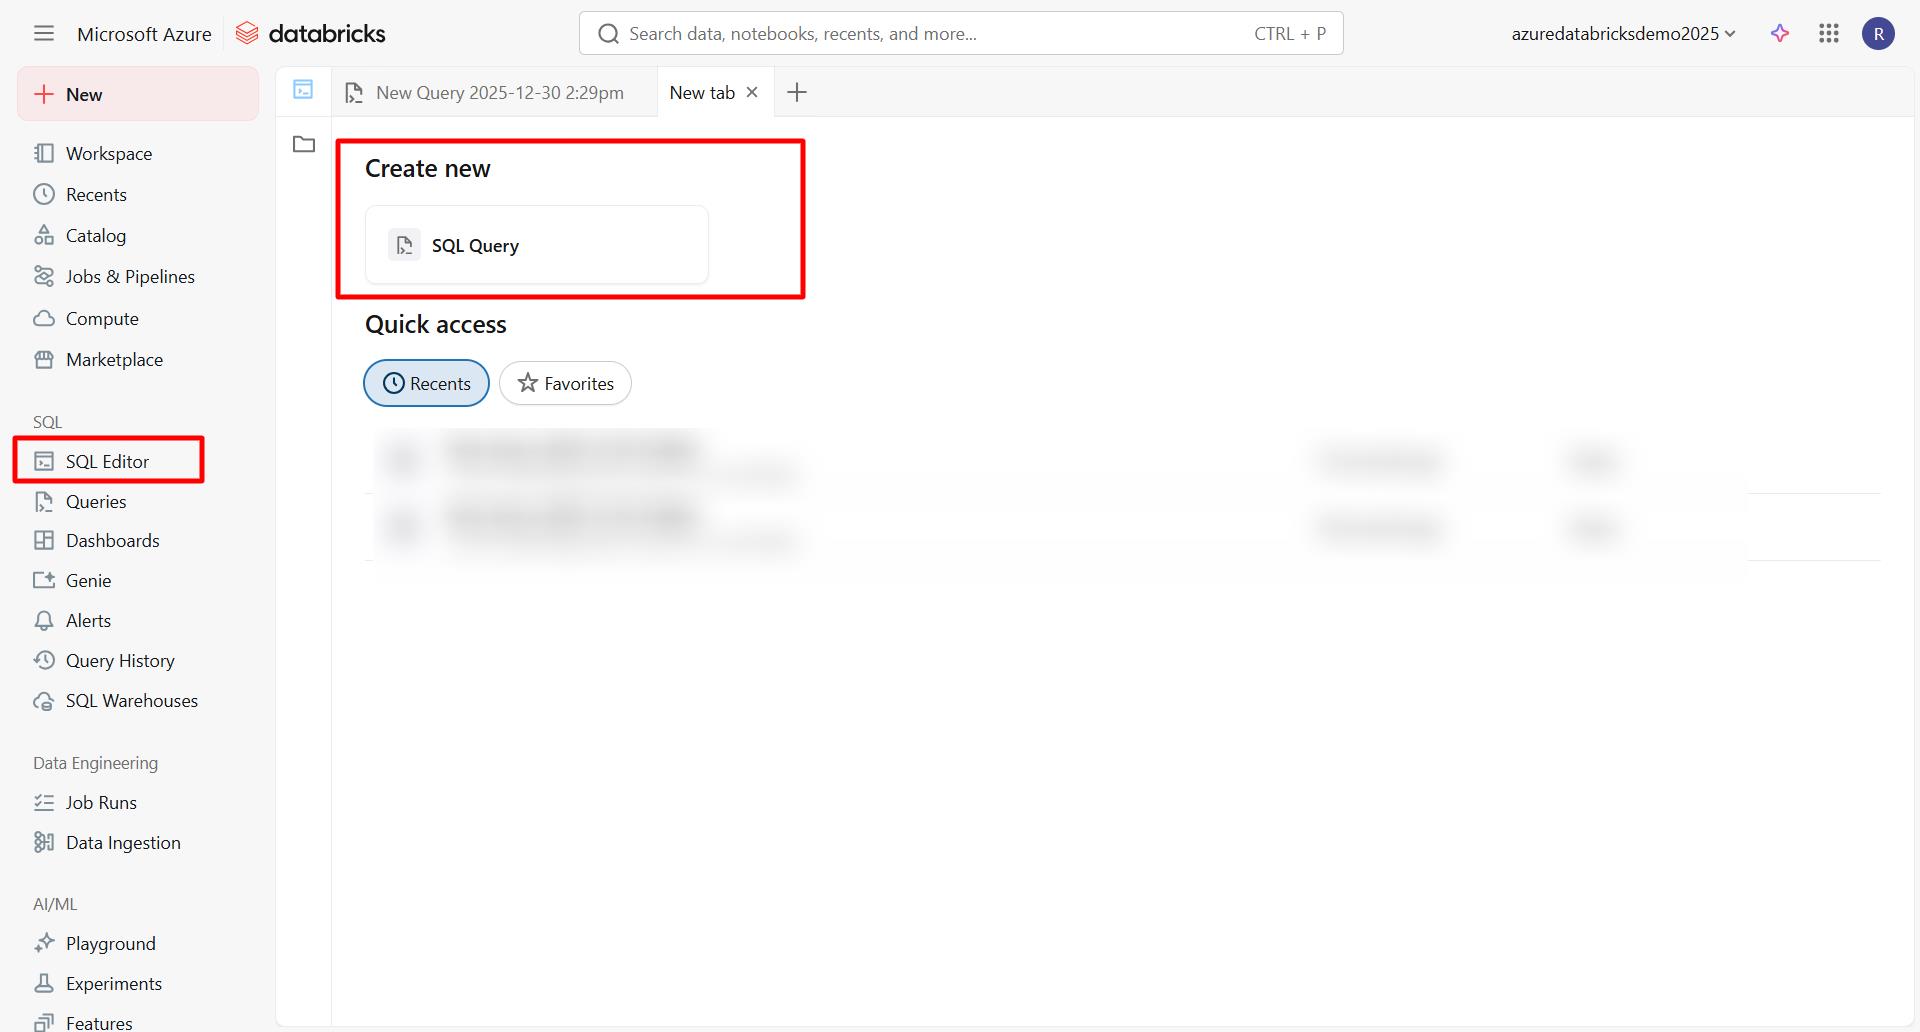
In the left pane, in the SQL group, select SQL Editor.
-
In the Create new section, select SQL Query.
-
Paste following SQL script into the query window:
Use catalog dbkwks@lab.LabInstance.Id; Use schema schema@lab.LabInstance.Id_processeddata; -- Drop existing tables if they exist (optional - remove if you want to preserve existing data) DROP TABLE IF EXISTS top_loss_making_campaign; DROP TABLE IF EXISTS country_wise_revenue_campaign; -- Create managed Delta table for top loss making campaigns CREATE TABLE top_loss_making_campaign USING DELTA COMMENT 'Managed Delta table for top loss-making campaigns' TBLPROPERTIES ('quality' = 'gold', 'delta.autoOptimize.optimizeWrite' = 'true', 'delta.autoOptimize.autoCompact' = 'true') AS SELECT * FROM gold_top_loss_making_campaign; -- Create managed Delta table for country-wise revenue campaign CREATE TABLE country_wise_revenue_campaign USING DELTA COMMENT 'Managed Delta table for aggregated campaign data by country' TBLPROPERTIES ('quality' = 'gold', 'delta.autoOptimize.optimizeWrite' = 'true', 'delta.autoOptimize.autoCompact' = 'true') AS SELECT * FROM gold_country_wise_revenue; -
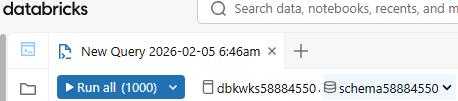
In the query window, on the command bar, select the dbkwks@lab.LabInstance.Id catalog and the Schema@lab.LabInstance.Id_processeddata schema.
-
Select Run all.

-
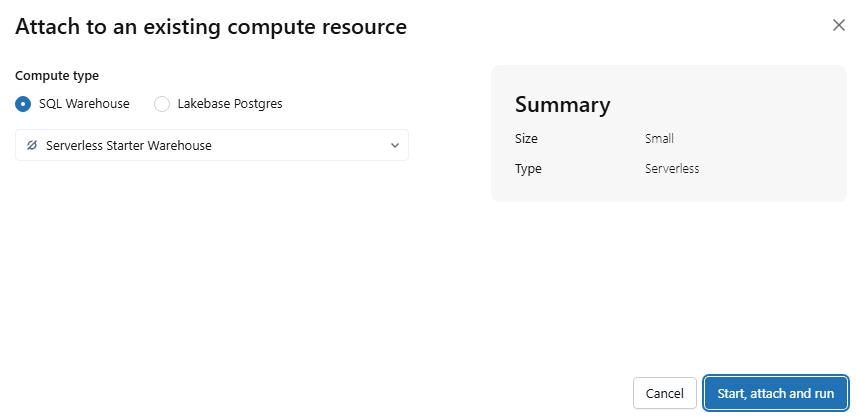
[]On the confirmation page, select Start, attach, and run.