Task 02 - Create on-premises resources
Introduction
Tailspin Toys is embarking on a comprehensive modernization effort, moving critical workloads from their on‑premises datacenter into Azure while continuing to manage selected services through Azure Arc. To prepare for this journey, you’ll first create a simulated on‑premises environment in Azure. This environment represents the starting point for the four exercises in the lab:
- Lab 1: Migrate a SQL Server database to Azure SQL Managed Instance using MI‑Link, with high availability and disaster recovery enabled.
- Lab 2: Migrate a containerized web application to Azure Kubernetes Service.
- Lab 3: Enable Extended Security Updates (ESU) for Windows Server and SQL Server instances through Azure Arc.
- Lab 4: Apply security controls to protect workloads and ensure compliance.
By deploying the simulated on‑premises environment now, you’ll have a realistic foundation to practice each of these migration and management scenarios in the exercises that follow.
Description
In this task, you will use a custom Azure Resource Manager (ARM) template to provision the baseline infrastructure. This template creates both the supporting Azure resources and the simulated on‑premises environment from which Tailspin Toys will migrate.
The key activities are:
- Retrieve your user information from Entra ID to parameterize the deployment.
- Deploy the ARM Template into your Azure subscription.
- Verify that all resources have been successfully created and are ready for use in later tasks.
Success Criteria
- You have obtained the required Entra ID information to customize the deployment.
- The ARM template has been deployed without errors.
- All simulated on‑premises resources are visible in the Azure portal and ready for subsequent migration steps.
Step-by-Step Instructions
Check available quota
Before creating a resource group or deploying Azure resources, you will run a PowerShell script to check the regions in which your subscription has available quota to support the lab resources.
-
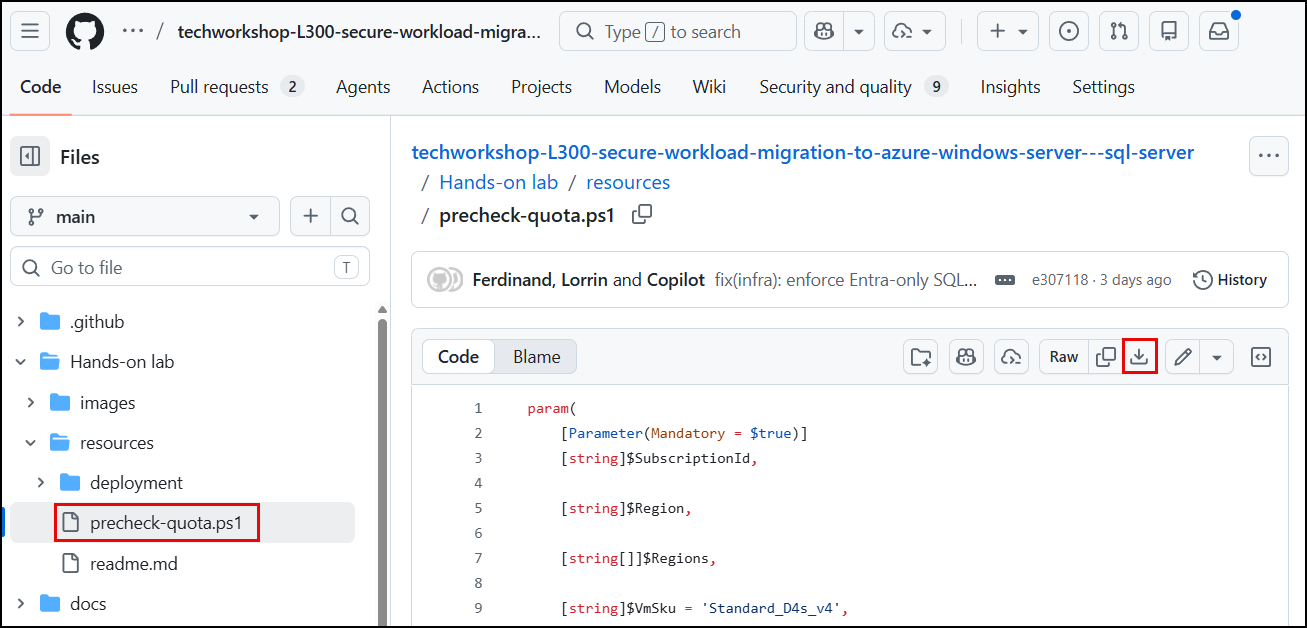
Navigate to the precheck-quota.ps1 script file in the GitHub repo and select the Download raw file button to download a copy of the file.
-
On your local machine, open a PowerShell terminal, or alternatively, launch a new PowerShell terminal in Visual Studio Code.
-
At the terminal prompt, change directories to the location where you downloade the
precheck-quota.ps1script file. -
Execute the following command to check your available quota in a default set of regions (
centralus,eastus2,francecentral,northcentralus,swedencentral,westus,westus3):.\precheck-quota.ps1 -Parallel -ThrottleLimit 2To target a different region or regions, you can use the
-RegionorRegionsarguments:.\precheck-quota.ps1 -Regions [canadacentral,canadaeast]Note: You may need to run
az loginto log into Azure and provide your subscription details to the script before executing the above commands. -
Review the output and the “Deployable region(s) list”.
 Region         VM Quota                 MI vCores                MI Subnets               Deployable
 ------         --------                 ---------                ----------               ----------
 centralus      OK (65 avail / 65 limit) FAIL (0 avail / 0 limit) FAIL (0 avail / 0 limit) NO
 eastus2        OK (65 avail / 65 limit) FAIL (0 avail / 0 limit) FAIL (0 avail / 0 limit) NO
 francecentral  OK (65 avail / 65 limit) FAIL (0 avail / 0 limit) FAIL (0 avail / 0 limit) NO
 northcentralus OK (65 avail / 65 limit) OK (48 avail / 48 limit) OK (10 avail / 10 limit) YES
 swedencentral  OK (65 avail / 65 limit) OK (16 avail / 16 limit) OK (1 avail / 1 limit)   YES
 westus         OK (65 avail / 65 limit) FAIL (0 avail / 0 limit) OK (10 avail / 10 limit) NO
 westus3        OK (65 avail / 65 limit) FAIL (0 avail / 0 limit) FAIL (0 avail / 0 limit) NO

 Deployable region(s): northcentralus, swedencentral
Create a resource group
-
Navigate to the Azure portal.
-
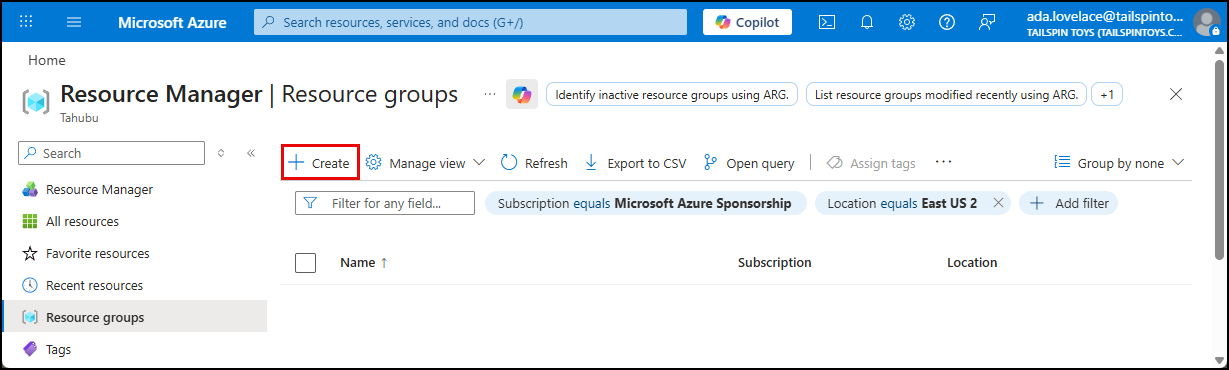
Under Azure services select Resource groups.

-
On the Resource groups blade, select Create.
-
On the Create a resource group Basics tab:
- Subscription: Select the subscription you are using for the lab.
- Resource group name: Enter a name, such as
rg-tailspin. -
Region: Select one of the deployable regions from the output of the
precheck-quota.ps1script.IMPORTANT: Running the
precheck-quota.ps1PowerShell script in the previous task checks the available quota by region in your subscription.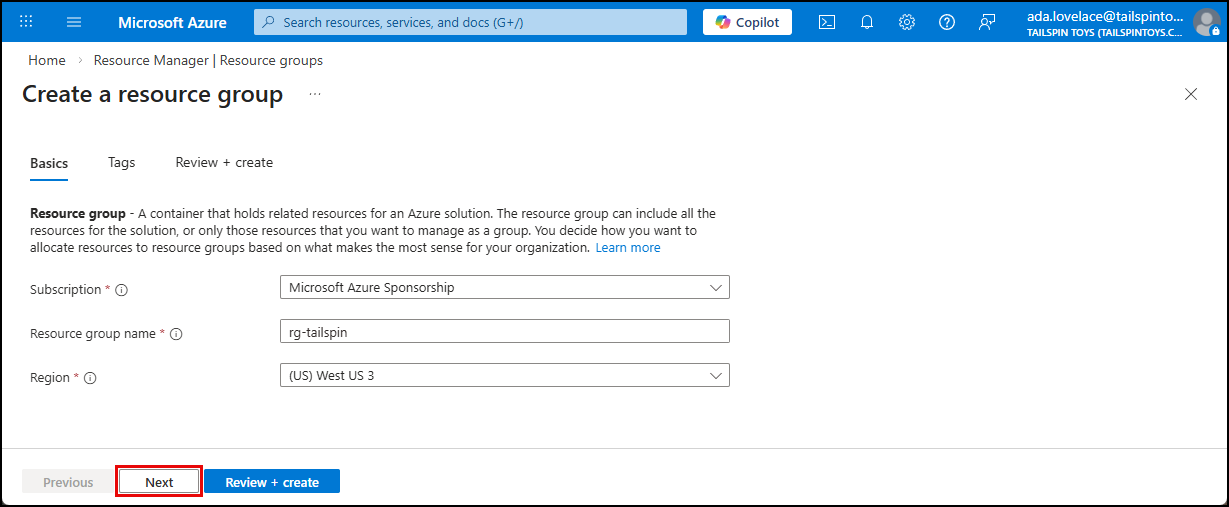
-
Select Next to go to the Tags tab.
-
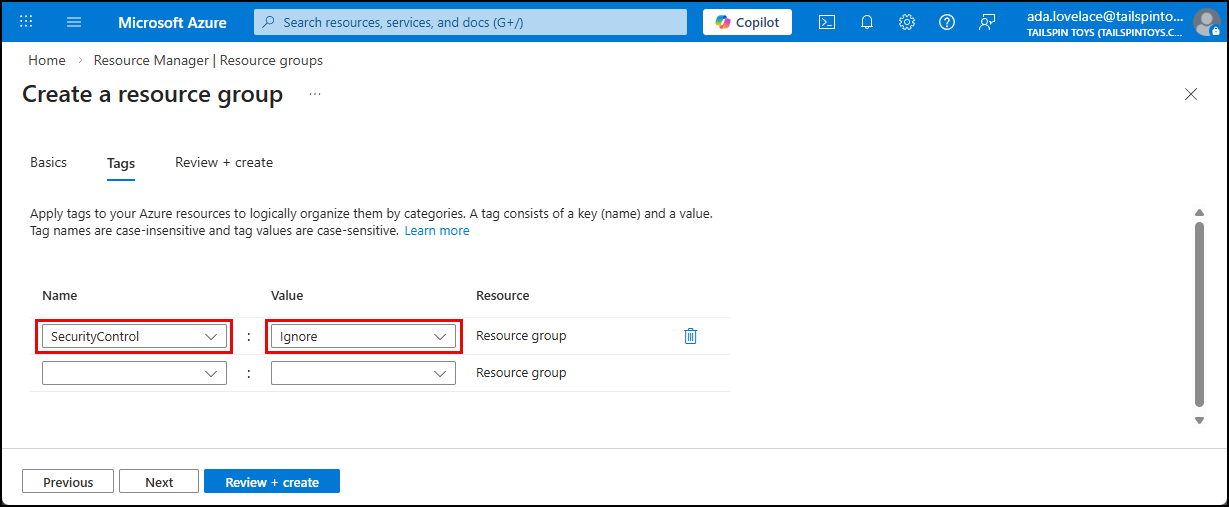
On the Tags tab, enter the following tag to allow temporarily bypassing some security policy settings for 14 days:
- Name:
SecurityControl - Value:
Ignore
- Name:
-
Select Review + create, then select Create to deploy the resource group.
Deploy Azure resources
-
Open a browser and navigate to the Lab Deployment Scripts readme file in the GitHub repository.
If you’re deploying to Azure Gov, open a browser with your corporate account profile loaded in it.
-
Select Deploy to Azure button on the Lab Deployment Scripts page to launch a custom deployment blade in the Azure portal.
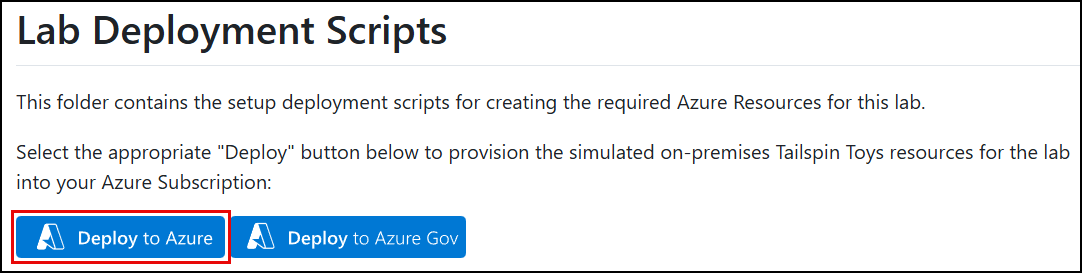
If you’re deploying to Azure Gov, select the Deploy to Azure Gov button.
-
If prompted, sign in with an account that is an owner of the Azure Subscription.
-
From the Custom deployment page in the Azure portal, select the Cloud Shell icon from the top bar of the Azure portal to open a cloud shell panel at the bottom of the browser window.

-
At the Cloud Shell prompt, run the following Azure CLI command to retrieve your Entra ID information:
az ad signed-in-user show --query "{id:id, upn:userPrincipalName}" -o jsonCopy the
idandupnvalues from the JSON output. Leave the cloud shell panel open, as you will paste these values into the template parameters in the next step.
IMPORTANT: The ARM Template uses this Entra ID account as the administrator for the SQL Managed Instance. It must be an Entra ID user, not a personal Microsoft account.
To look up an alternative user, run the following command, replacing the
<azure-login>placeholder with the user’s email login. (e.g.,user@domain.onmicrosoft.com)az ad user show --id <azure-login> -
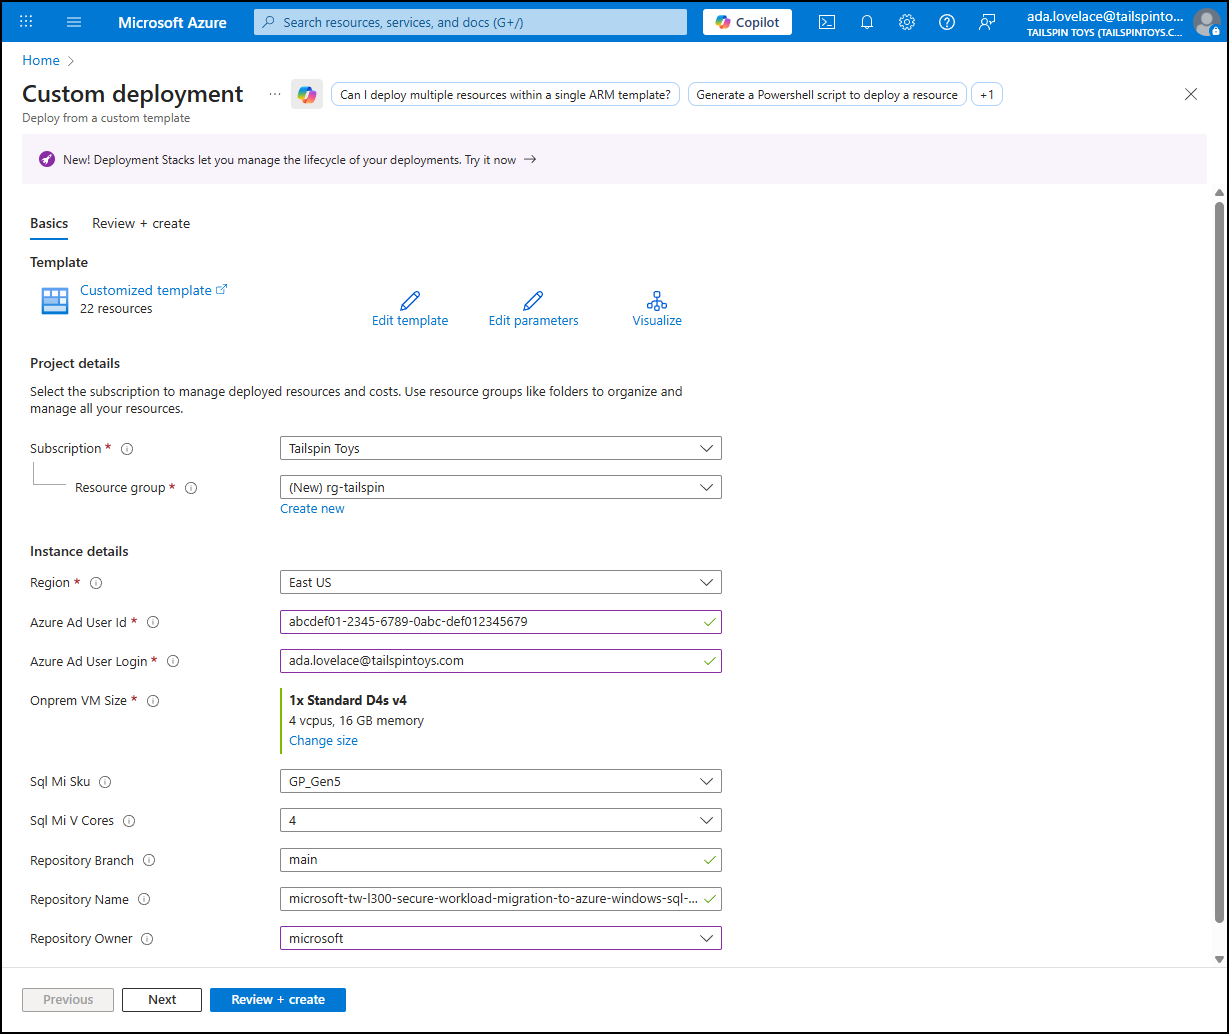
On the Custom deployment page, enter values for the required ARM template parameters.
- Subscription: Ensure the correct Azure Subscription is selected.
- Resource group: Select the resource group you created above.
- Region: Verify the selected region is the same location you used when creating your lab resource group.
- Azure Ad User Id: Paste the
idvalue from the Cloud Shell. - Azure Ad User Login: Paste the
upnvalue from the Cloud Shell. - Onprem VM Size: Select Change size and choose a VM size with available quota.
- Sql Mi Sku: Select
GP_Gen5(General Purpose - Gen 5). - Sql Mi V Cores: Select
4. - Use Entra Only Authentication: Select
true. - Sql Mi Admin Login: Clear this value (Entra ID authentication will be used).
- Sql Mi Admin Password: Leave this blank (Entra ID authentication will be used).
- Create Sql Mi Role Assignment: Select
true. -
Accept the default values for the Repository settings and select Review + create to continue to the next tab.
-
On the Review + create tab, review the terms and conditions and select Create.
On average, the custom deployment takes 20 minutes to complete. Monitor its progress via the Azure portal to ensure there are no problems.
NOTE: While automation can make things simpler and repeatable, sometimes it can fail. If at any time during the ARM template deployment there is a failure, review the failure, delete the resource group, create a new resource group with a different name, and try the ARM template again, adjusting for errors.
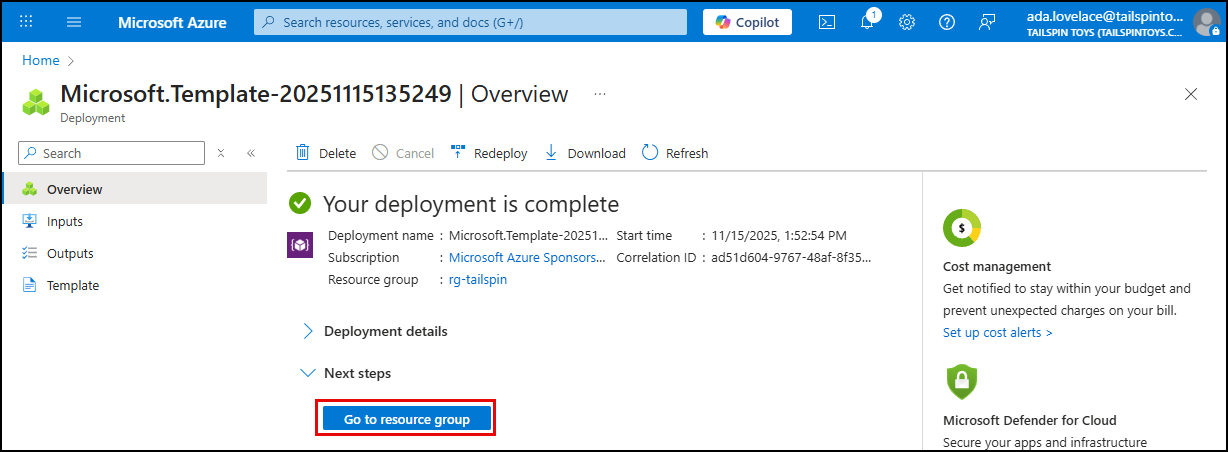
-
Once the deployment completes, select Go to resource group to view the deployed resources. Verify that the SQL VM, networking, and SQL Managed Instance are present.