Task 01: Validate environment and add Microsoft Sentinel
Introduction
Before onboarding Microsoft Sentinel, verify that your core environment and resources created in Exercise 0 are active and properly configured. Then, add Microsoft Sentinel to the existing Log Analytics workspace.
Description
In this task, you’ll confirm the existence of the resource group, workspace, and virtual machine; verify onboarding to Microsoft Defender for Endpoint (MDE); and then attach Microsoft Sentinel to your Log Analytics workspace.
Success criteria
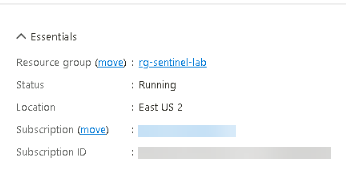
- Resource group rg-sentinel-lab exists in Azure.
- Log Analytics workspace law-sentinel-xdr-lab is active in East US 2.
- VM vm-sentinel-lab appears under Defender for Endpoint > Devices.
- Microsoft Sentinel is successfully added to the workspace.
Key steps:
-
Verify that your core environment and resources created in Exercise 0 are active and properly configured.
Expand here for detailed steps
-
From the Azure Portal, search for and select
Resource Groups. -
Confirm that the rg-sentinel-lab resource group exists.
-
Open the resource group and ensure law-sentinel-xdr-lab is present and in the East US 2 region.
-
Select the Windows VM and confirm it’s deployed and running.
-
-
Verify Azure VM onboarding to Defender XDR.
Expand here for detailed steps
- Open a new browser tab and go to
https://security.microsoft.com. - In the left menu, select Assets > Devices.
- Confirm that your Azure VM (vm-sentinel-lab) appears in the list.
If Devices isn’t visible in the menu, go to https://security.microsoft.com/machines.
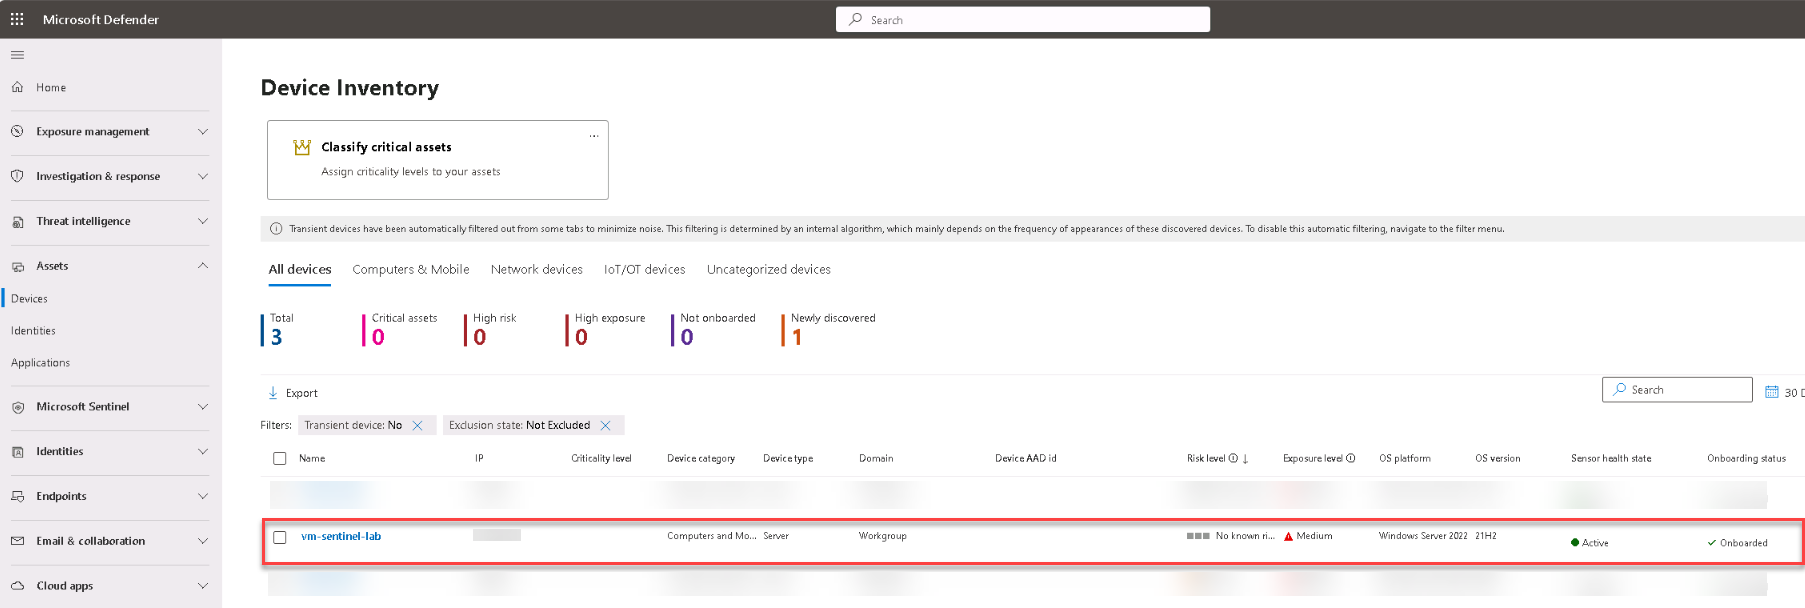
Seeing the VM in the Defender portal confirms successful onboarding through Defender for Cloud.
If the VM doesn’t appear immediately, allow several minutes for data to propagate from Defender for Cloud to Defender for Endpoint.
If the VM is not onboarded into MDE after 20-30 minutes, restart the VM.
- Open a new browser tab and go to
-
Add Microsoft Sentinel to the workspace.
Expand here for detailed steps
- In the Azure portal, search for and select
Microsoft Sentinel. - On the Microsoft Sentinel page, select + Create.
- On the Add Microsoft Sentinel to a workspace page, select your existing workspace law-sentinel-xdr-lab from the list.
- Select Add.
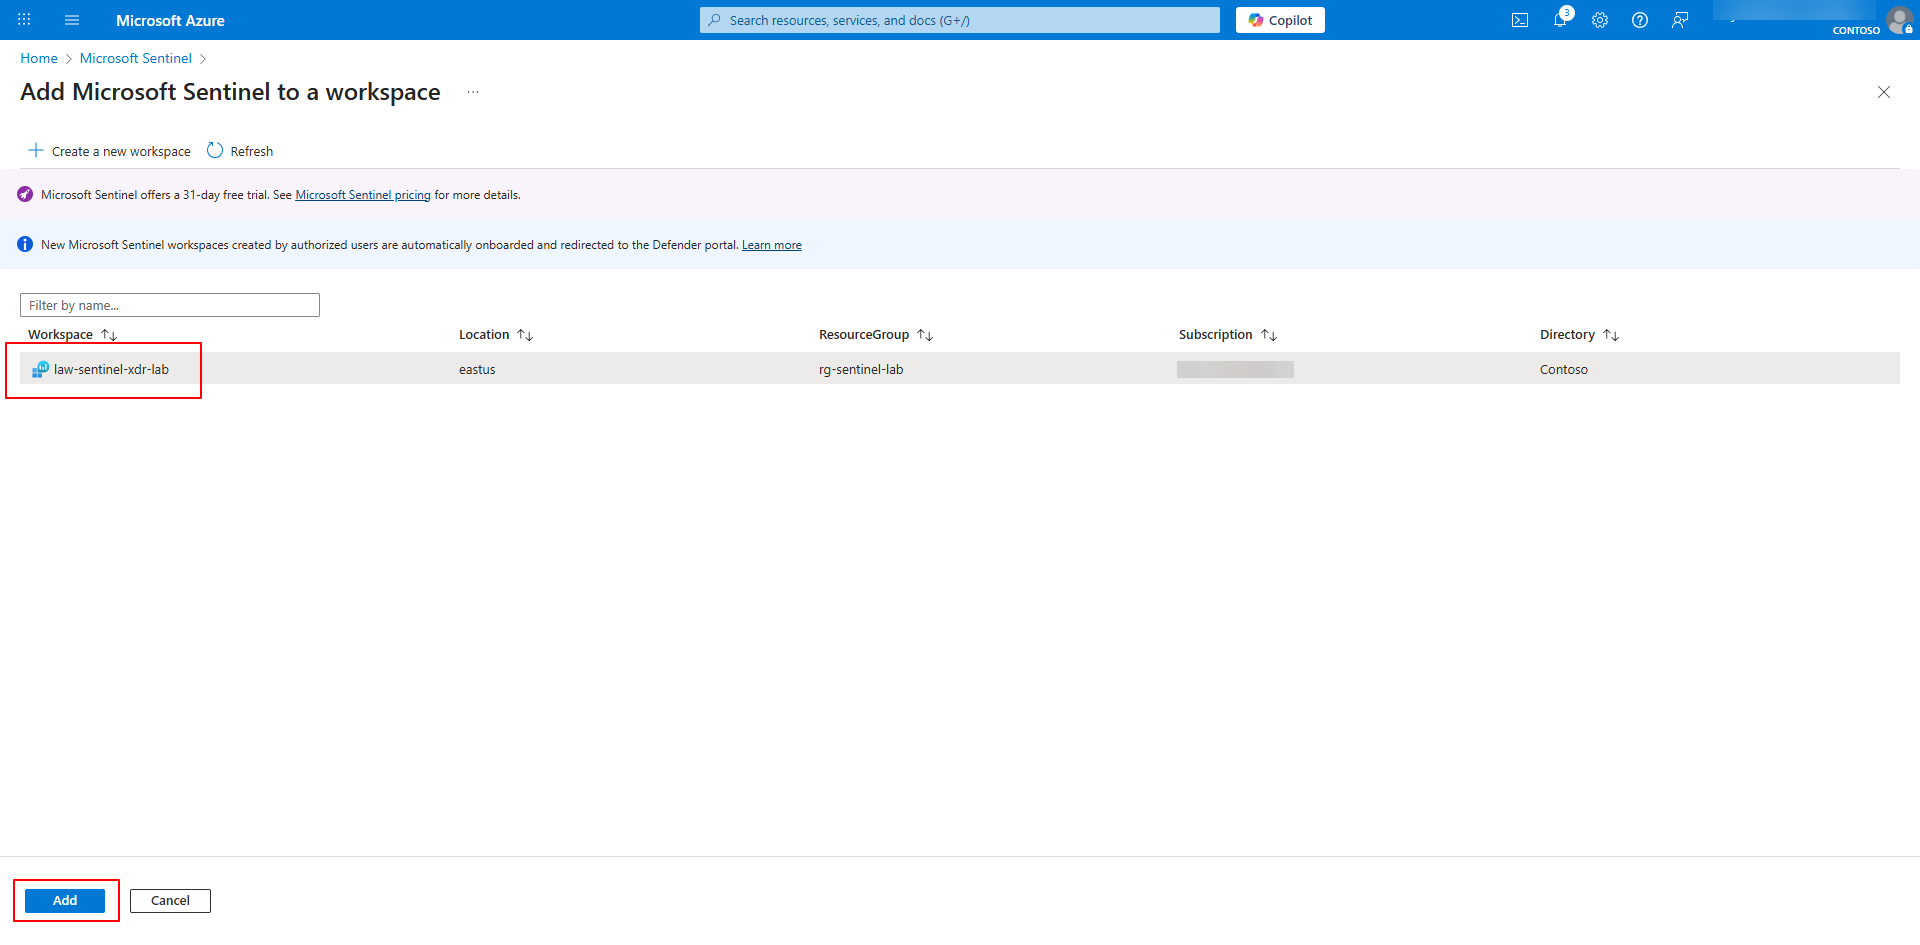
Once Sentinel is active, it can receive alerts, incidents, and threat intelligence directly from Defender XDR.
- In the Azure portal, search for and select
-
Configure Windows Security Event Collection using Sentinel AMA Connector (Content Hub).
Expand here for detailed steps
-
Open a new browser tab, and go to
https://security.microsoft.com/.If necessary, sign in.
- On the left menu, select Microsoft Sentinel > Content Management > Content hub.
-
In the search box, search for and select
Windows security events.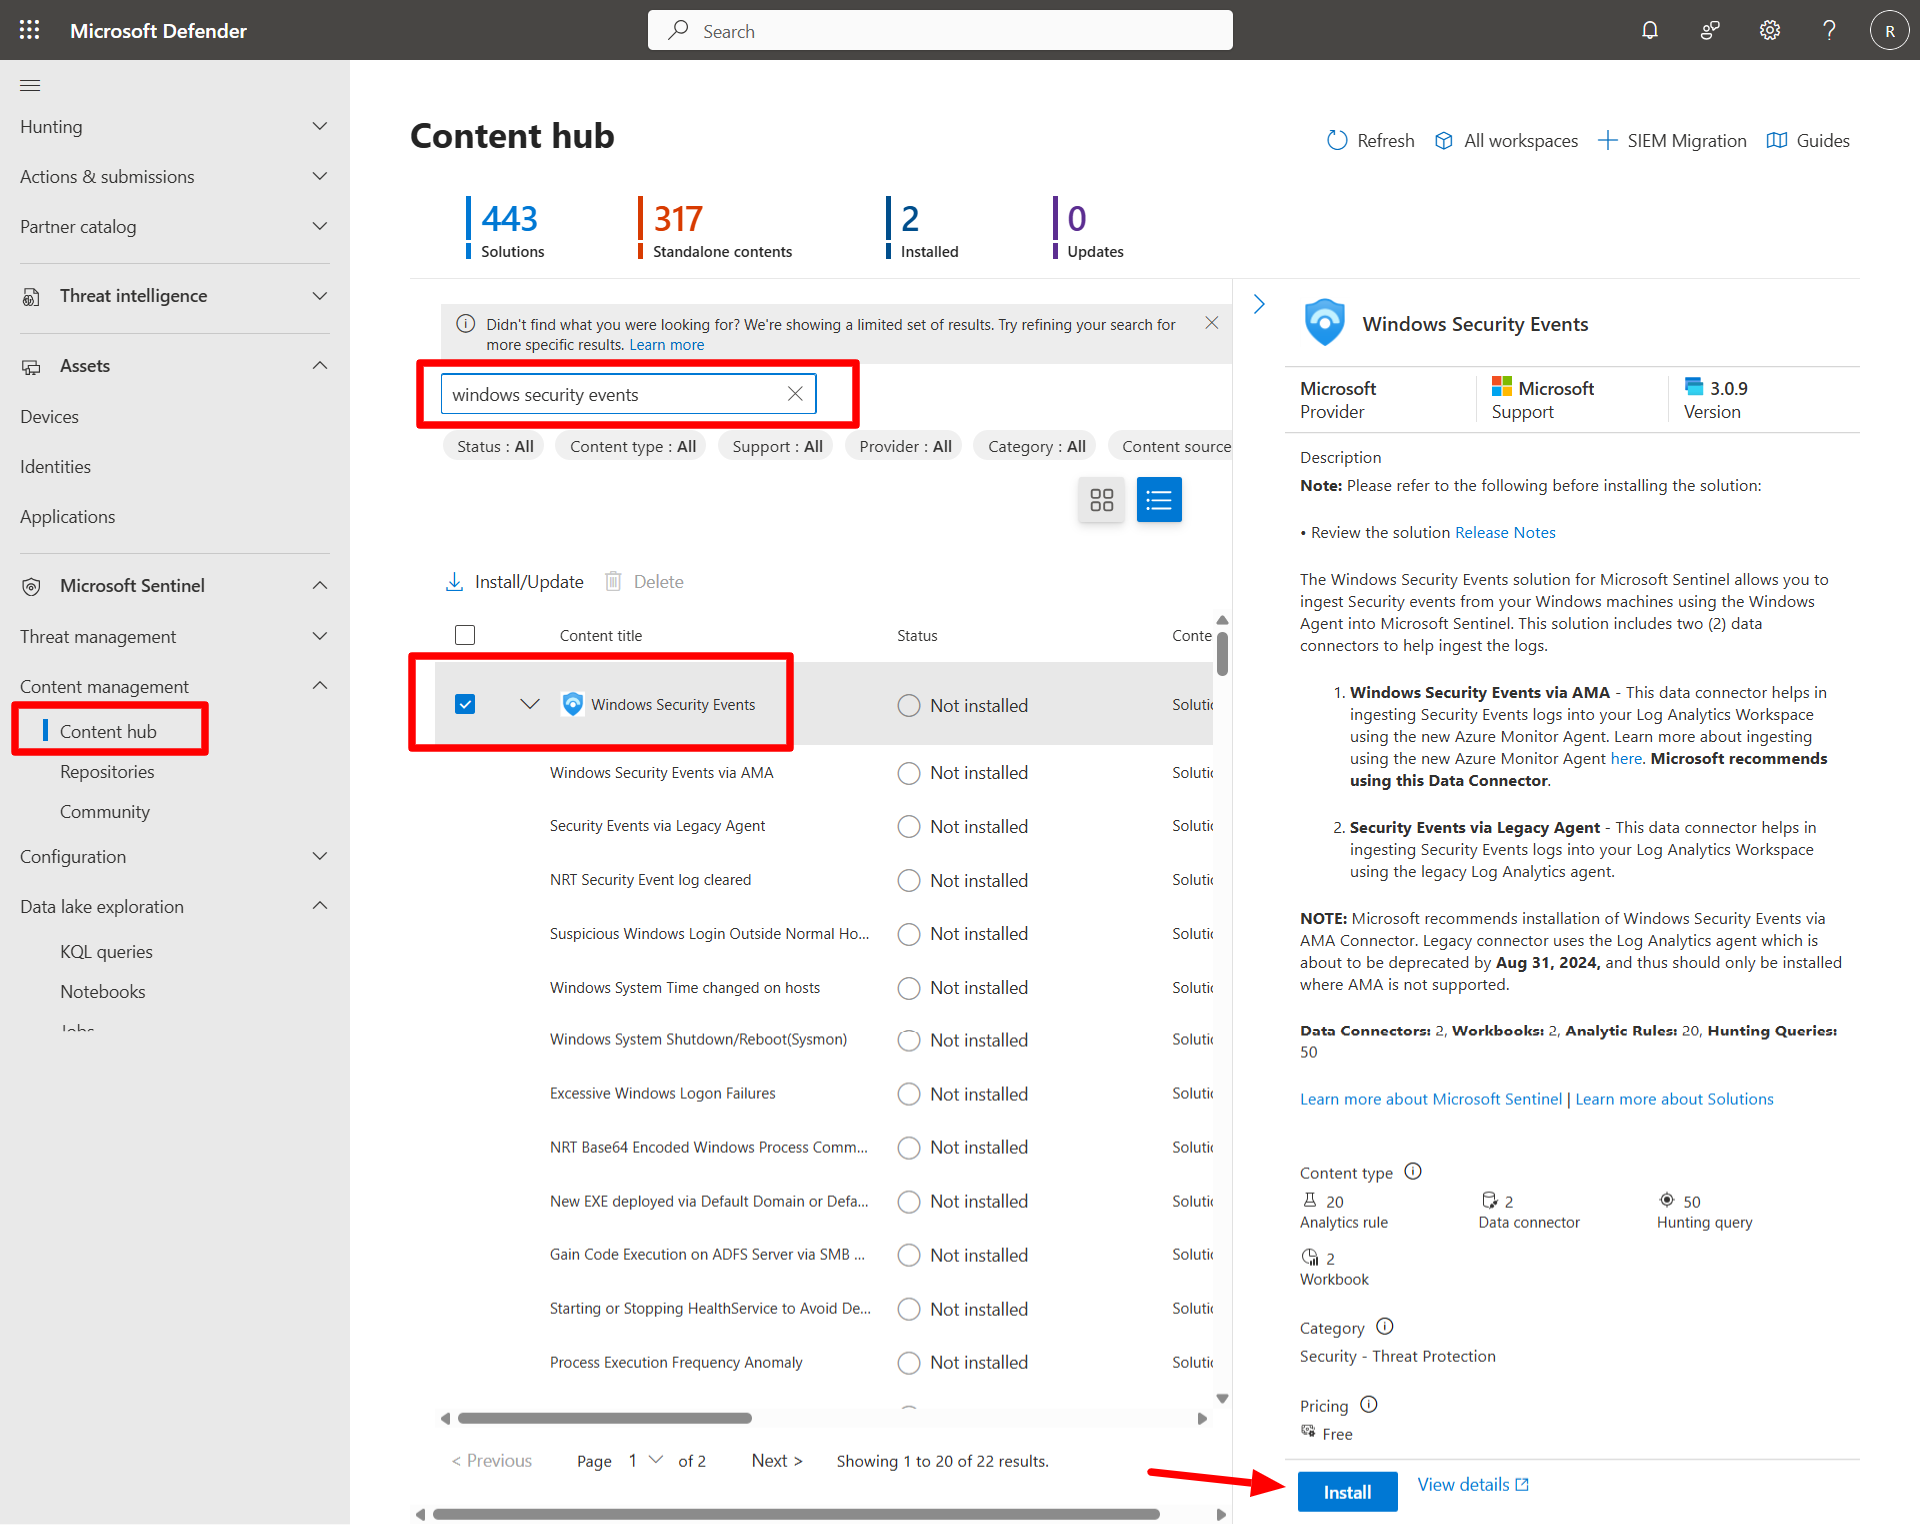
- Select Install.
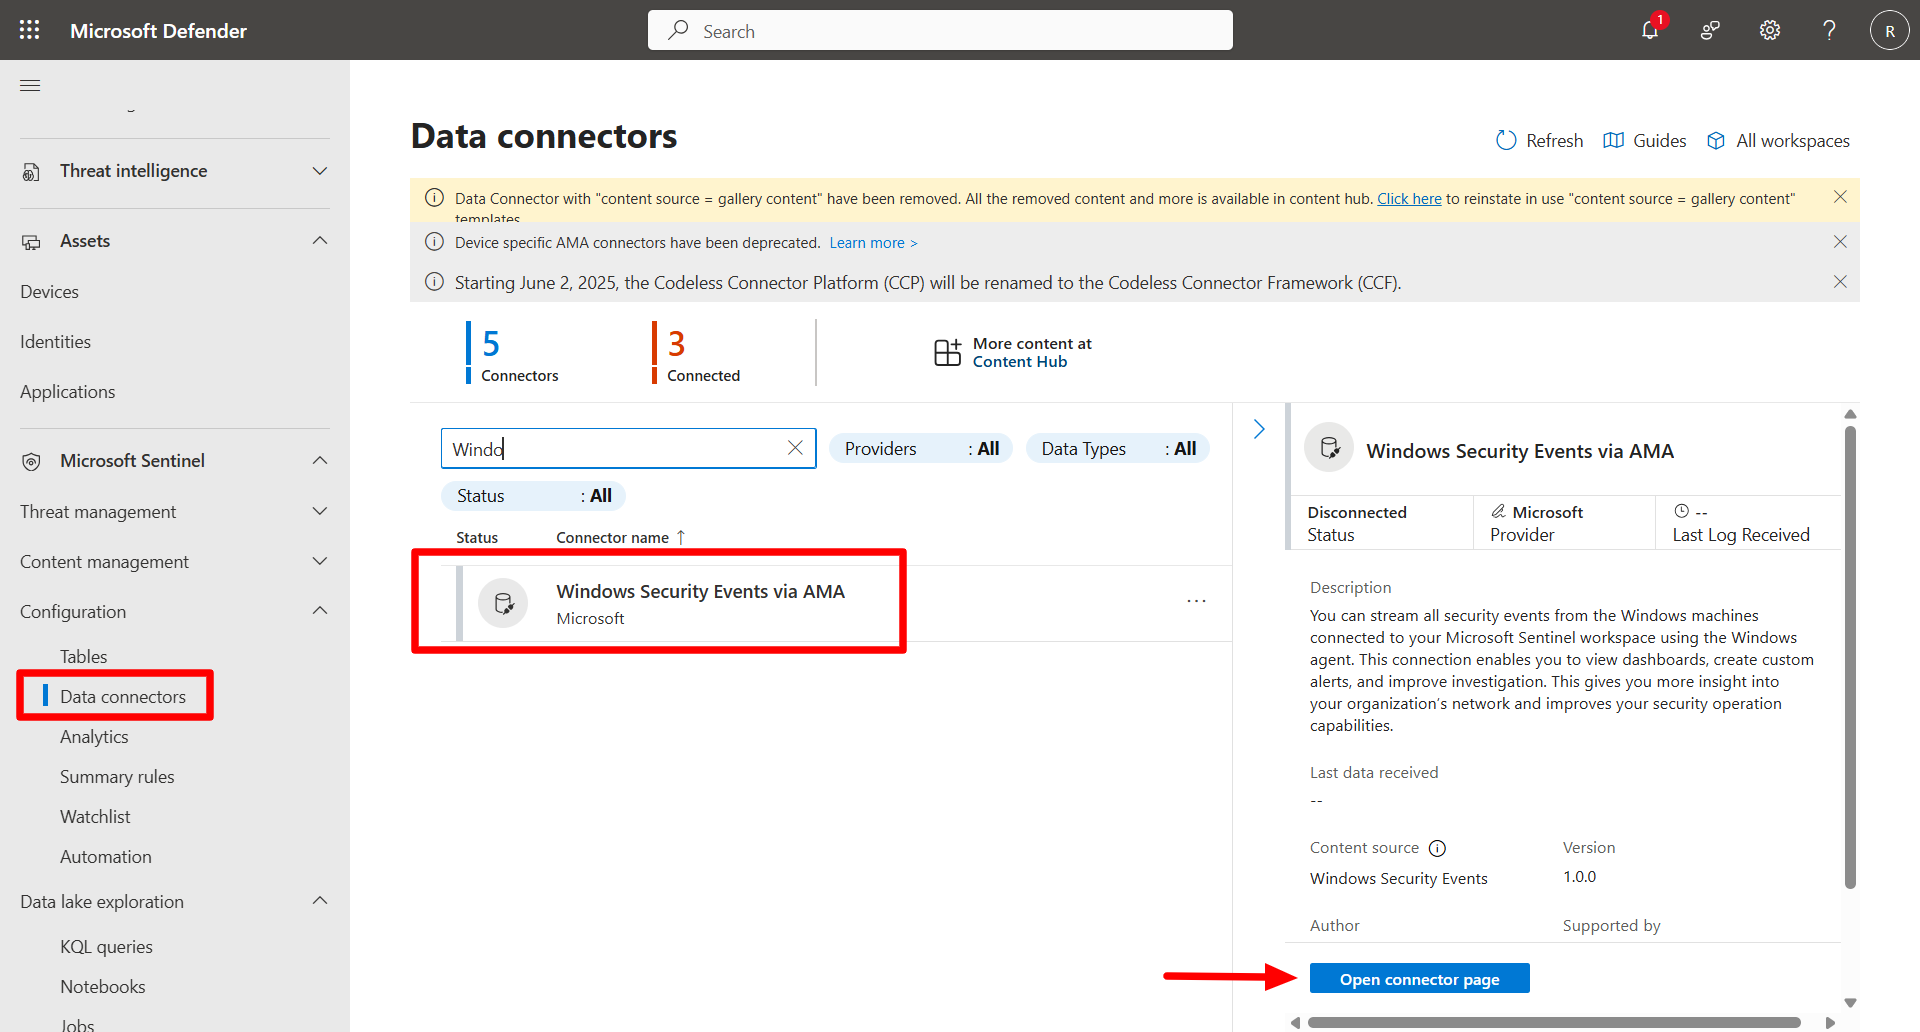
- Once the install completes, go to Data Connectors.
- Select Windows Security Events via AMA.
-
Select Open Connector page.
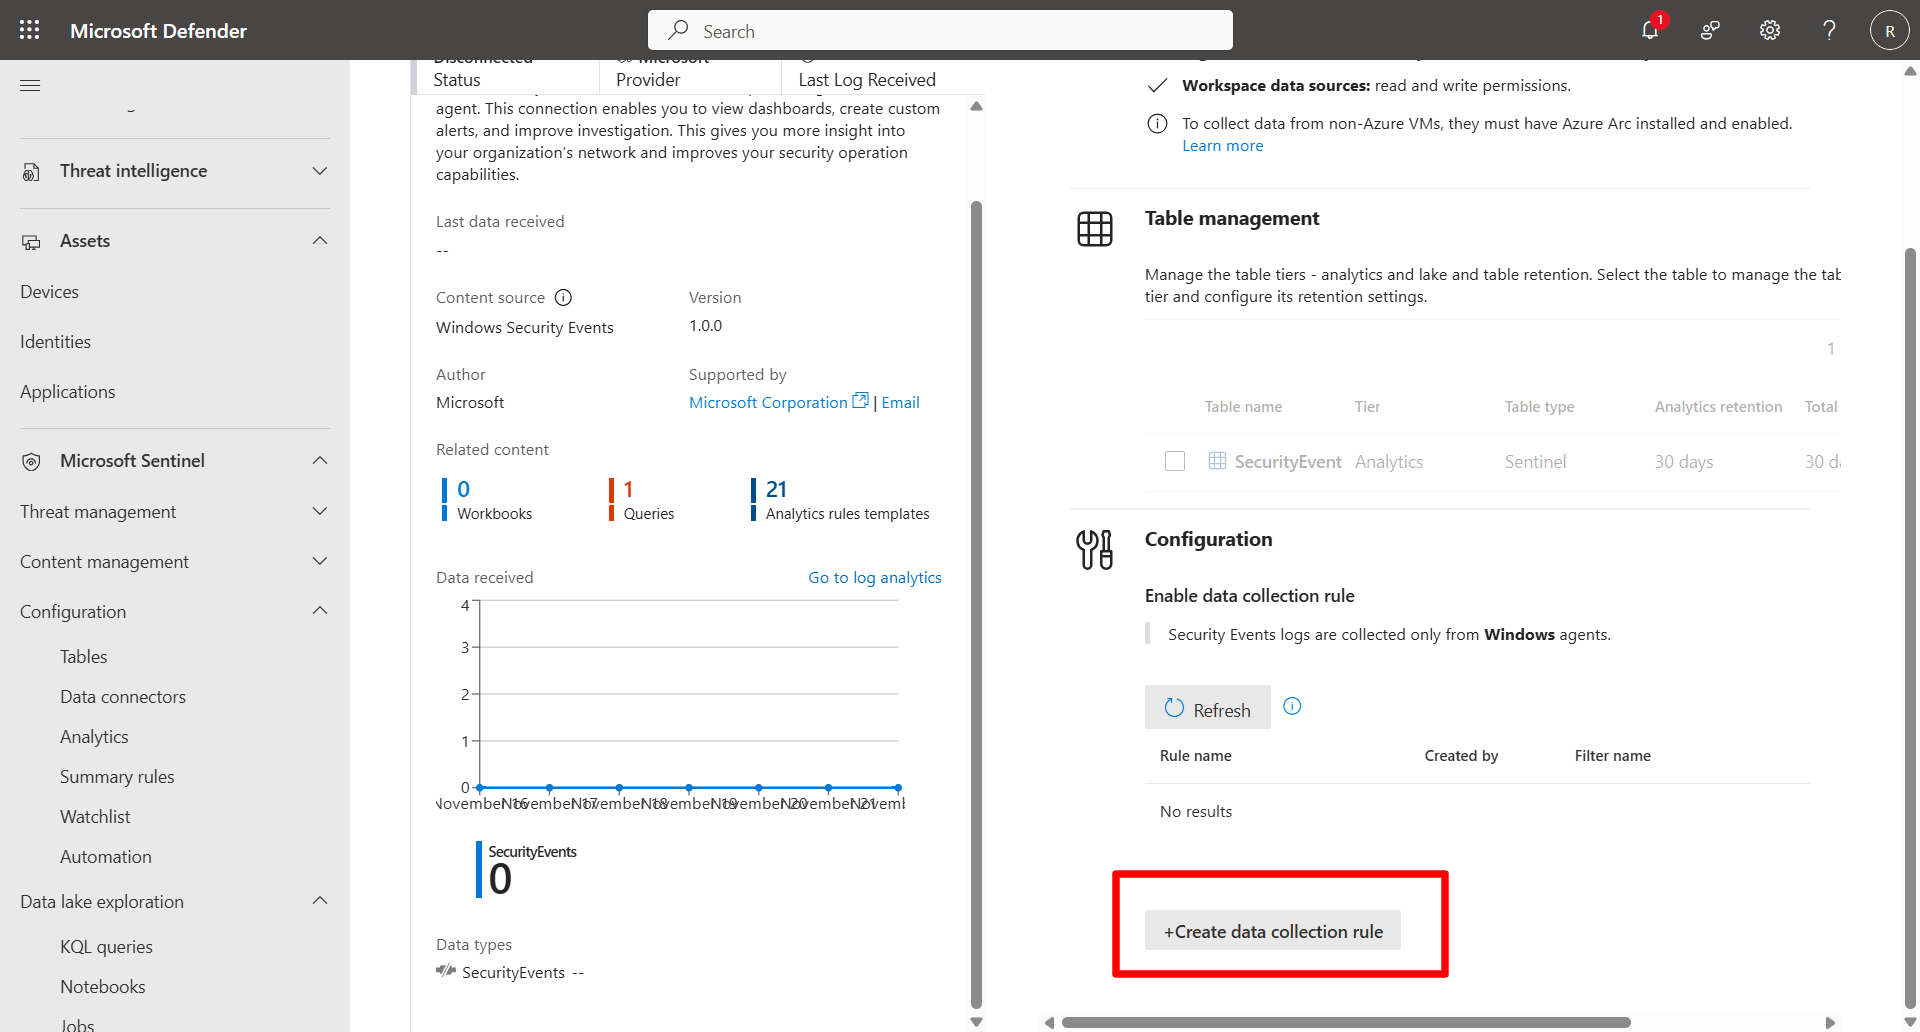
-
Select Create data collection rule.
-
In the wizard, on the Basic page, enter the following and select Next: Resources >.
Item Value Rule name DCR-SecurityEventsSubscription Choose your subscription Resource group rg-sentinel-lab 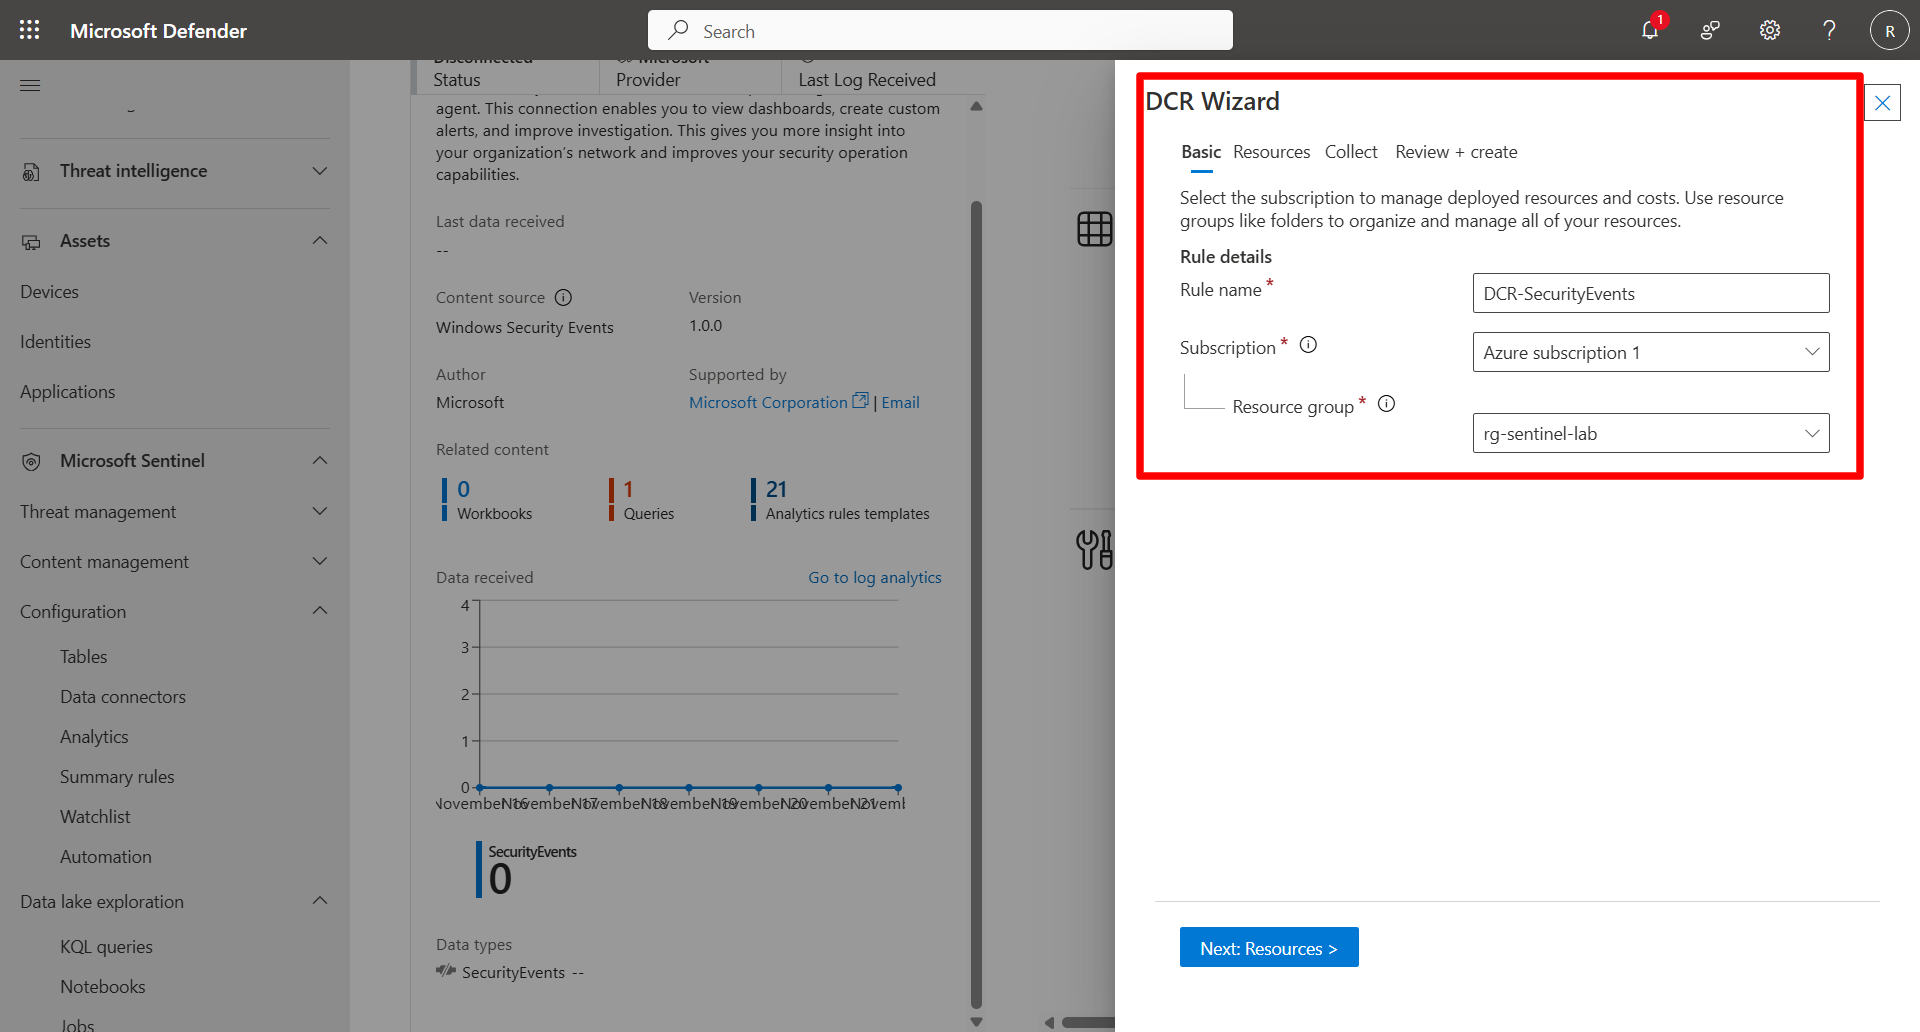
-
On the Resources page, expand the subscription and select vm-sentinel-lab to associate the Windows VM with the Azure Monitor Agent.
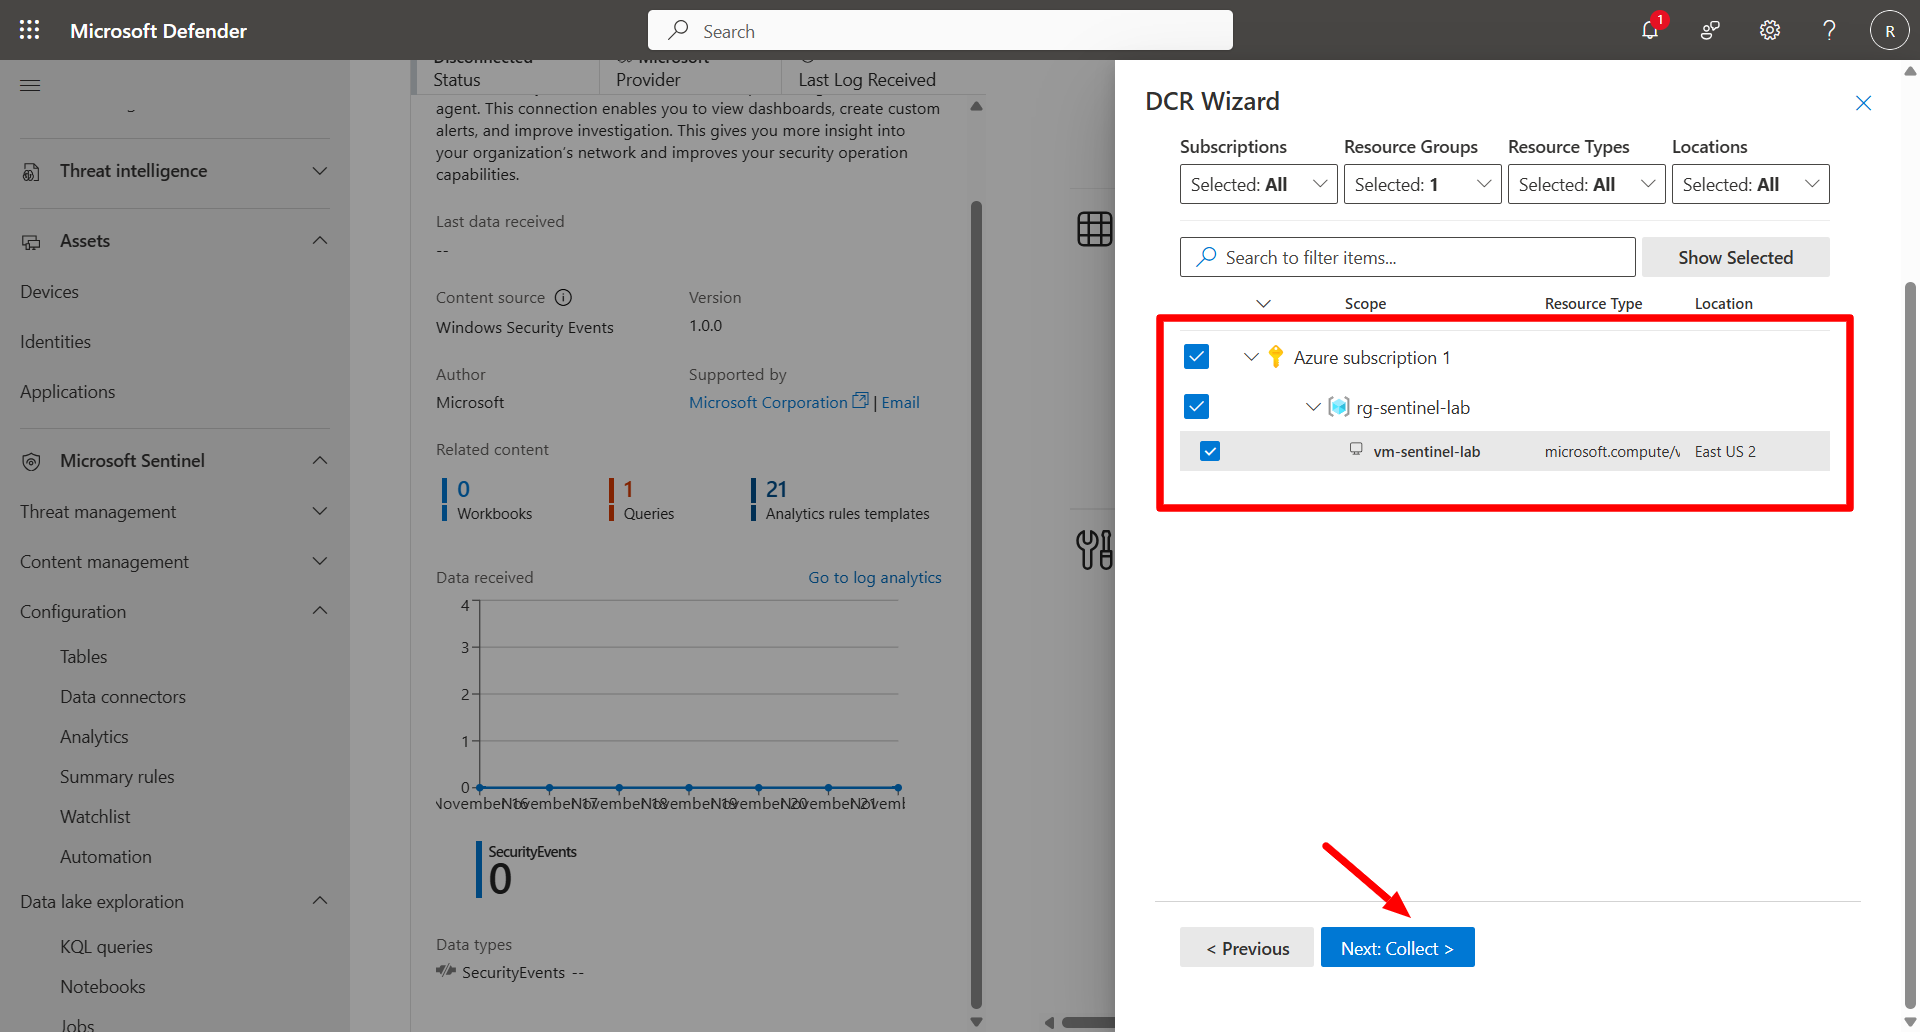
-
Select Next: Collect.
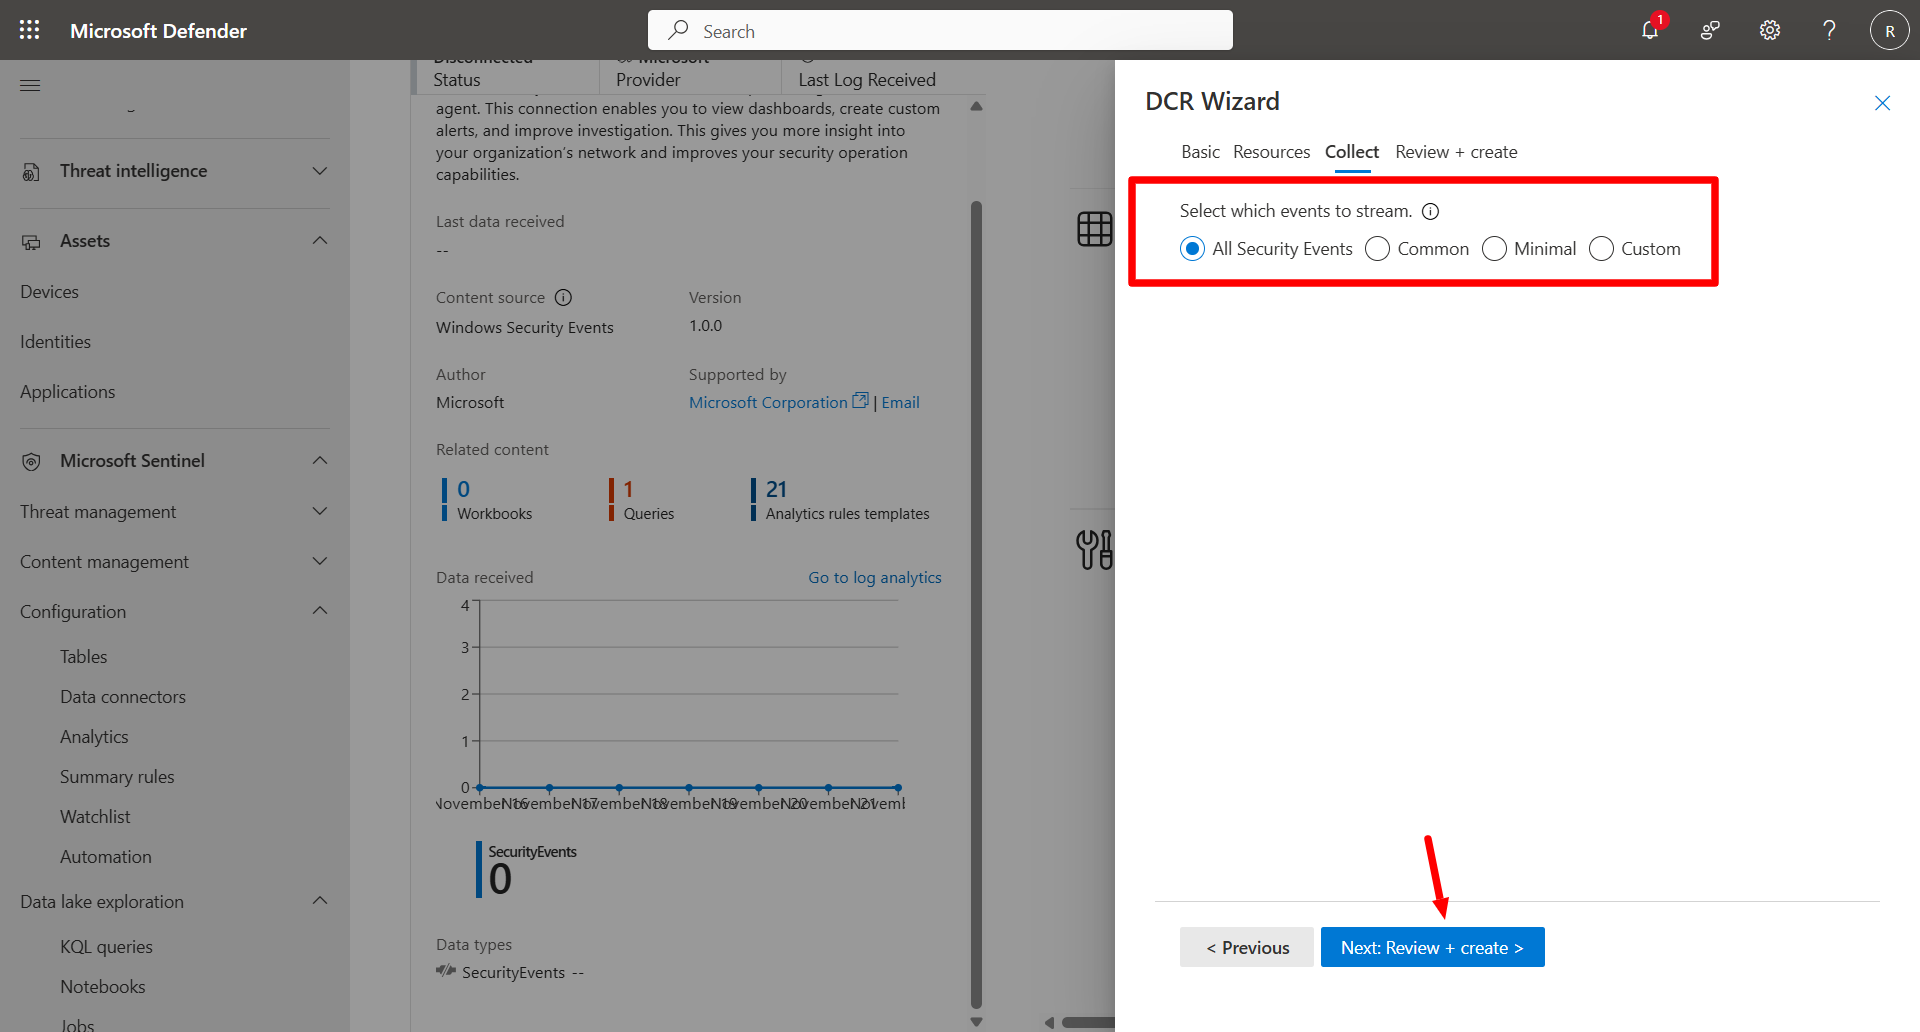
-
Choose All Security Events and then select Next: Review + create >.
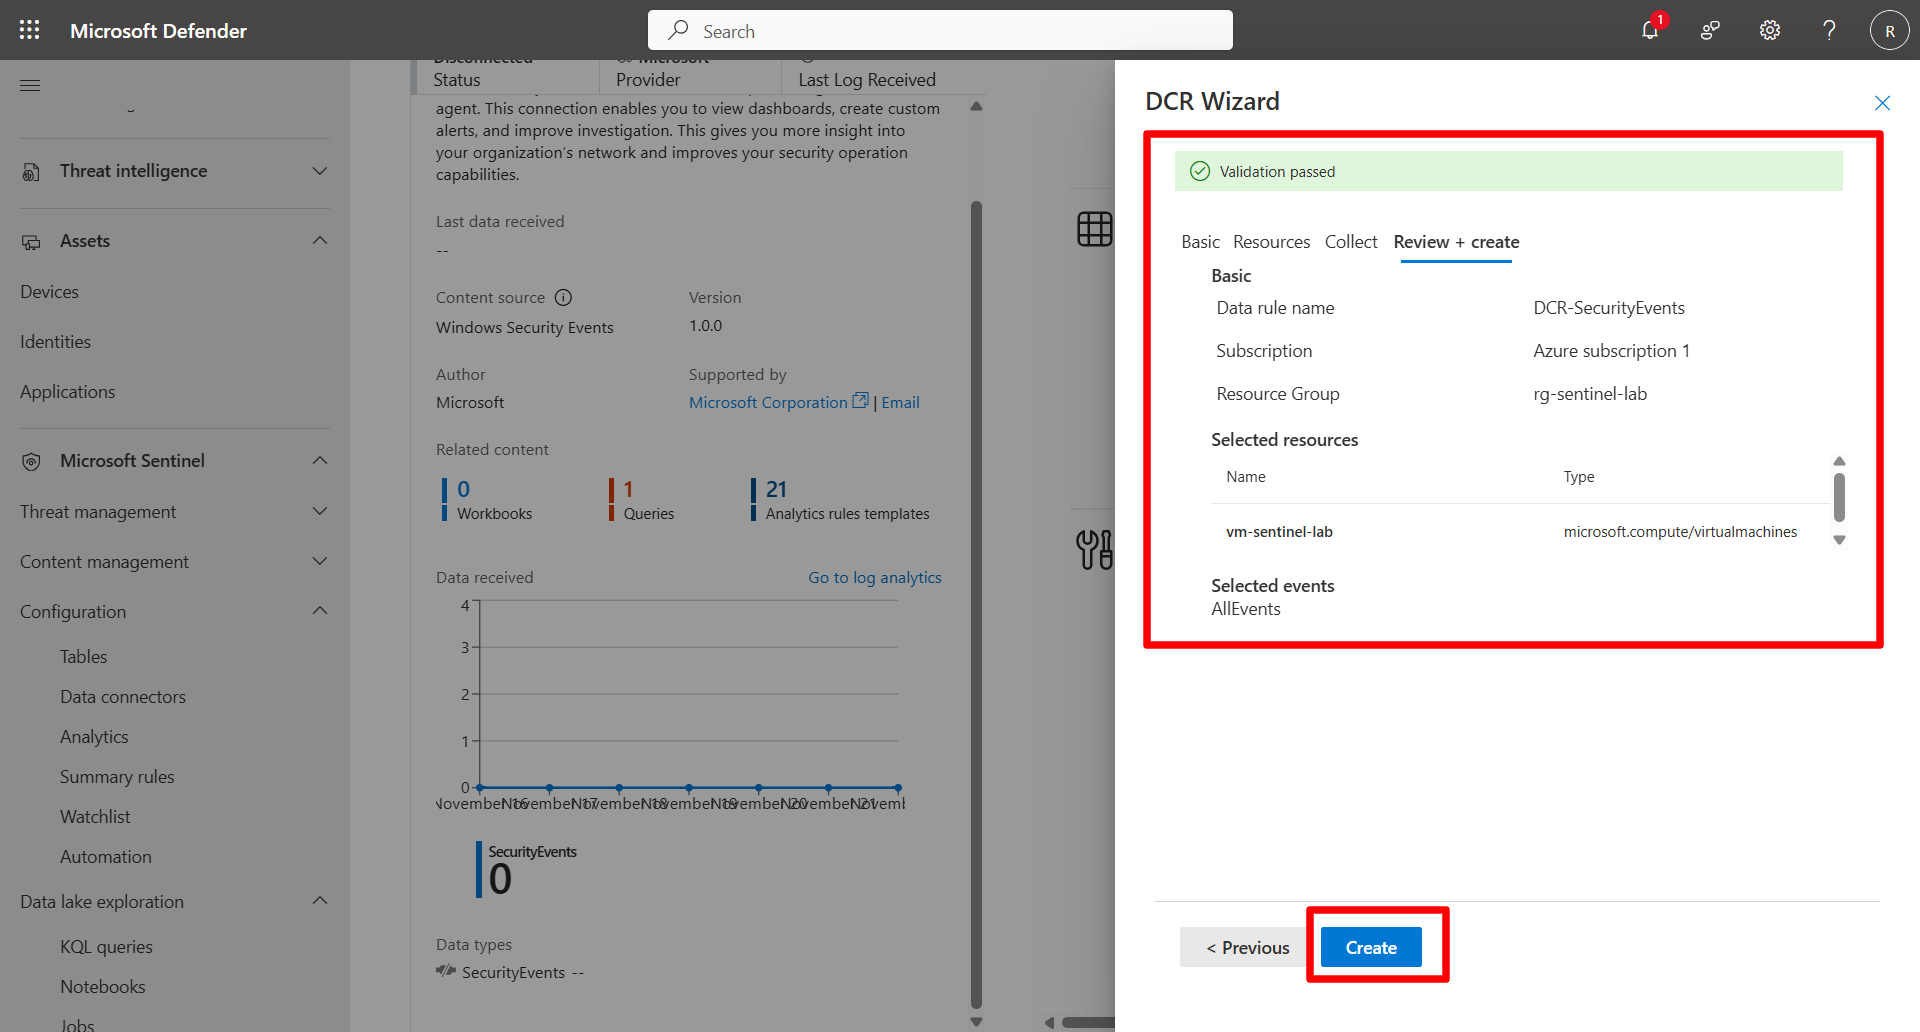
-
Review the information and select Create.
-