Direct Line Web Client
The Direct Line Web Client client lets you chat with any Virtual Assistant that has Direct Line or Direct Line Speech enabled from your browser.
Prerequisites
-
Create a Virtual Assistant to setup your Virtual Assistant environment.
-
Download the Direct Line Web Client app source code.
Configuring Your Client
The configuration for the client can be located in the appsettings.json file within the root directory of the project. It contains the following notable settings:
{
  "BotName": "", // The name of the bot as it will be rendered on the web chat UI, e.g. 'My Virtual Assistant'.
  "DirectLineSecret": "", // The secret that is used to acquire an authorization token for the Direct Line endpoint.
  "EnableDirectLineEnhancedAuthentication": false, // Indicates whether Enhanced Authentication should be enabled when using the Direct Line channel to communicate with your bot.
  "SpeechServiceRegionIdentifier": "", // The identifier of the region to which your Speech Service resource is deployed to within your Azure subscription, e.g. 'westus'.
  "SpeechServiceSubscriptionKey": "" // The subscription key associated with your Speech Service resource to be used for acquiring access tokens.
}
The configuration settings you will need to provide depends on which channel you wish to enable your client to integrate with:
- To enable the client for Direct Line, you will need to specify values for DirectLineSecret.
- To enable the client for Direct Line Speech, you will need to specify values for SpeechServiceRegionIdentifier and SpeechServiceSubscriptionKey.
Configure for Direct Line
To enable your Virtual Assistant to communicate over Direct Line, open your Web App Bot resource in Azure Portal, and select the Channels tab.
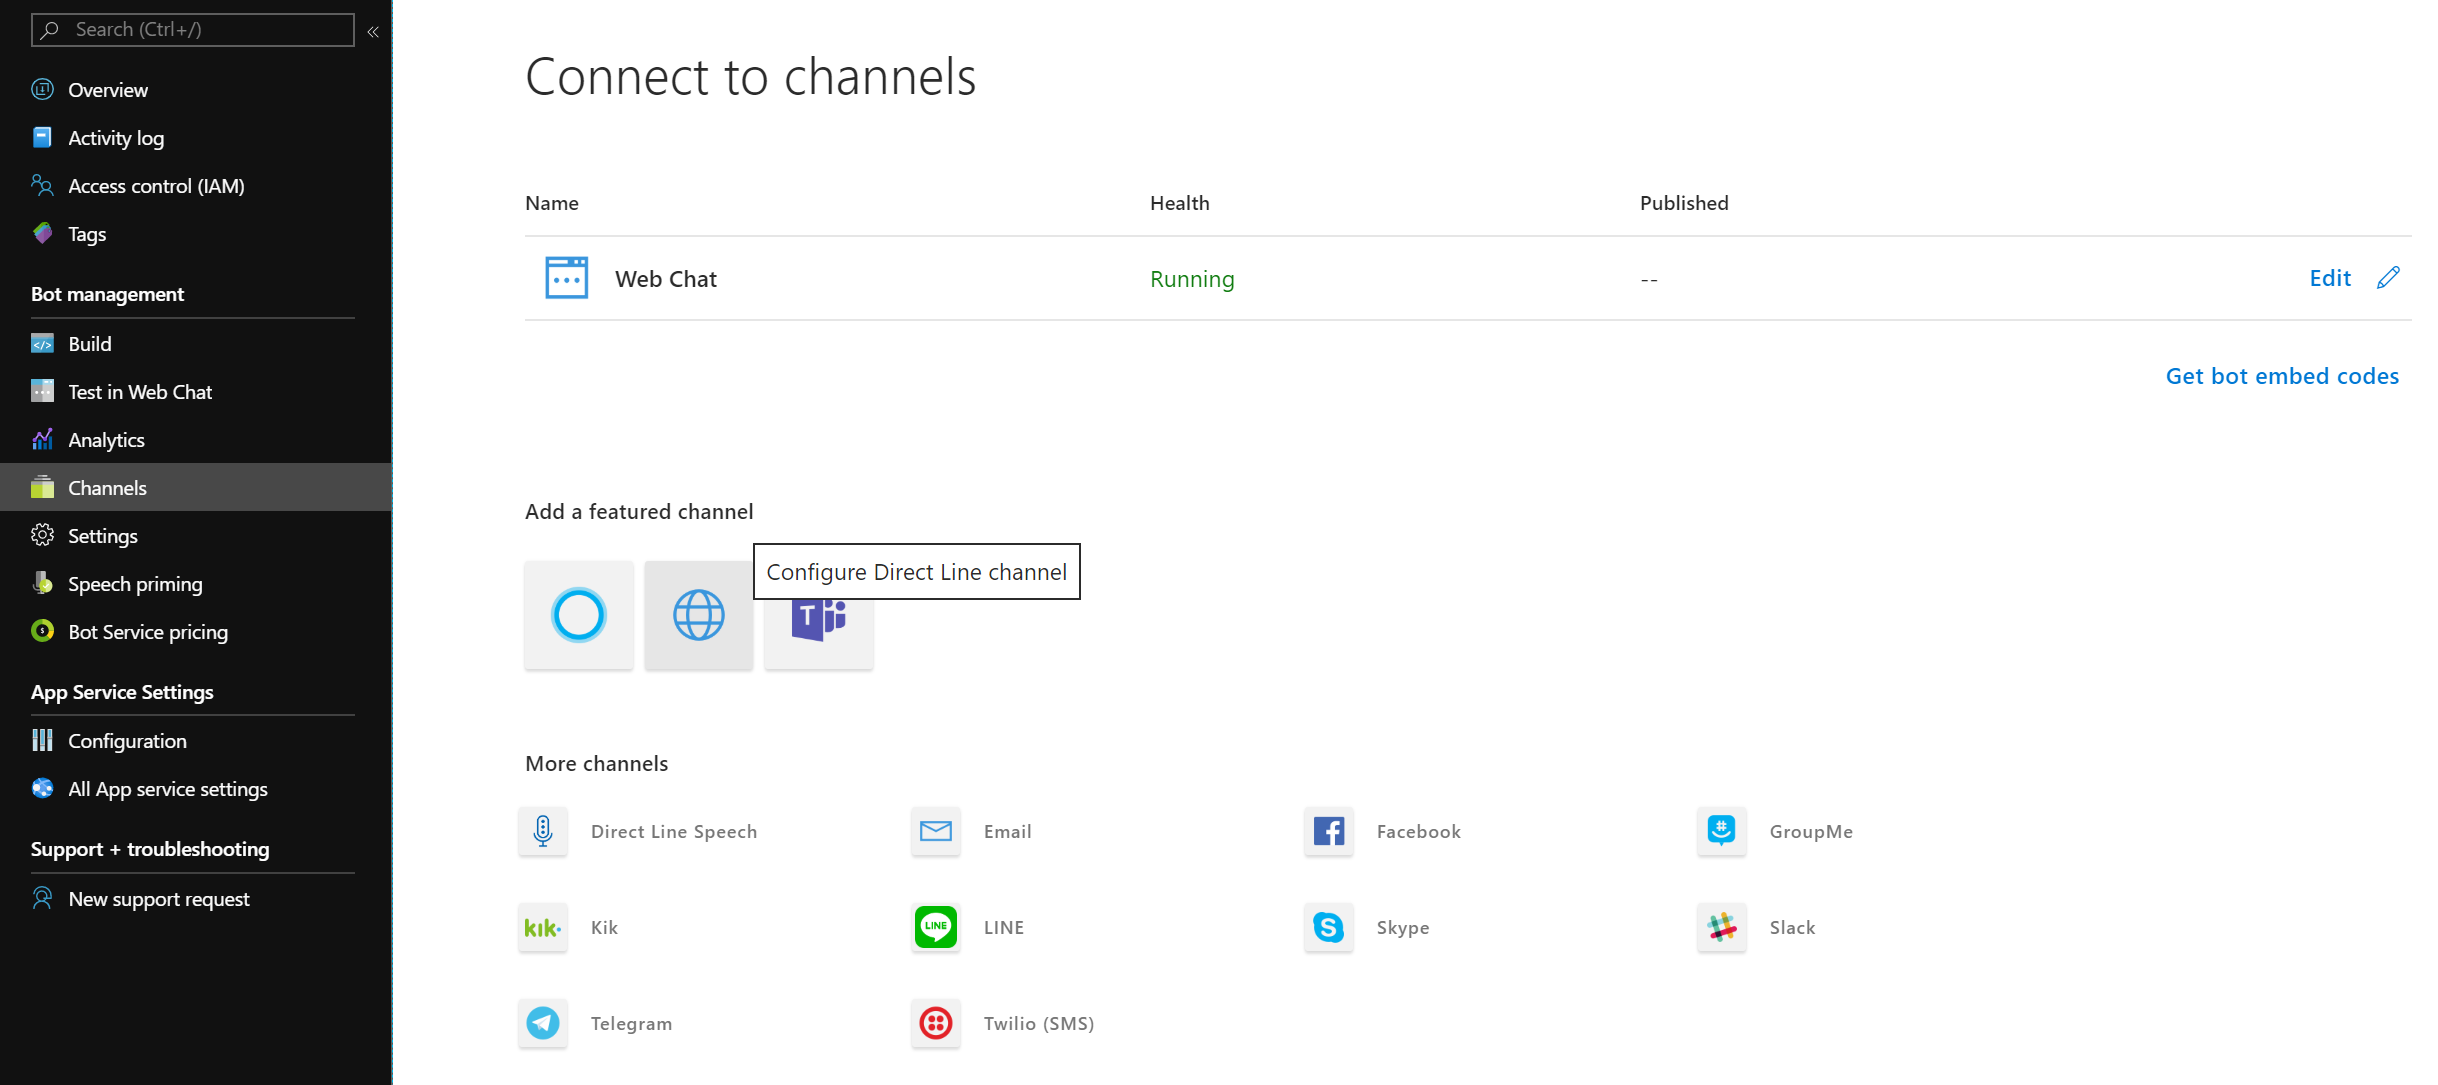
Next, click the Configure Direct Line channel button. You will then be presented with the Direct Line channel configuration view.
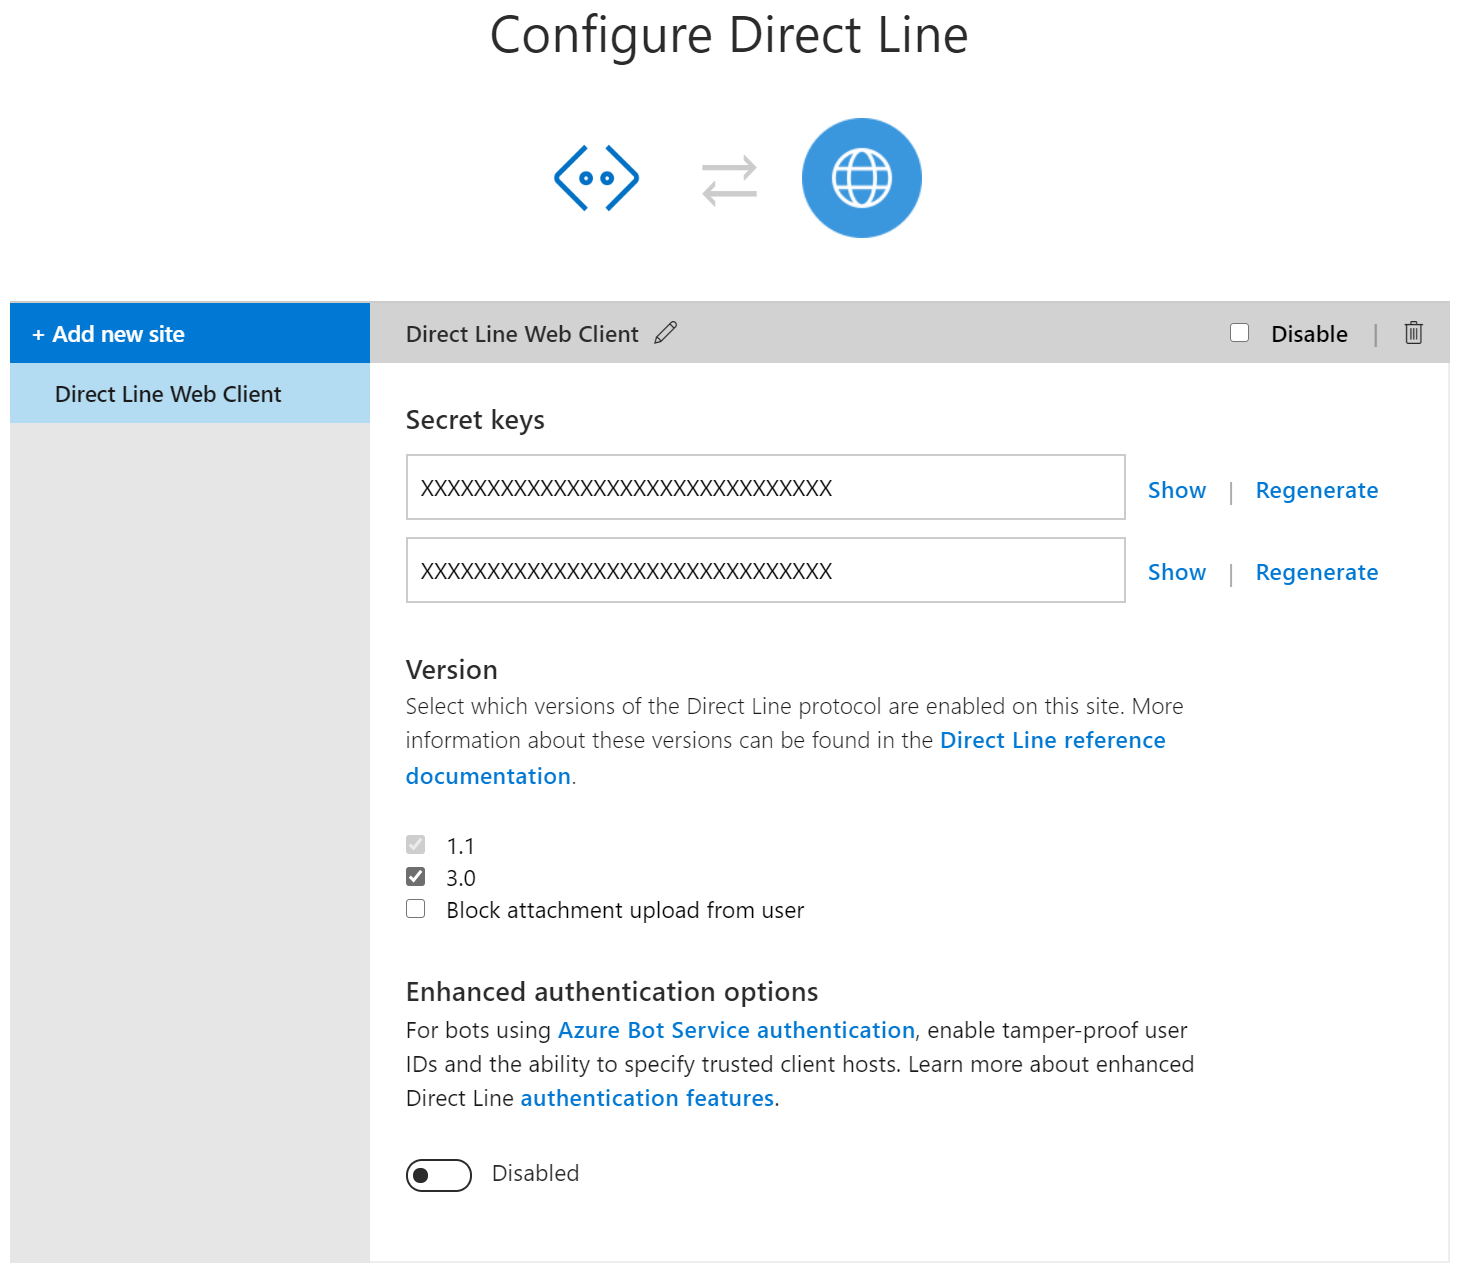
From here, you may either add a new site configuration, or repurpose the default site configuration. Here, we have repurposed the default site configuration and renamed it to ‘Direct Line Web Client’.
Once you have chosen your desired site configuration, click the Show button next to one of the text boxes underneath the Secret keys section, and copy the displayed value.
Finally, return to your appsettings.json file in your Direct Line Web Client code, and paste the value into the DirectLineSecret setting.
Enable Direct Line Enhanced Authentication
By default, when a user is prompted to sign in using an OAuth prompt over a Direct Line channel, the user must send a six-digit code back to the Virtual Assistant afterwards to complete the process.
To provide a more secure and seamless experience, you can optionally enable Enhanced Authentication for your Direct Line channel. This will enable automatically completing the sign-in process without needing to enter a separate code. You can learn more about Direct Line Enhanced Authentication here.
To enable Enhanced Authentication in your client, go to the Direct Line channel configuration for your Web App Bot resource in Azure Portal.
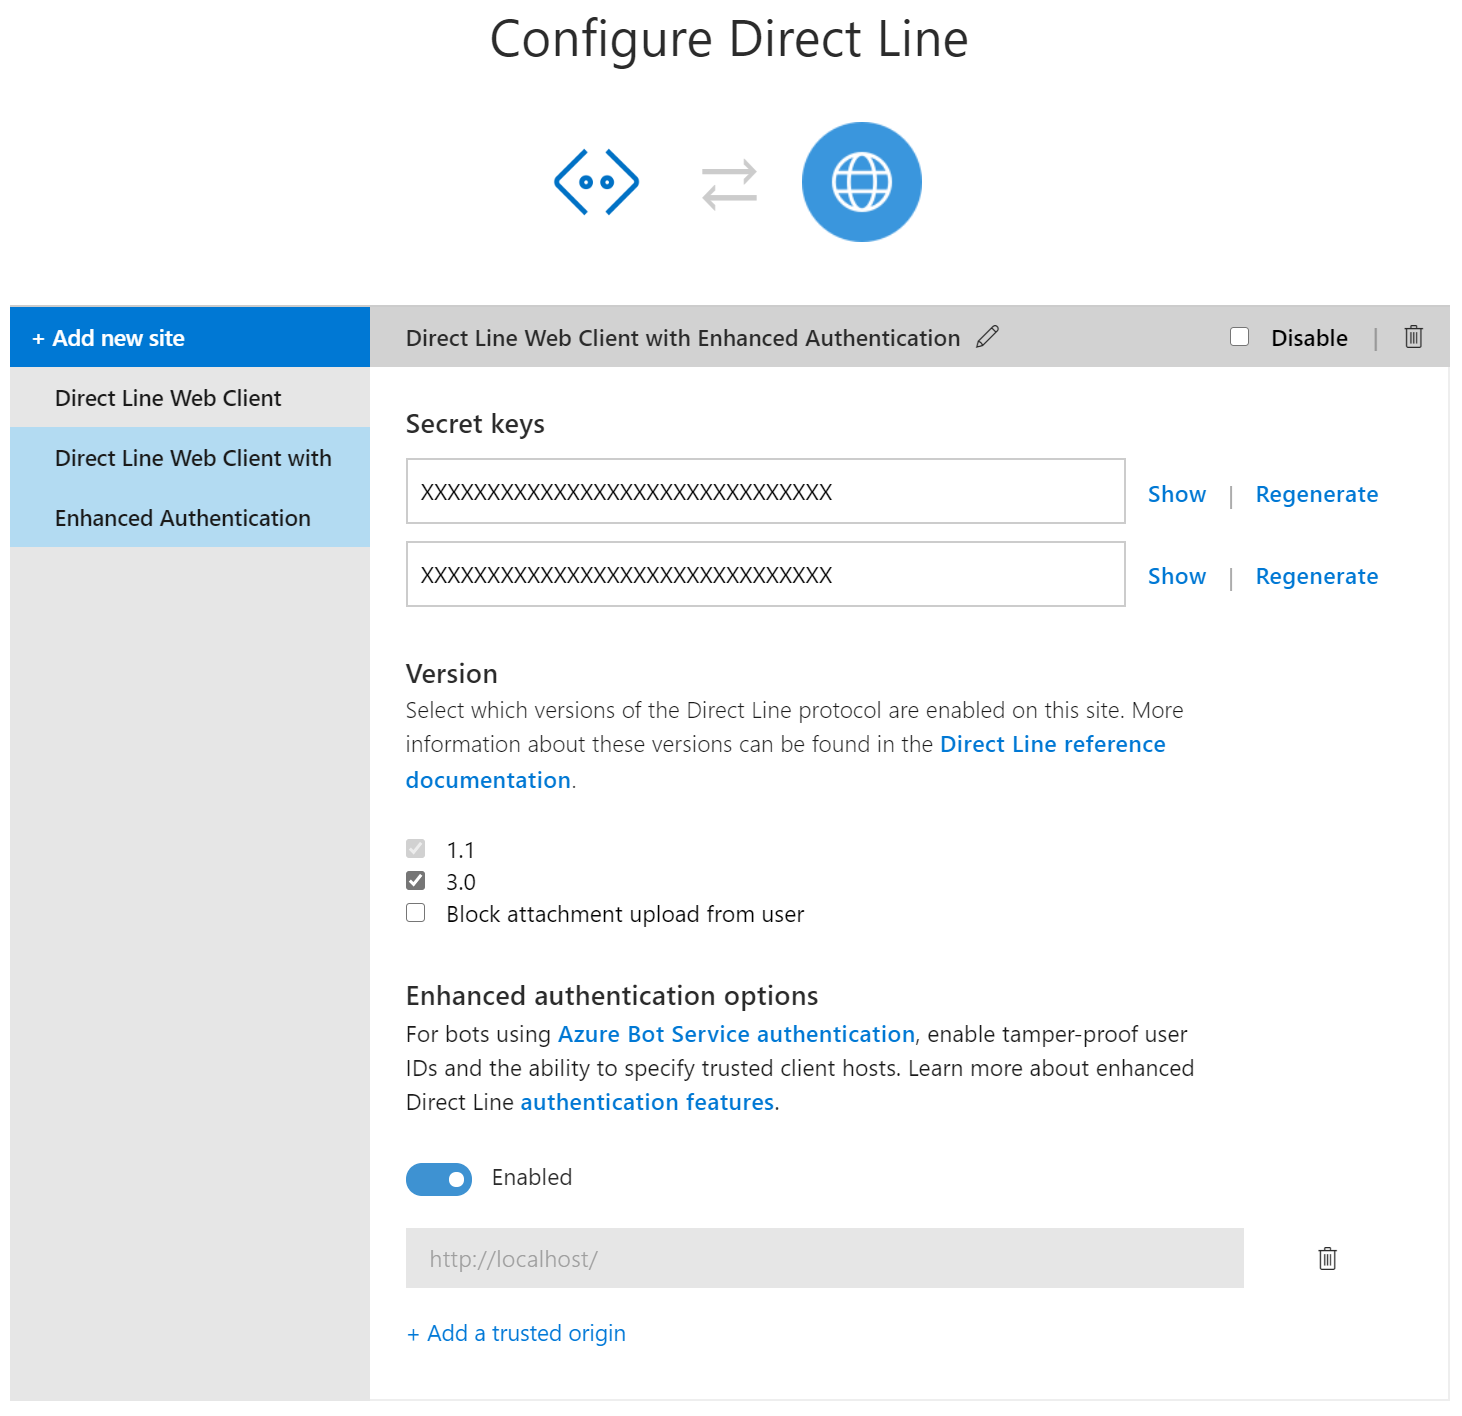
From here, underneath the Enhanced authentication options section, click the Enabled toggle to turn it on.
Once you have done this, you will need to register one or more trusted origins:
- If you are running on your local environment, simply put in ‘http://localhost/’. Note that the URI scheme must be HTTP.
- To add a deployed Virtual Assistant, simply type in the base URI of your Virtual Assistant’s messaging endpoint, as located in your Web App Bot resource’s Settings tab, e.g. “https://myvirtualassistant.azurewebsites.net/”.
Finally, return to your appsettings.json file in your Direct Line Web Client code, and change the value of the EnableDirectLineEnhancedAuthentication setting to ‘true’.
Configure for Direct Line Speech
By extending your Virtual Assistant to Direct Link Speech, it is very simple to enable voice control for your Virtual Assistant using the Direct Line Web Client.
In order to enable voice control, first follow the instructions above to enable Direct Line Speech. Once you have done this, you will need to update your appsettings.json as follows:
- SpeachServiceRegionIdentifier must be set to a corresponding identifier based on the Azure Region that your Speech Cognitive Service is deployed to, as described here.
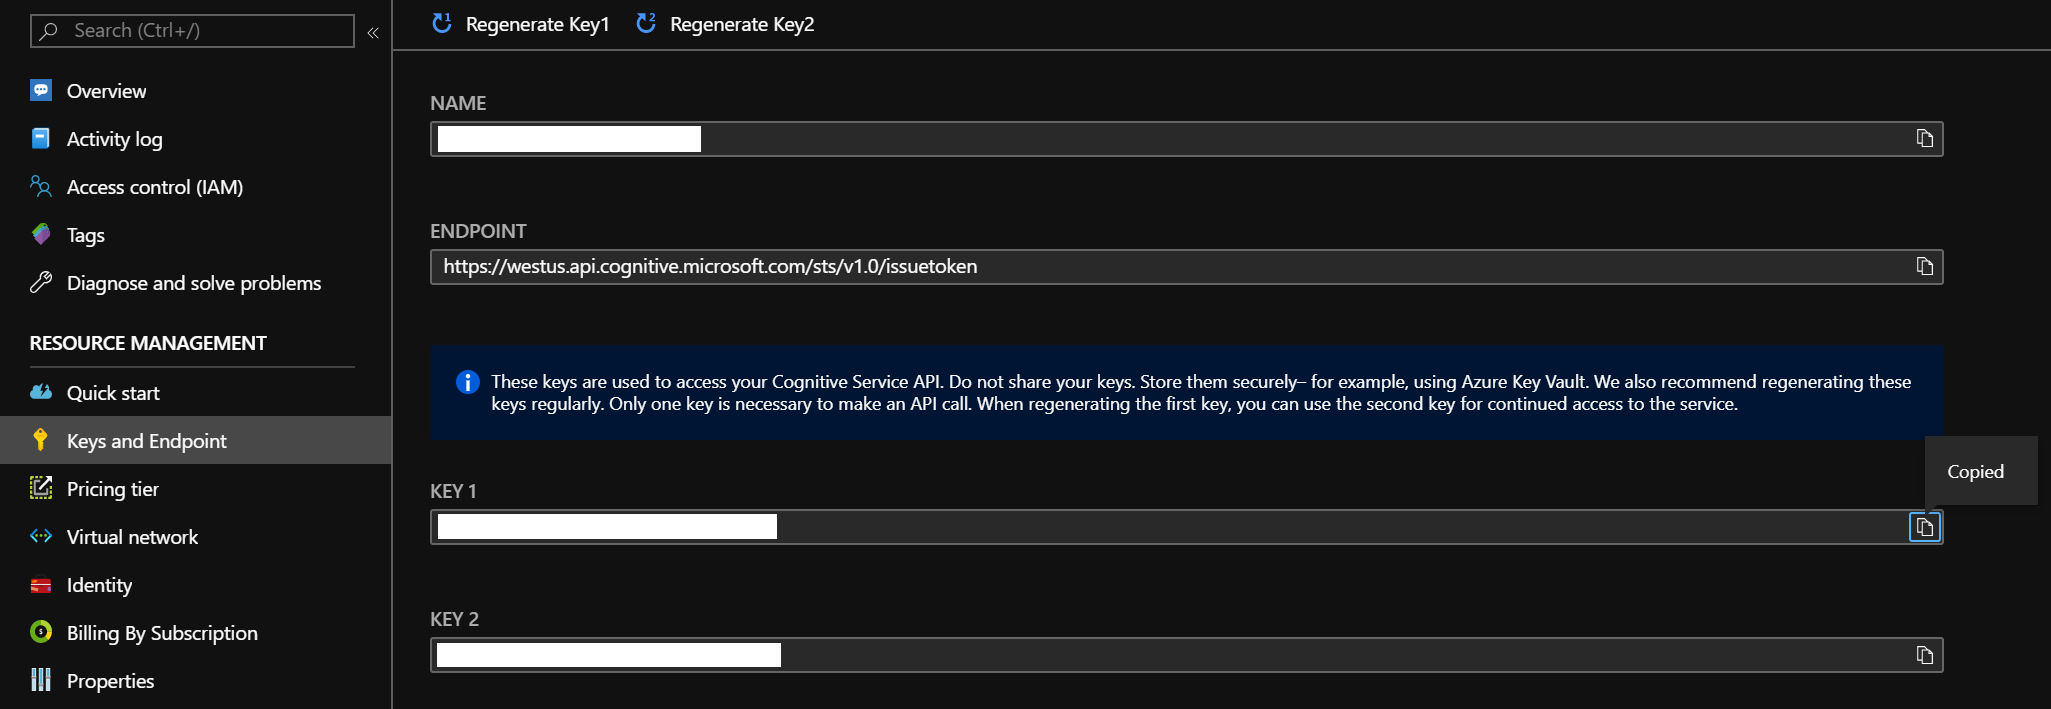
- SpeechServiceSubscriptionKey must be set to one of the Speech Cognitive Service resource keys, which can be found on the Keys and Endpoint tab for the resource in Azure Portal, as shown below:
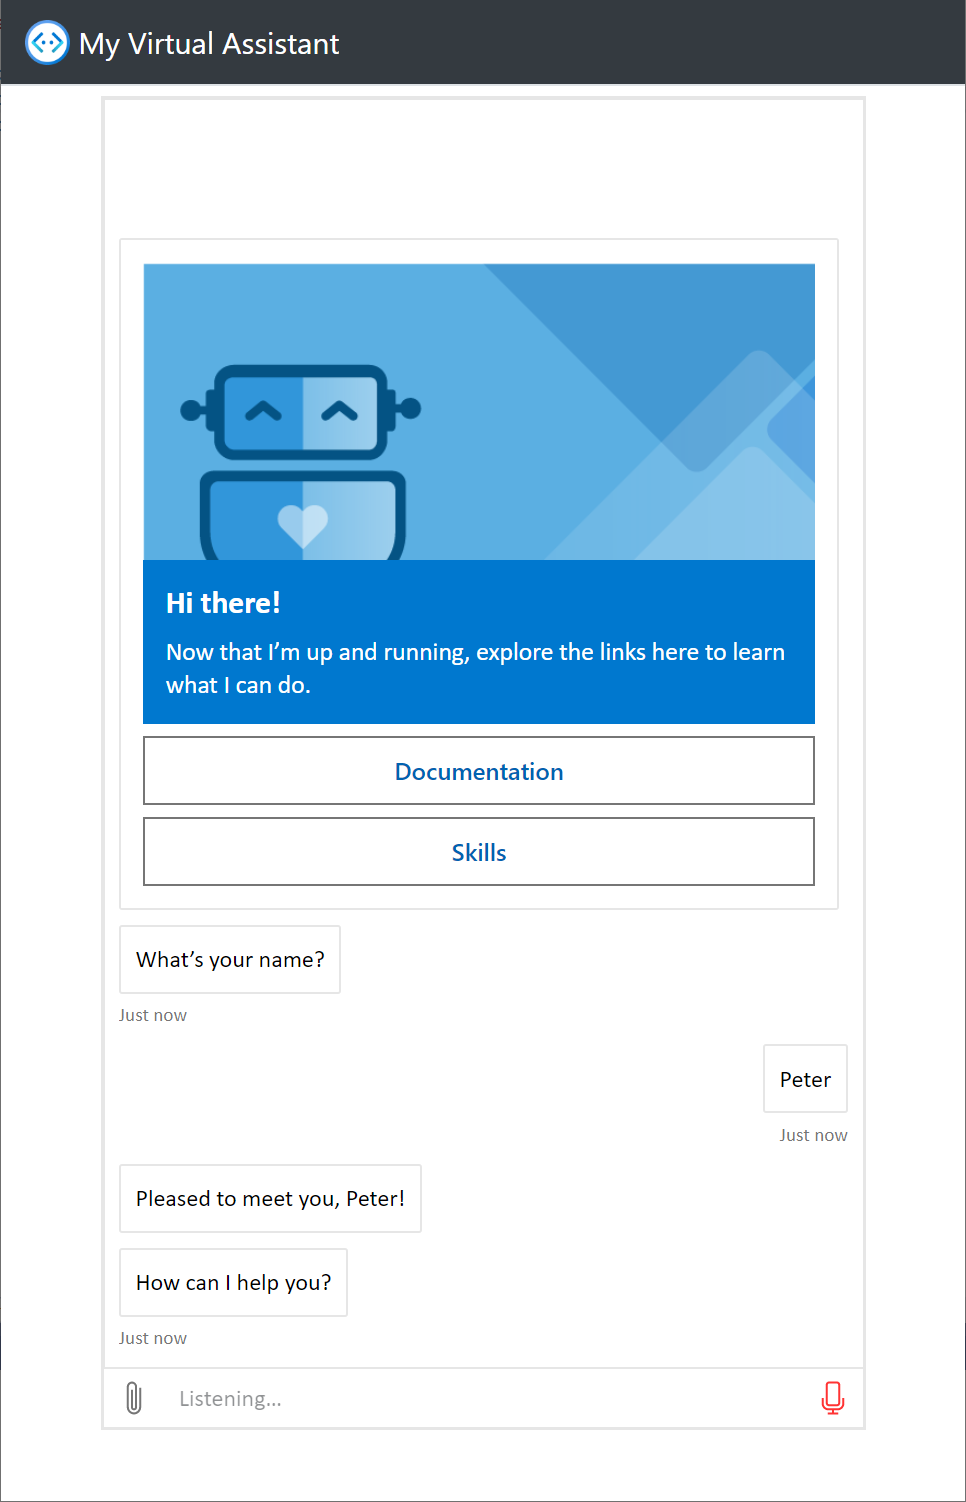
Running Your Client
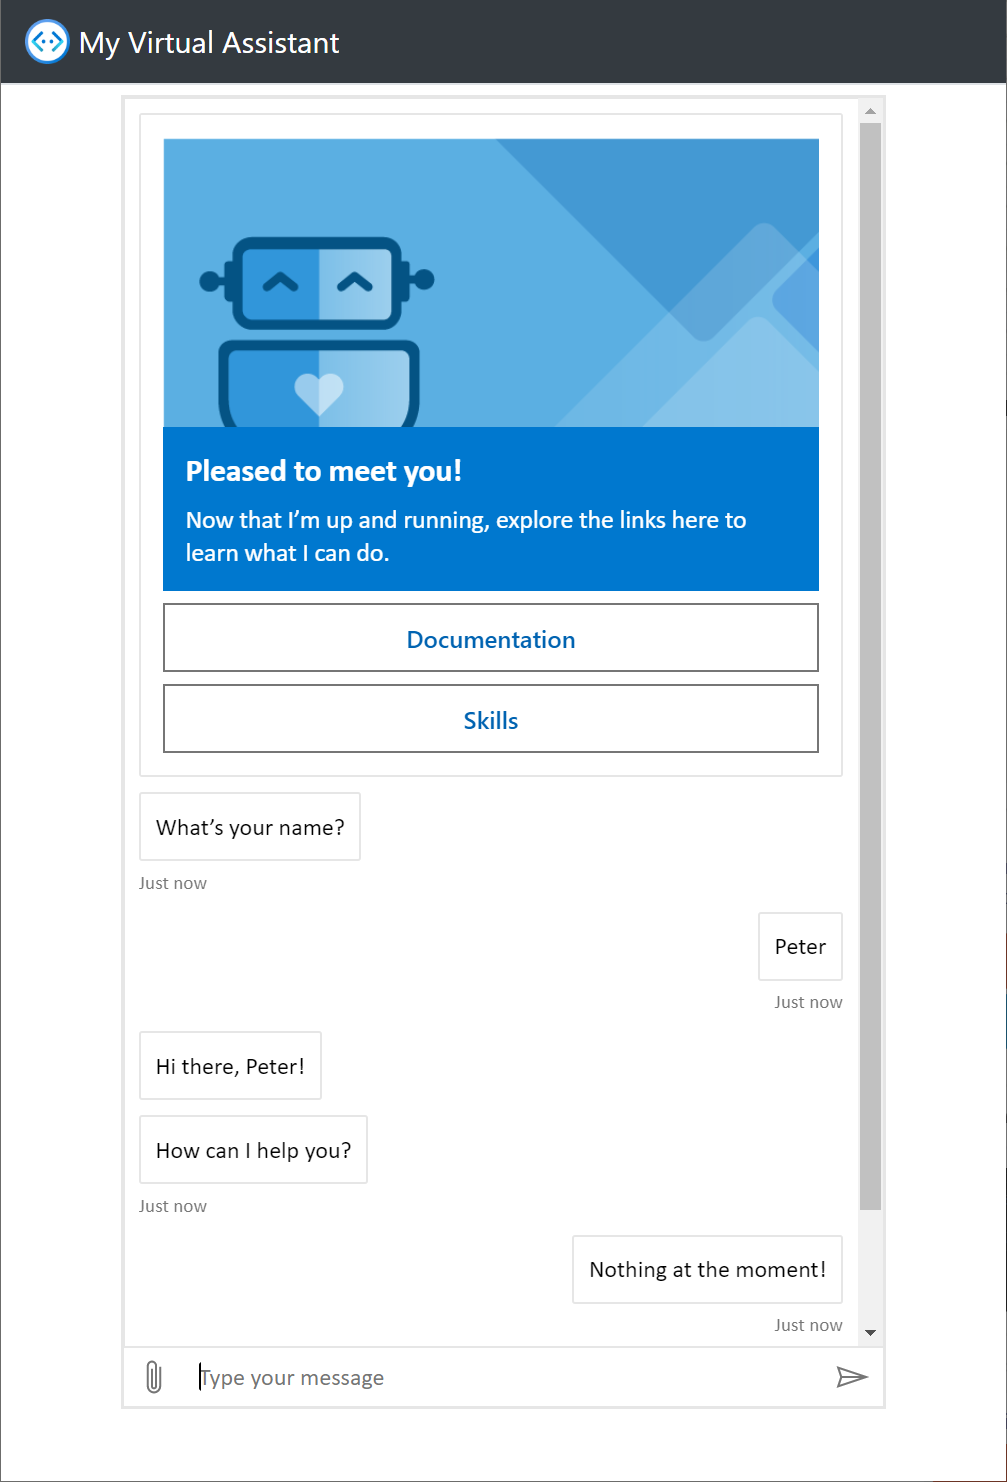
Once you have successfully configured your Virtual Assistant and made the necessary updates to the Direct Line Web Client’s appsettings.json, you are ready to run the client! Just simply build the DirectLine.Web project, set it to the startup project, and run. A new browser will automatically open with your configured client running.
Direct Line Mode
To chat with your bot, simply type into the text box and hit enter or click the send button.
Direct Line Speech Mode
To chat with your bot, either:
- Click the microphone icon and wait for the icon to turn red. When the text box displays ‘Listening…’, just speak into your microphone. Your Virtual Assistant will then reply back using audio and text. If it expects a response from the user, then you can speak directly back - as long as the microphone icon is red, it will detect speech input.
- Alternatively, type directly into the text box and hit enter to send a message using text.