
TIP
🔥 Make sure you star the repo (opens new window) to keep up to date with new tips and tricks.
💡 Learn more : Azure Cosmos DB documentation (opens new window).
📺 Watch the video : How to work with Azure Cosmos DB with PowerShell (opens new window).
# How to work with Azure Cosmos DB with PowerShell
# Azure Cosmos DB
Azure Cosmos DB (opens new window) is a document database that you can use with multiple APIs, including a SQL API (opens new window), a MongoDB API (opens new window) and a Graph API (opens new window). And Cosmos DB is also geographically highly performant because it can have multiple writable nodes spread across the world. You can create and manage an Azure Cosmos DB in the Azure portal (opens new window), with the Azure CLI (opens new window) and also with PowerShell (opens new window).
In this post, we'll take a look at how to manage an Azure Cosmos DB with PowerShell.
# Prerequisites
If you want to follow along, you'll need the following:
- An Azure subscription (If you don't have an Azure subscription, create a free account (opens new window) before you begin)
- You can use the Azure Cloud Shell (opens new window) or your local PowerShell (opens new window)
# Using PowerShell to manage Azure Cosmos DB
You can use PowerShell to create, update, delete and work with Azure Cosmos DB. Let's create a new Cosmos DB account, a database and container with PowerShell. We'll use the Azure Cloud Shell, and you can also use a local installation of Azure PowerShell.
Install the Az.CosmosDB module
Before we can work with Azure Cosmos DB from PowerShell, we need to install the Az.CosmosDB module (opens new window). To install this, execute the following command in PowerShell:
Install-Module -Name Az.CosmosDB

(Install Az.CosmosDB module)
List all Cosmos DB accounts
When the module is installed, we can use it. Let's try it out by listing all Cosmos DB accounts in a Resource Group with the following command:
Get-AzCosmosDBAccount -ResourceGroupName "azuretipsandtricks"
Create an Azure Cosmos DB Account Let's create a new Azure Cosmos DB account. This account can contain databases and those can contain containers. We'll start by creating the account with the following command. This account will use the SQL API to work with data.
$resourceGroupName = "azuretipsandtricks"
$locations = @("West US 2", "East US 2")
$accountName = "mytipscosmosaccount"
$apiKind = "Sql"
$consistencyLevel = "BoundedStaleness"
$maxStalenessInterval = 300
$maxStalenessPrefix = 100000

New-AzCosmosDBAccount `
    -ResourceGroupName $resourceGroupName `
    -Location $locations `
    -Name $accountName `
    -ApiKind $apiKind `
    -EnableAutomaticFailover:$true `
    -DefaultConsistencyLevel $consistencyLevel `
    -MaxStalenessIntervalInSeconds $maxStalenessInterval `
    -MaxStalenessPrefix $maxStalenessPrefix
2
3
4
5
6
7
8
9
10
11
12
13
14
15
16
17
Create an Azure Cosmos DB database
When the account is created, we can create a database in it with the following command:
$resourceGroupName = "azuretipsandtricks"
$accountName = "mytipscosmosaccount"
$databaseName = "tipsDatabase"

New-AzCosmosDBSqlDatabase `
    -ResourceGroupName $resourceGroupName `
    -AccountName $accountName `
    -Name $databaseName
2
3
4
5
6
7
8
Create an Azure Cosmos DB Container with Autoscale
And in the database, we can create a container, which we can use to store documents. We'll create the container with autoscale enabled with this command:
# Create an Azure Cosmos DB container with default indexes and autoscale throughput at 4000 RU
$resourceGroupName = "azuretipsandtricks"
$accountName = "mytipscosmosaccount"
$databaseName = "tipsDatabase"
$containerName = "tricksContainer"
$partitionKeyPath = "/myPartitionKey"
$autoscaleMaxThroughput = 4000 #minimum = 4000

New-AzCosmosDBSqlContainer `
    -ResourceGroupName $resourceGroupName `
    -AccountName $accountName `
    -DatabaseName $databaseName `
    -Name $containerName `
    -PartitionKeyKind Hash `
    -PartitionKeyPath $partitionKeyPath `
    -AutoscaleMaxThroughput $autoscaleMaxThroughput
2
3
4
5
6
7
8
9
10
11
12
13
14
15
16
And that's it! Head on over to the Azure portal to see the Azure Cosmos DB. In the Data Explorer, you will see the database and container that we've created.
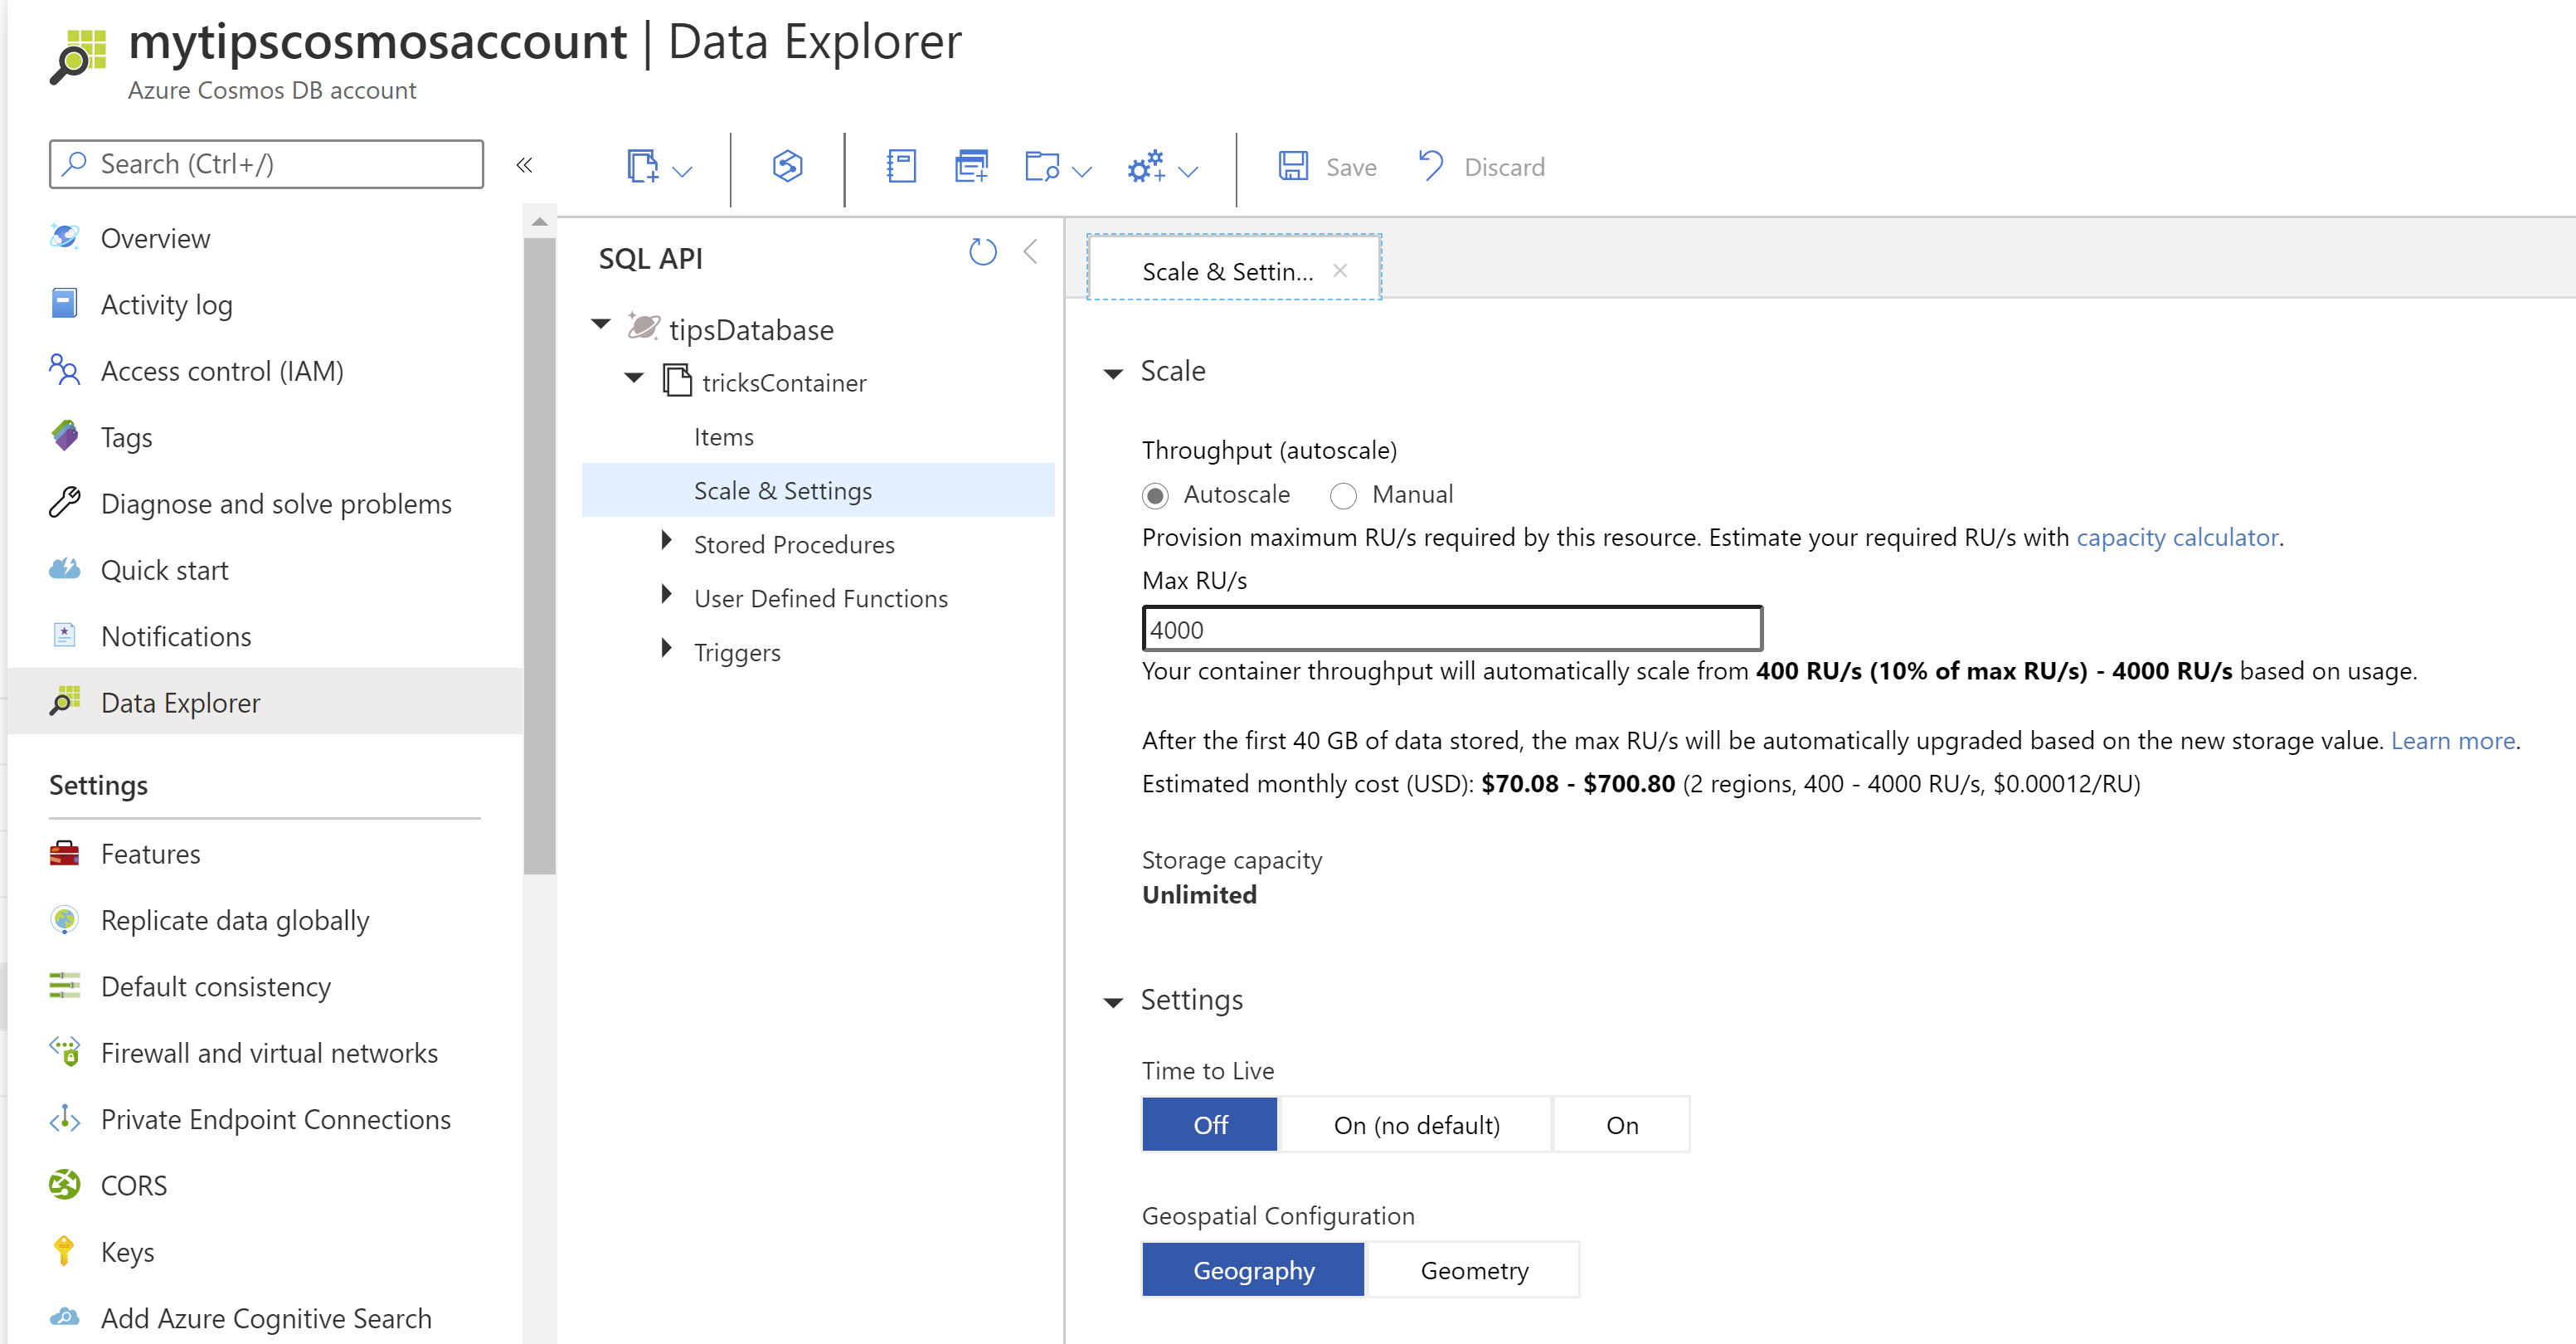
(Cosmos DB result in the Azure portal)
# Conclusion
We've used PowerShell (opens new window) to list Azure Cosmos DB (opens new window) accounts and create a new one, with a database and autoscale container. Go and check it out!