
TIP
💡 Learn more : SQL Server on Azure Virtual Machines (opens new window).
# Part 2 - Implementing Azure Search with SQL Server and ASP.NET MVC
In this series I'll cover Azure Search, SQL Server and putting it all together in a ASP.NET MVC web app. The complete list can be found below:
# Implementing Azure Search
Yesterday, we learned that Azure Search is a search-as-a-service that allows you to search over your content using web, desktop or mobile apps. There is variety of services that you can attach Azure Search to, including SQL Server - which we covered yesterday. Today we'll walk through adding Azure Search to our existing SQL Server instance.
Open the Azure Portal, and navigate to your SQL Server instance and begin by looking at the Settings pane:
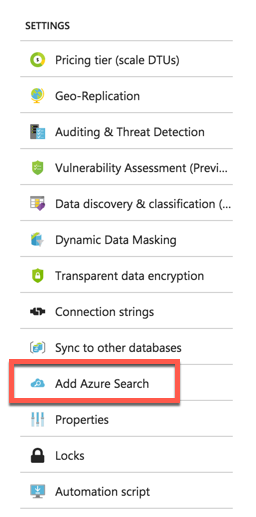
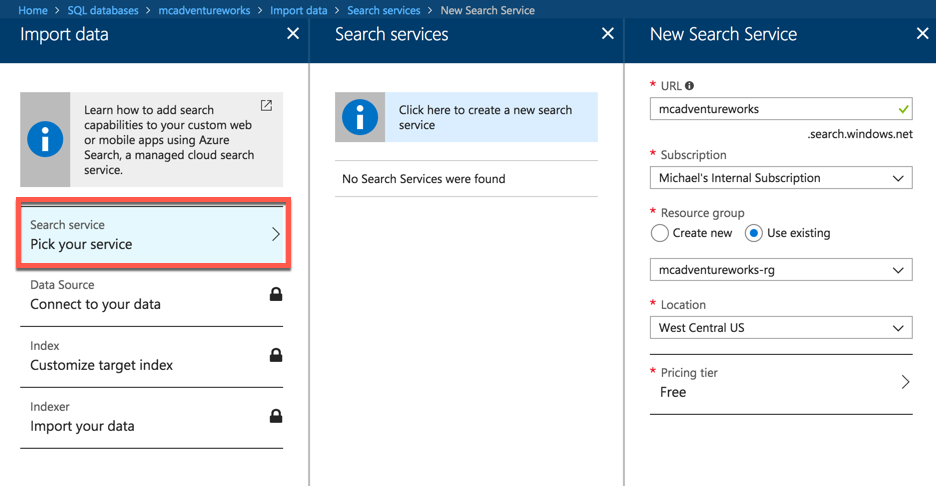
Select a Add Azure Search and fill out the fields specified below and make sure to select the price as free.
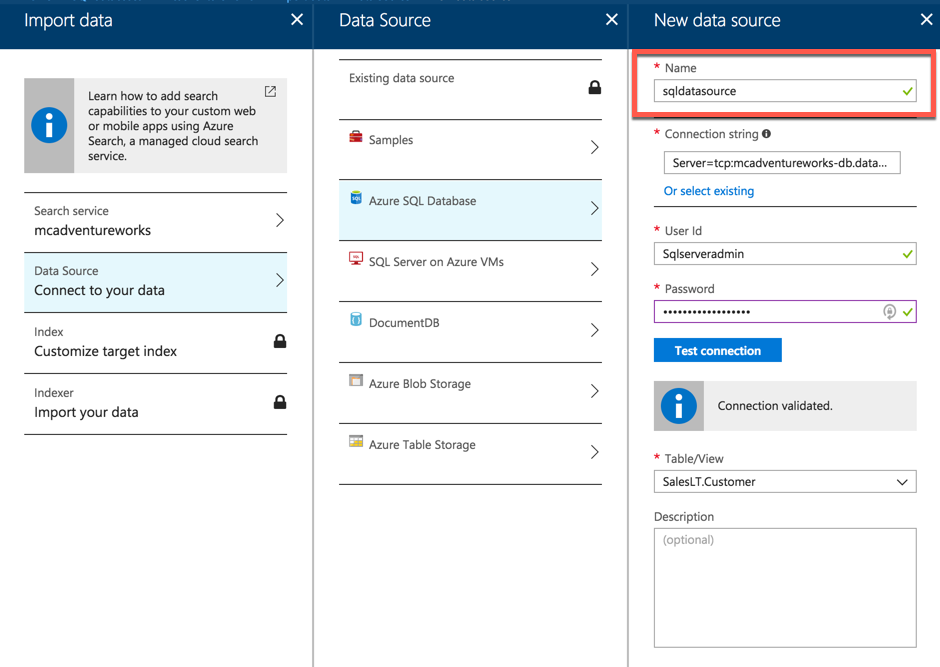
Under Data Source, we can easily connect to our Azure SQL Database, we'll need to give it a name, provide the userid and password (that we specified when setting up the SQL db) and press Test Connection. If everything goes well, then you'll be able to select the Customer table.
We'll need to set an index. So give it a name and select CustomerID as our Key. We'll now clean up our fields, by deleting ones that we don't want and making sure the fields can be retrieved, sorted, filtered and are searchable by adding a check.

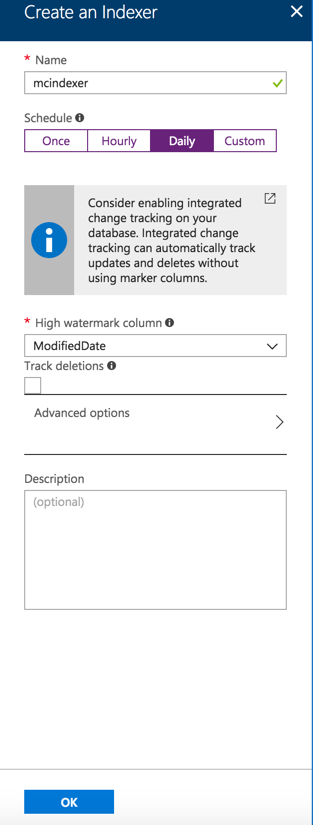
We need to create an indexer to run. I'm going to select the Daily schedule and set my watermark column to the ModifiedDate as I assume data is unique in that column.
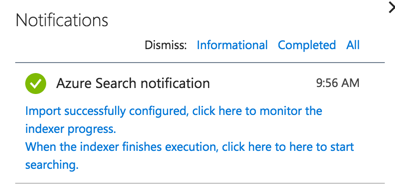
Once you kick that off, you'll see the following notification. It states you can check the monitor progress and once complete you can start searching.
If you go ahead and click on the link on the notification window, then you'll see the following screen.
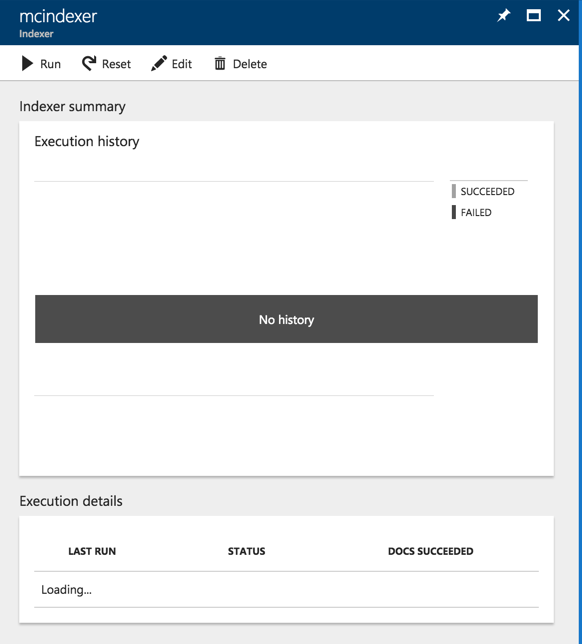
Go ahead and press the Run button and it will start immediately and eventually you'll see it has completed.
