TIP
💡 Learn more : Azure Cosmos DB (opens new window).
# Access Cosmos DB through a .NET Application
I use .NET to access my Cosmos DB instance a lot and typically before spinning up an ASP.NET MVC application (for instance), I use a console application to explore objects and play with different settings. In this brief walkthrough, I'll show you how I access it and provide a "template" that you can use for your own explorations. Keep in mind that this is just how I work with Cosmos DB, you may have a different (or better) way.
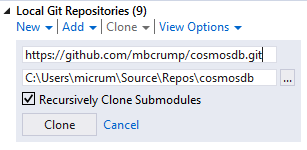
I've pushed some code to my GitHub repo that you can clone and it can be found here (opens new window). While you can work with Cosmos DB with whatever IDE or editor that you choose, I'll work with Visual Studio. Begin by opening Visual Studio and selecting File -> New -> Project from Existing Code and paste in the git url (opens new window) and press Clone.
The solution should now be loaded. Head over to the app.config file and you'll see the following appSettings tag:
  <appSettings>
    <add key="endpoint" value="enter" />
    <add key="authkey" value="enter" />
    <add key="database" value="enter" />
    <add key="collection" value="enter" />
  </appSettings>
2
3
4
5
6
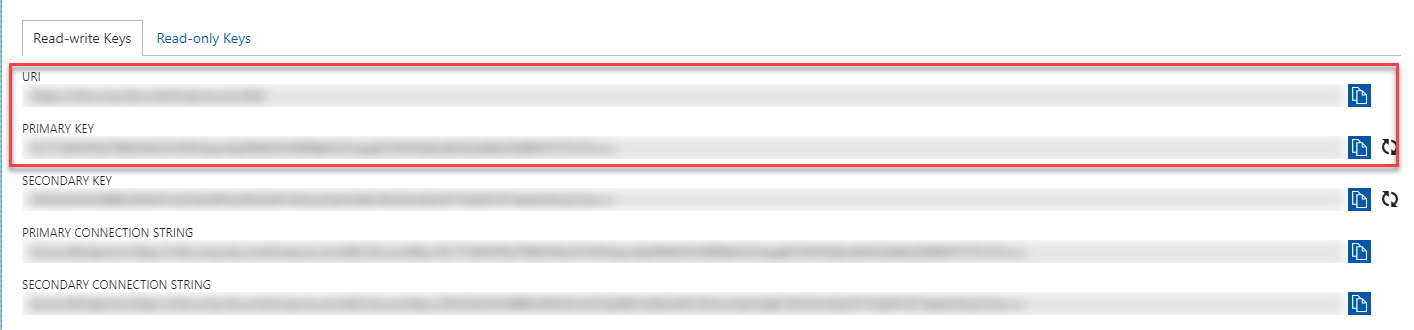
Here you'll simply plug in the values from Keys (inside your Cosmos DB blade in the portal) for example:
- endpoint = URI
- authkey = Primary Key
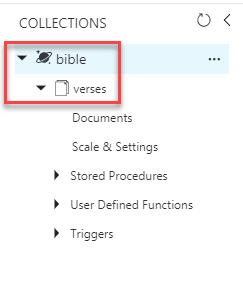
You can go to Data Explorer for the following pieces:
- database = db name
- collection = collection name
Now that your app.config is setup properly, you'll need to make minor tweaks to the code, unless you are using the data that I used in my earlier post.
# Walking through the demo application
We declare each value as a string that we can later use as well as instantiate your DocumentClient object.
private static readonly string DatabaseId = ConfigurationManager.AppSettings["database"];
private static readonly string CollectionId = ConfigurationManager.AppSettings["collection"];
private static readonly string EndPointId = ConfigurationManager.AppSettings["endpoint"];
private static readonly string AuthKeyId = ConfigurationManager.AppSettings["authkey"];

private static DocumentClient client;
2
3
4
5
6
We pass the endpoint and authentication key and then check to see if the database and collection exist (code not shown here). If everything is OK, we call the CreateDocumentQuery method and pass our database and collection to it. We then loop through each item and display whatever piece of the collection that we want.
client = new DocumentClient(new Uri(EndPointId), AuthKeyId);
CreateDatabaseIfNotExistsAsync().Wait();
CreateCollectionIfNotExistsAsync().Wait();
FeedOptions queryOptions = new FeedOptions { MaxItemCount = -1 };
IQueryable<dynamic> bookQuery = client.CreateDocumentQuery<dynamic>(
UriFactory.CreateDocumentCollectionUri(DatabaseId, CollectionId), queryOptions);
Console.WriteLine("Running query...");
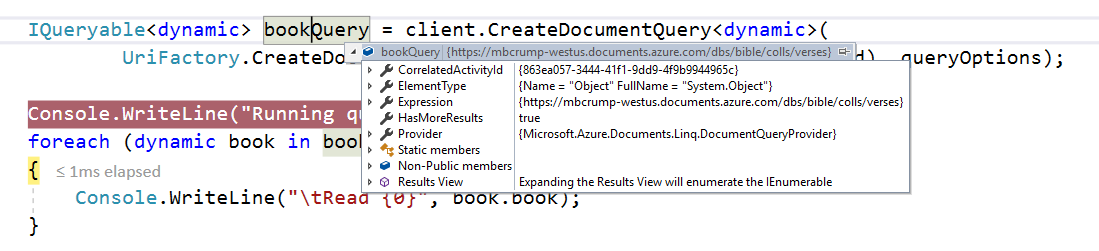
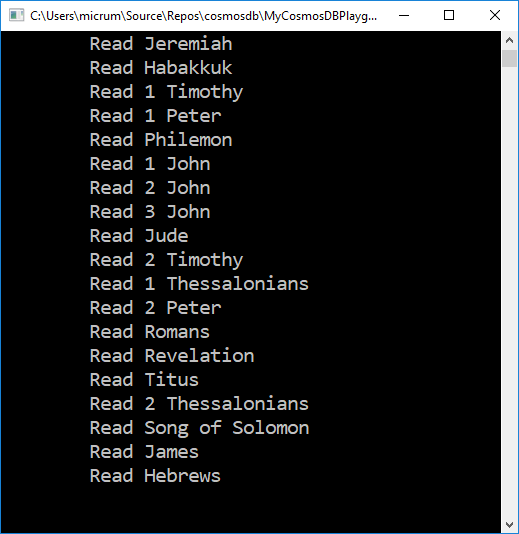
foreach (dynamic book in bookQuery)
{
Console.WriteLine("\tRead {0}", book.book);
}
Console.Read();
2
3
4
5
6
7
8
9
10
11
12
13
14
15
16
Why did you use Dynamic? I used a dynamic type because the structure of your collection will be different everytime. It would be best to stub out a class and add properties for each field in your collection. There are example online of how to do that.
In this instance, I am just displaying all the book of the Bible.
You could add a .Where clause and many more. As stated earlier, I typically use this for exploring and trying different settings as shown below: