
TIP
🔥 Checkout the Azure Developer page at azure.com/developer (opens new window).
💡 Learn more : about Azure Database for PostgreSQL (opens new window).
📺 Watch the video : How to use Flexible Server in Azure Database for PostgreSQL (opens new window).
# How to use Flexible Server in Azure Database for PostgreSQL
# Highly configurable PostgreSQL server
Azure Database for PostgreSQL (opens new window) provides a managed PostgreSQL server that allows you to focus on using PostgreSQL, instead of focusing on managing your database server. You can choose to run Azure Database for PostgreSQL as a Single server (opens new window), which is designed to handle most of the database management functions such as patching, backups, high availability, and security with minimal user configuration and control. You can also create an Azure Database for PostgreSQL with a Flexible Server (opens new window), which allows for more configuration and control of the database server.
In this post, we'll create an Azure Database for PostgreSQL with the Flexible Server option.
# Prerequisites
If you want to follow along, you'll need the following:
- An Azure subscription (If you don't have an Azure subscription, create a free account (opens new window) before you begin)
# Create a Flexible PostgreSQL server
We will use the Azure portal to create an Azure Database for PostgreSQL and connect to it using the Azure Cloud Shell (opens new window).
Go to the Azure portal (opens new window)
Click the Create a resource button (the plus-sign in the top left corner)
Search for database for postgresql, select the "Azure Database for PostgreSQL" result and click Create
- This shows the Select Azure Database for PostgreSQL deployment option screen
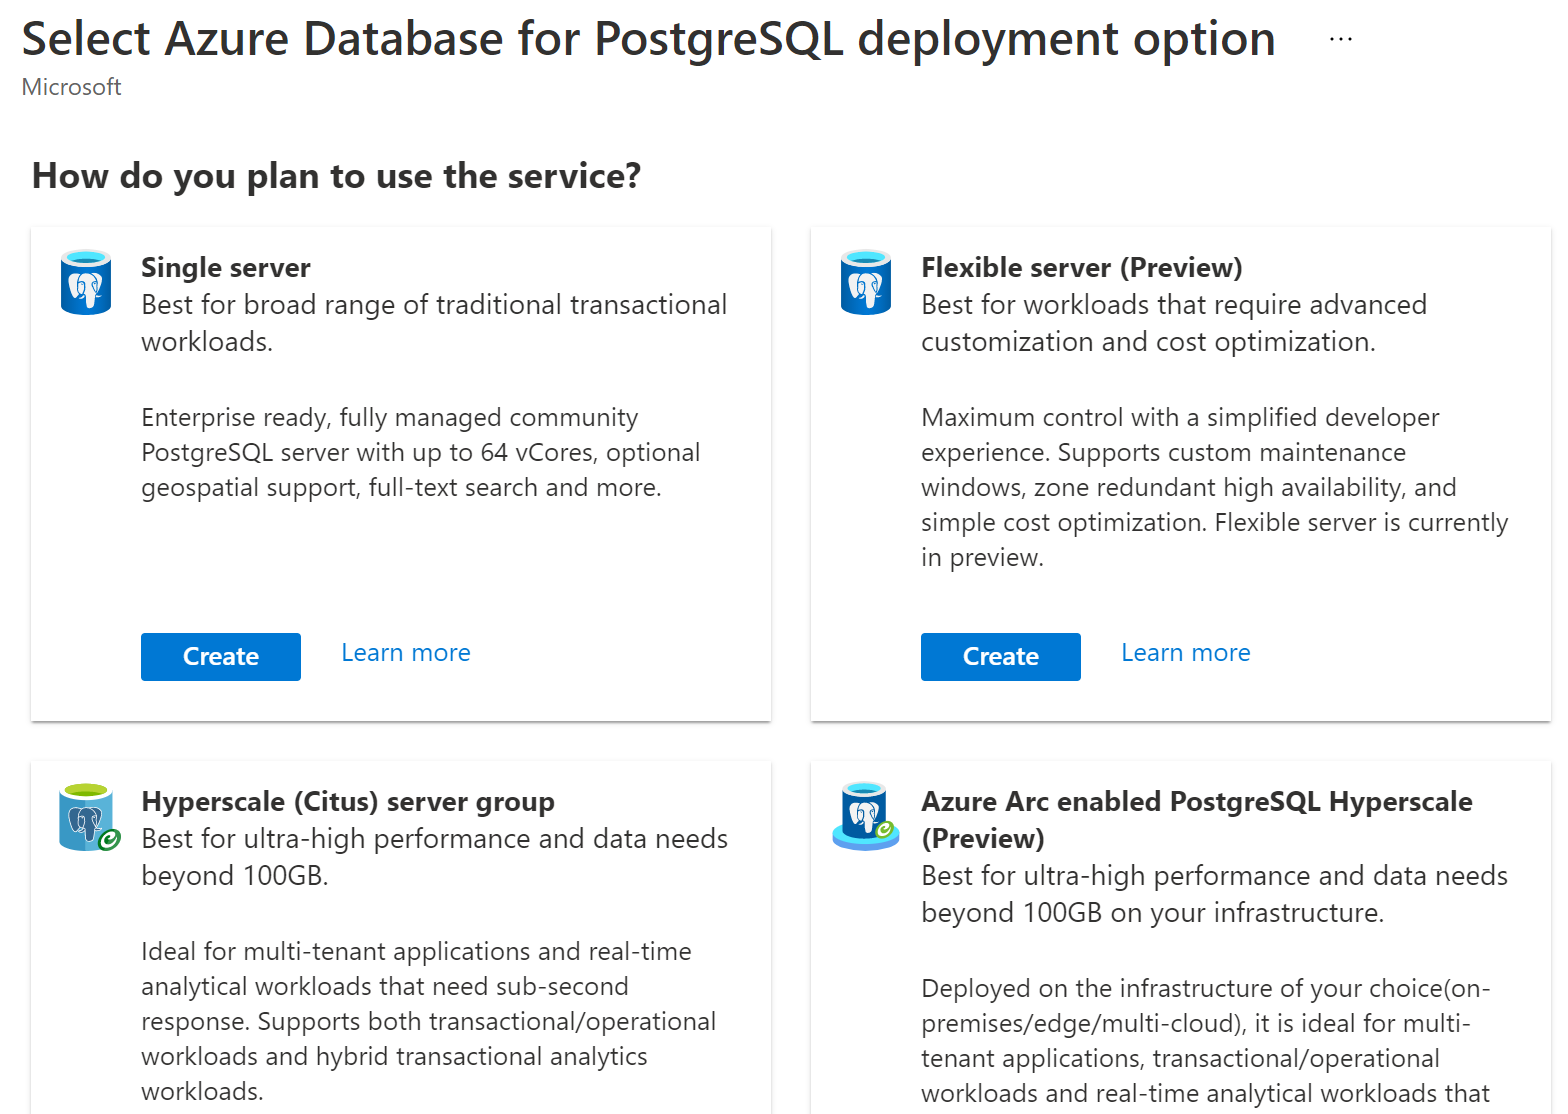
(Azure Database for PostgreSQL server options)
- Click the Create button under Flexible server. This opens the Flexible server blade
- Select a Resource Group
- Fill in a Name for the server
- Select a Region
- Choose a Workload type. This determines the compute and storage option that you use. Flexible server offers the option to use Burstable compute, which ramps up the server CPU only when needed. This is great for non-production workloads
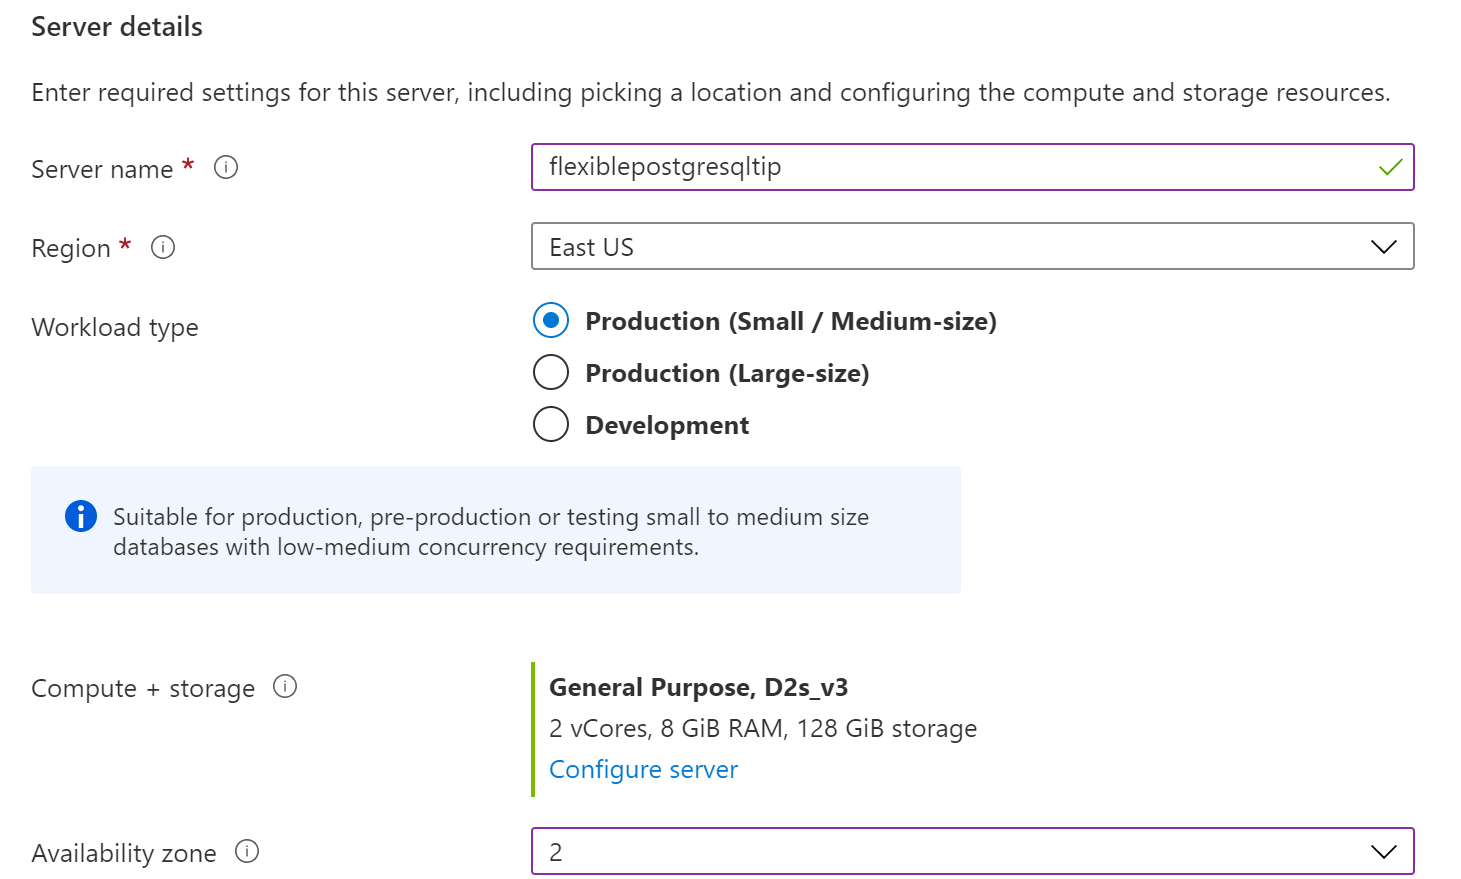
(Flexible server creation options)
- You can configure compute and storage in more detail, by clicking on configure server. This brings up the Compute + storage blade. This allows you to set the size of the VM on which the server runs, and the storage size and performance on which your data sits. In this blade, you can also configure the server backups and make them geo-redundant (you can only choose this when you don't use a burstable compute tier)
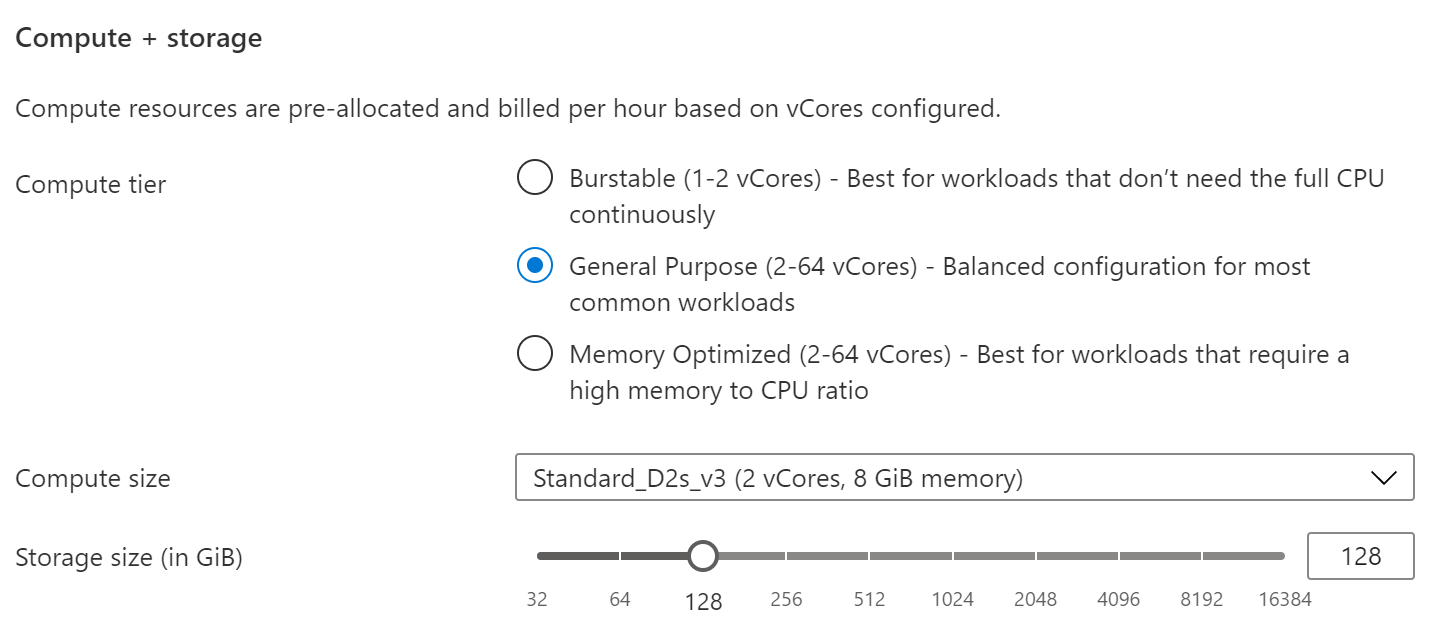
(Compute + storage options)
- Next, choose the availability zone you want the VM(s) that runs the PostgreSQL server to use
- Leave the High Availability setting unchecked. You should use this when you want additional availability precautions within availability zones, for production workloads. As we are using the burstable compute tier for development workloads, we don't need this
- Leave the PostgreSQL version to the selected version
- Fill in an Admin username that you will use to connect to the server
- Type a Password for the admin user and confirm the password
- Select Next:Networking
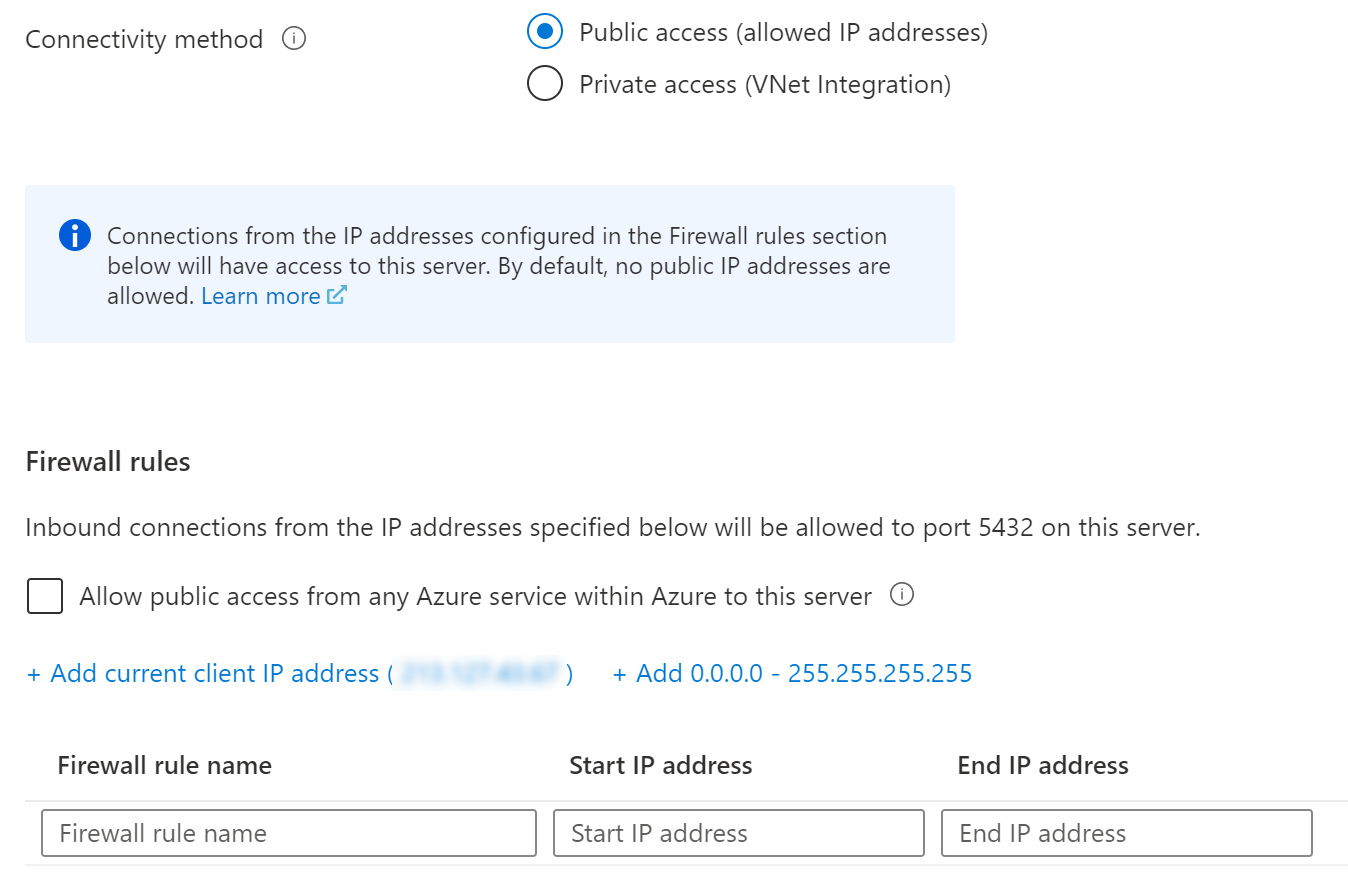
(Configure networking options)
- Flexible server can put the server in a virtual network, so that it is not exposed to the internet. You can also allow the server to be accessed through the internet and secure it with a firewall. This is what we will do. Select Public access (allowed IP addresses)
- Under Firewall rules, select the Add 0.0.0.0 - 255.255.255.255 link to add a firewall rule that allows all IP addresses to access the server. You should never use this firewall rule for a real-world application, but you can use it for development or demo purposes
- Click Review + create and then Create to create the server
When the Azure Database for PostgreSQL server is created, navigate to it in the Azure portal. In the overview blade, you'll see that you can stop the server. This is a feature of Flexible server. Stopping the server can save you a lot of money when you don't use it.
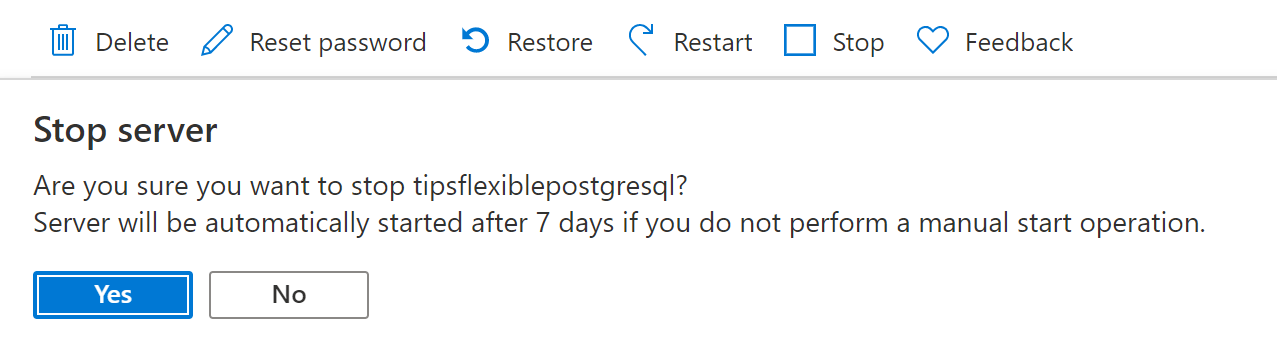
(Stop the server from the Azure portal)
You can use the Azure Database for PostgreSQL server with your tool of choice. We will use the Azure Cloud Shell to connect to it. Azure Cloud Shell comes with the psql.exe tool preinstalled, through which we can use the PostgreSQL server.
- Go to https://shell.azure.com/ (opens new window)
- Execute the following command, and replace the servername and username with your own
psql -h servername.postgres.database.azure.com -U username -p 5432 -d postgres
That's it. We are now connected to the Azure Database for PostgreSQL flexible server.

(Connected to the flexible server from the Azure Cloud Shell)
# Conclusion
The Flexible server (opens new window) option for Azure Database for PostgreSQL (opens new window) allows you to customize high availability, maintenance windows, use burstable compute, and stop and start the server. Go and check it out!