
TIP
🔥 Make sure you star the repo (opens new window) to keep up to date with new tips and tricks.
💡 Learn more : Advanced Threat Protection (opens new window).
📺 Watch the video : Configure Advanced Threat Protection in Azure SQL Database (opens new window).
# How to Configure Advanced Threat Protection in Azure SQL Database
# Secure your data with Azure SQL Databases
One of the most widely-used services in Azure is Azure SQL Database (opens new window). It is great for storing relational data and making sure that the data is secure, scalable and reliably stored and backed up. All without having to manage any infrastructure, as Azure manages that for you.
On top of that, Azure SQL Database comes with many advanced features out of the box, like geo-replication (opens new window), automatic performance tuning (opens new window) and advanced threat protection (opens new window). And that last one is the feature that we will configure in this post.
# Prerequisites
If you want to follow along, you'll need the following:
- An Azure subscription (If you don't have an Azure subscription, create a free account (opens new window) before you begin)
- An Azure SQL Database Server. You can create one using this tutorial (opens new window)
# Configure Advanced Threat Protection in Azure SQL Database
We'll start with an existing Azure SQL Database Server and configure advanced threat protection for it. Threat protection is a feature that you enable for the complete server and all of the databases in it.
- In the Azure portal (opens new window), go to the Azure SQL Database Server
- Select Advanced Data Security from the menu
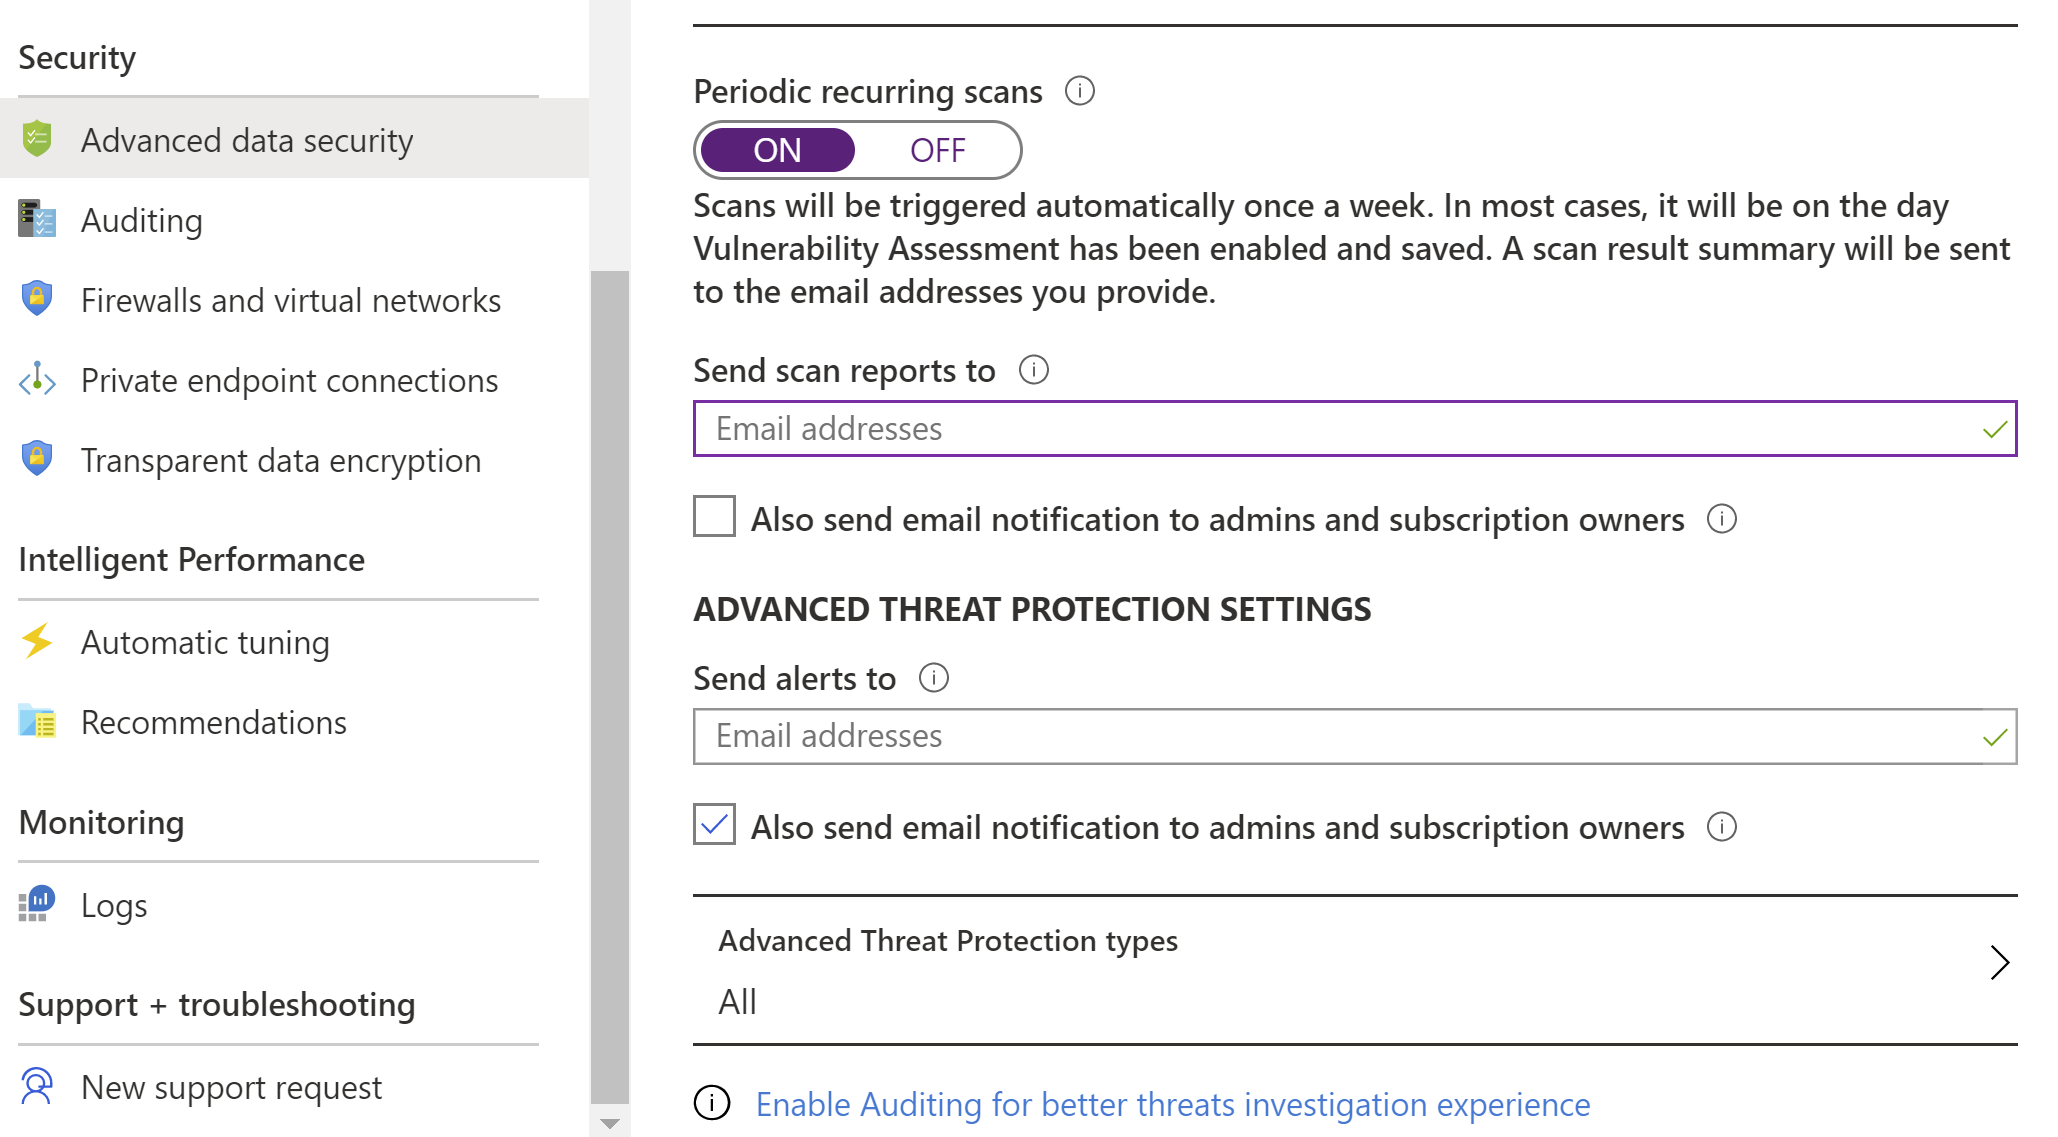
(Advanced Threat Protection in the Azure portal)
- Set Advanced Data Security to On
- You can choose to let it run a vulnerability assessment every week and send the reports to you
- In the Advanced Threat Protection Settings section, you can provide an e-mail address that you'll receive alerts on when threat protection finds any vulnerabilities or detects a security anomaly. Also, you can check the box to let this e-mail be sent to admins and subscription owners
- Select Advanced Threat Protection types. In here, you can select which types of threats you want to be detected. Select the threat types you want to monitor and select OK to go back.
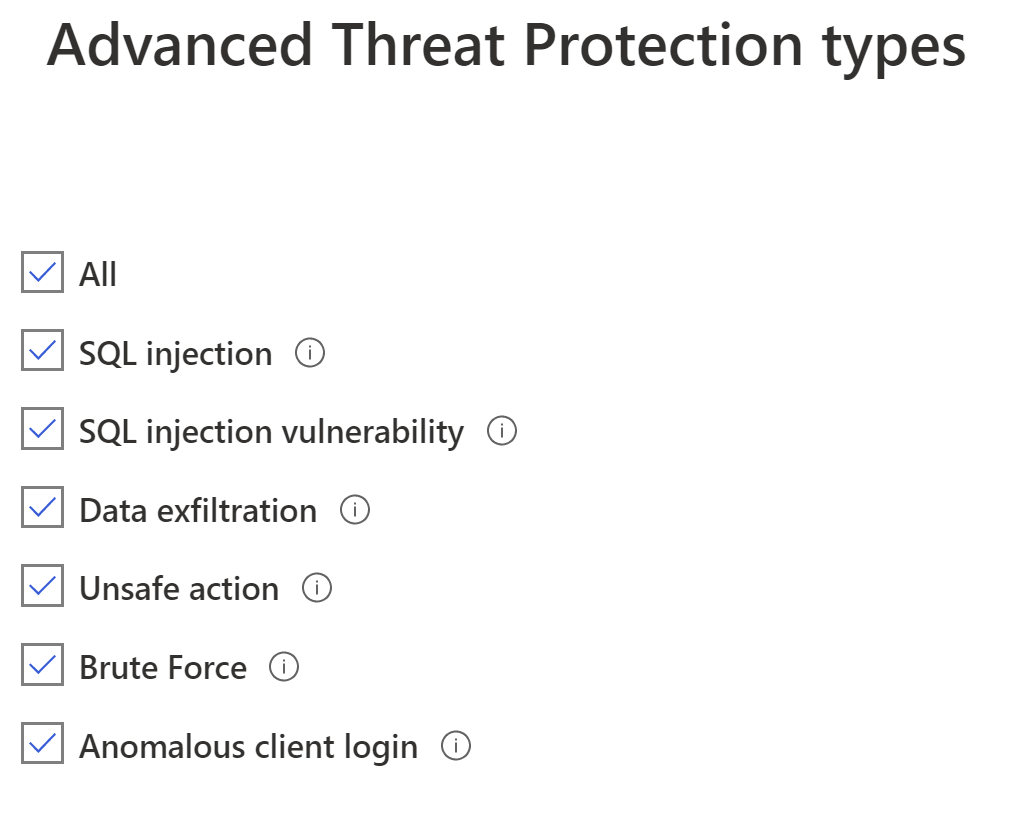
(Advanced Threat Protection types in the Azure portal)
- Back in the advanced data security blade, select Save to save your configuration
- To enhance your security and make it easier to troubleshoot threats, you can enable Auditing. Go to Auditing in the menu to enable it
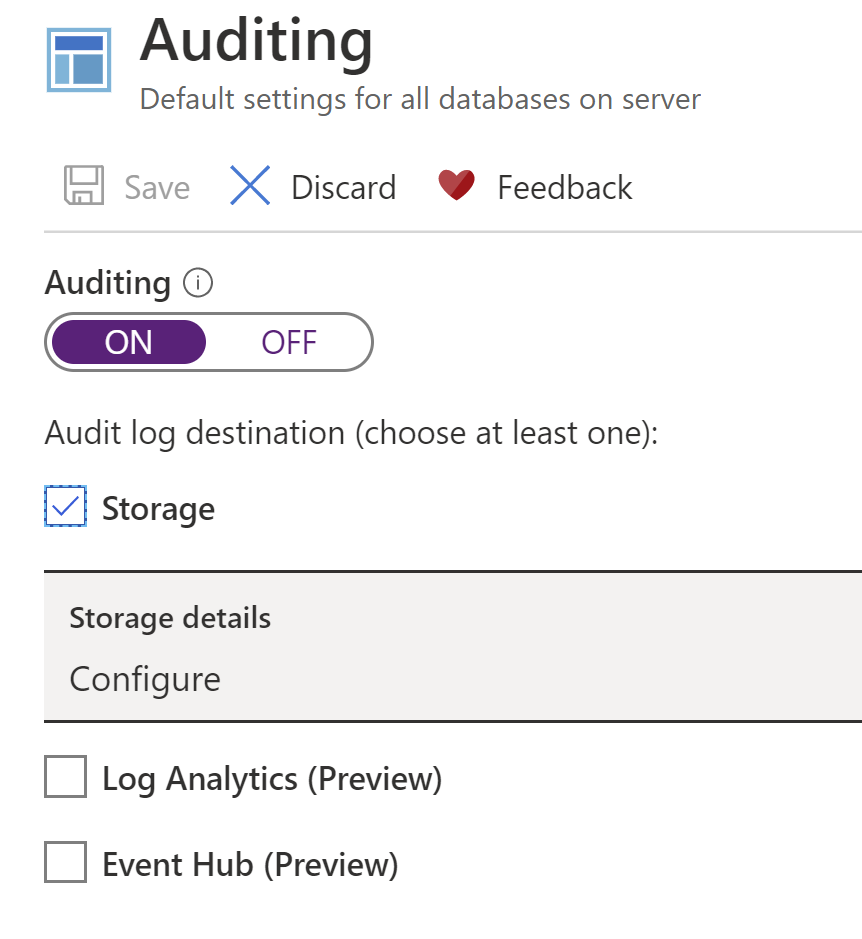
(Auditing in the Azure portal)
- Turn it On
- Select and configure a place to store the audit logs, like in Azure Storage
- Select Save to enable Auditing
That's it. Advanced Threat protection is now enabled and will alert you when it detects security threats or anomalies.
# Conclusion
Azure SQL Database (opens new window) allows you to easily configure Advanced Threat Protection (opens new window), which detects security anomalies and threats and let's you know about them. Go and check it out!