Task 07: Enable Live Response and upload a script
-
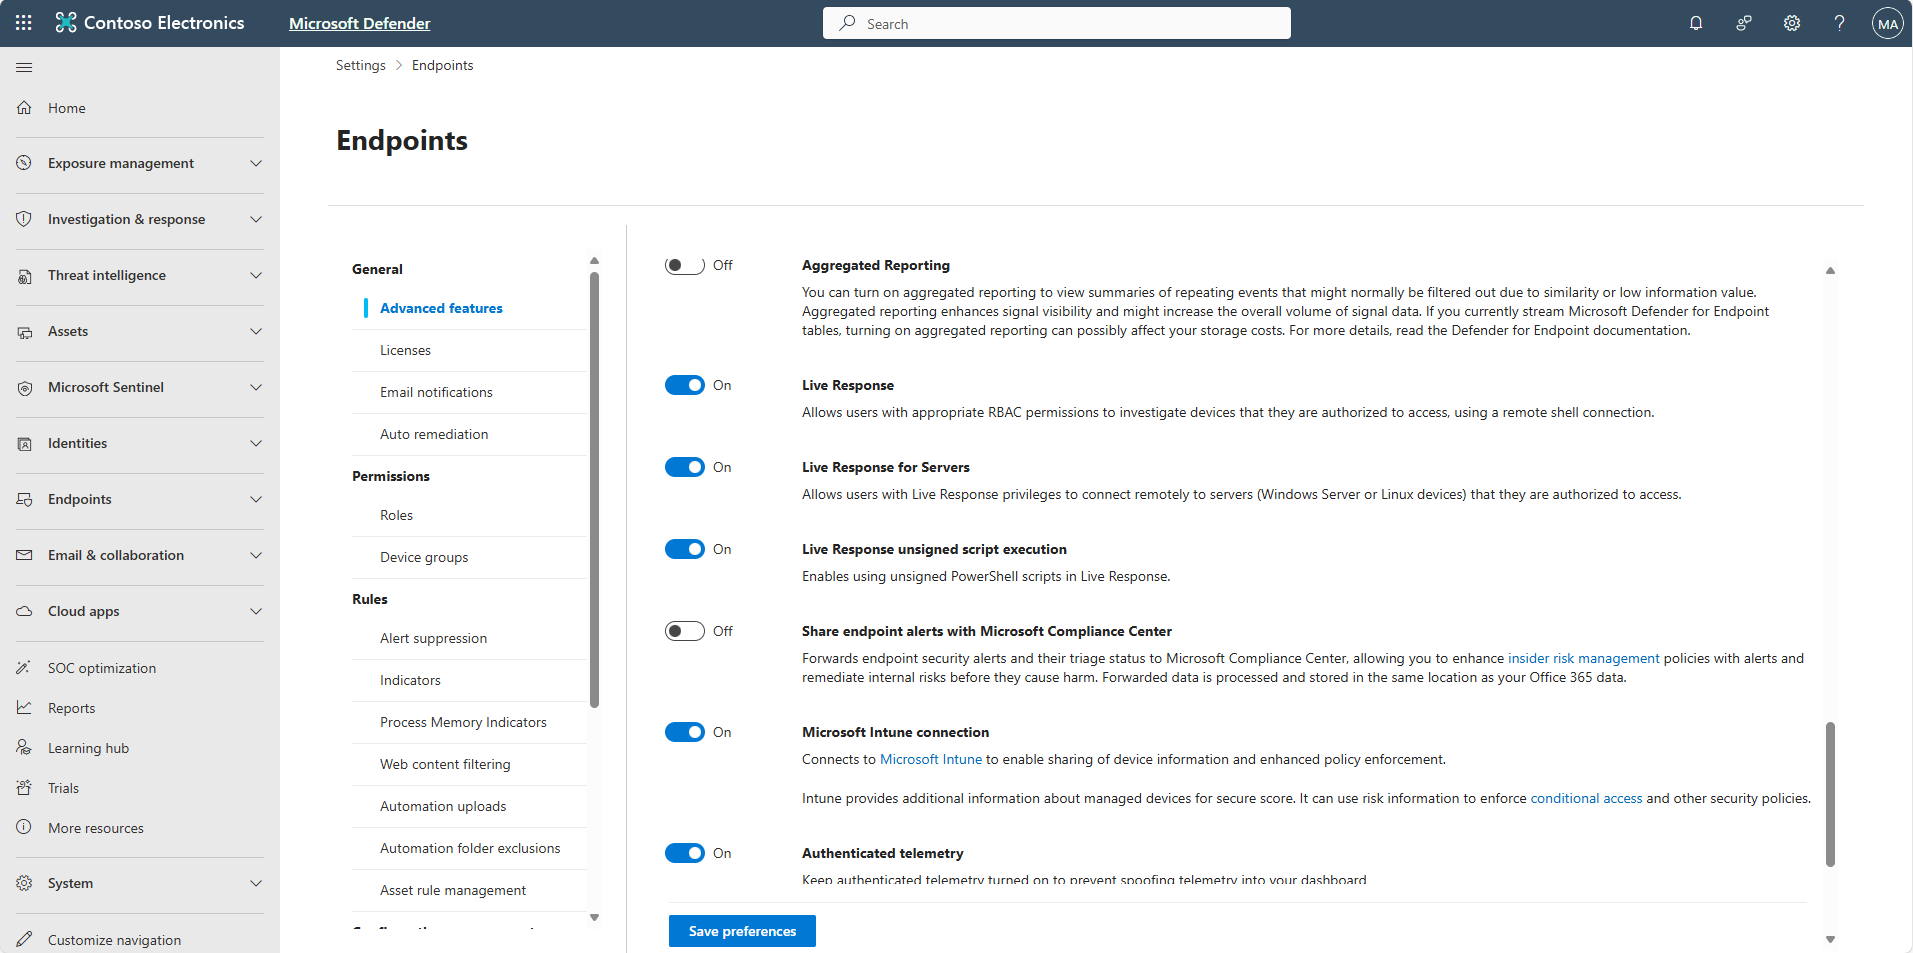
In the leftmost pane, go to System > Settings.
-
Select Endpoints.
-
Stay on General > Advanced features.
-
Verify whether Live Response, Live response for servers, and Live response unsigned script execution settings have been turned on. If not, turn it on and select Save.
-
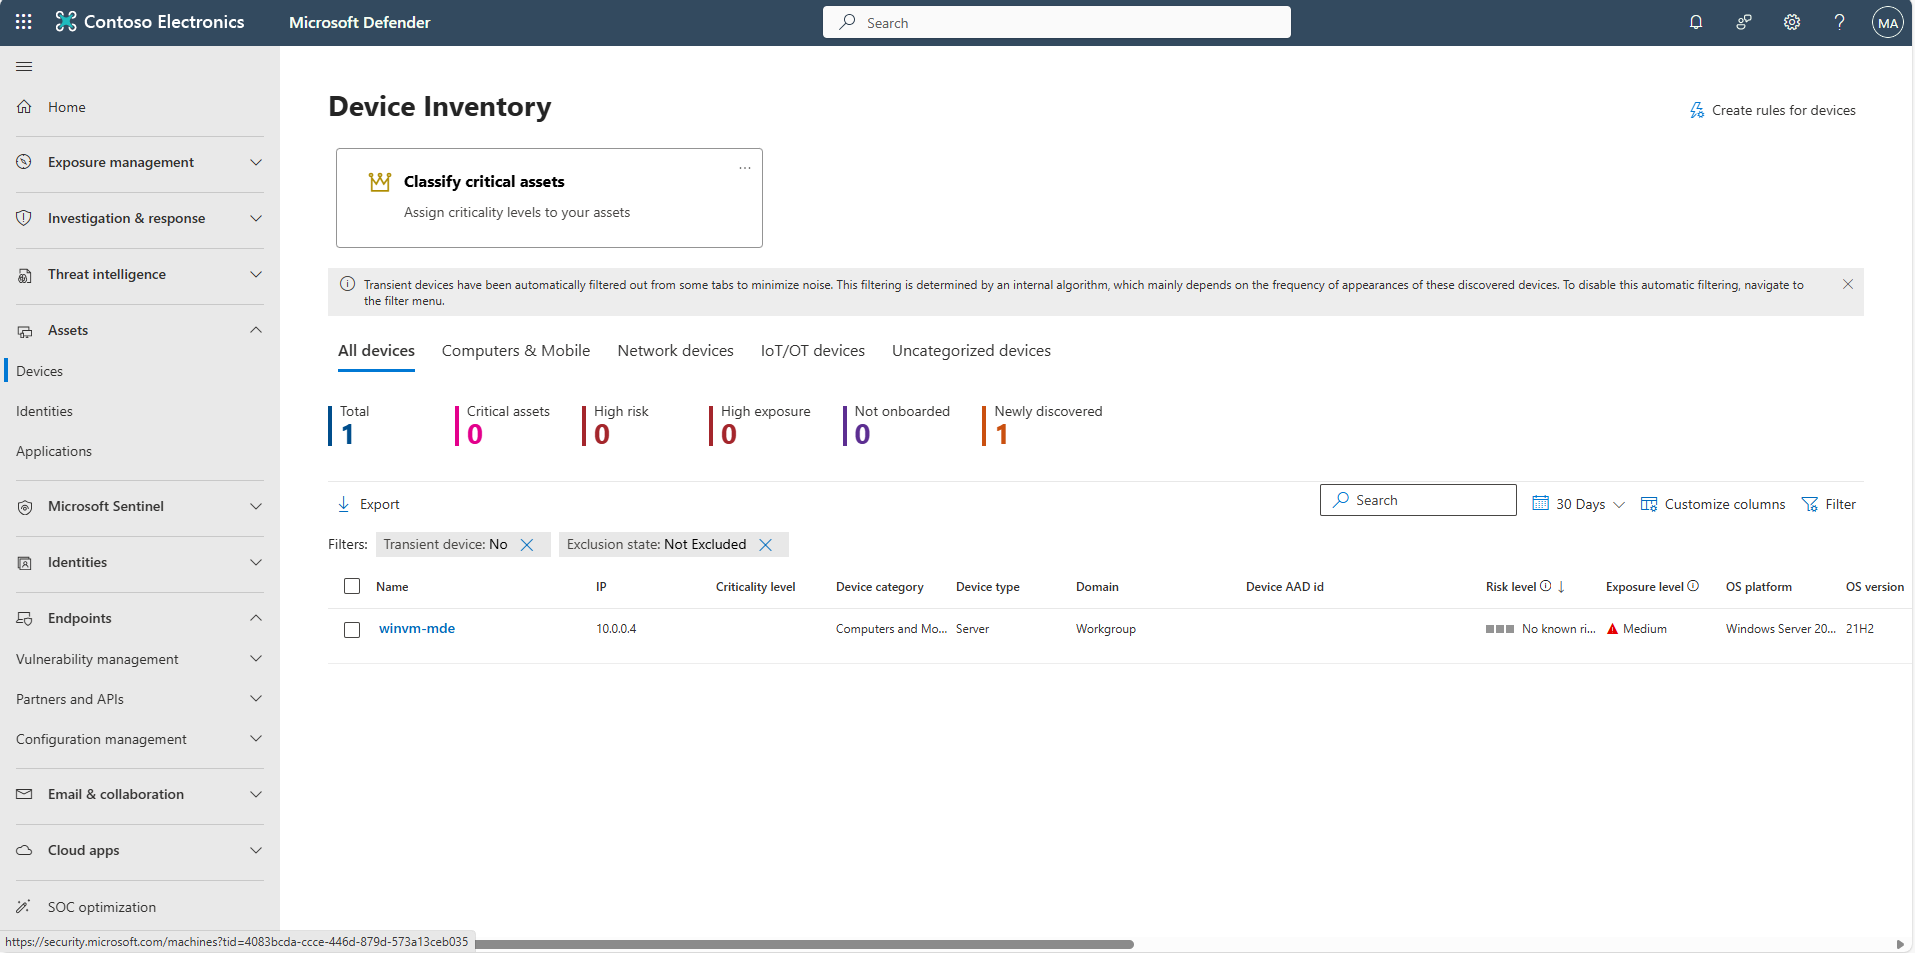
In the leftmost pane, select Assets > Devices.
-
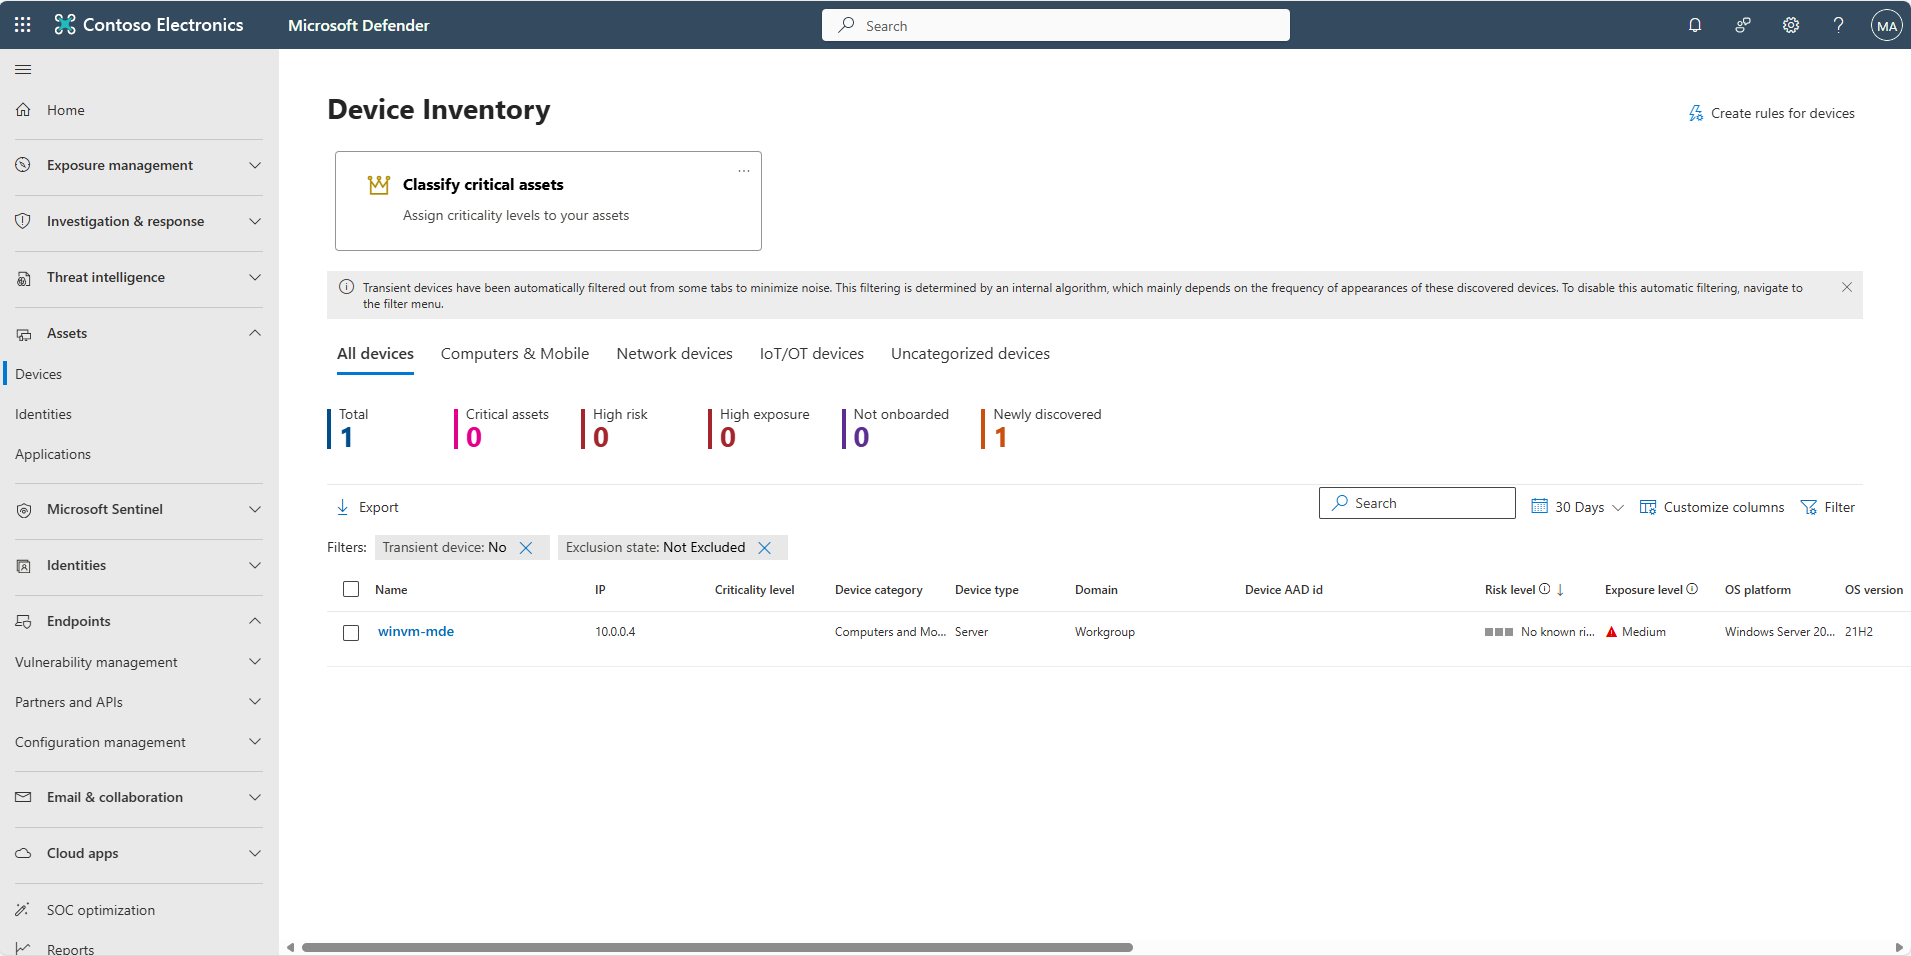
Select your onboarded Azure Windows VM, winvm-mde.
-
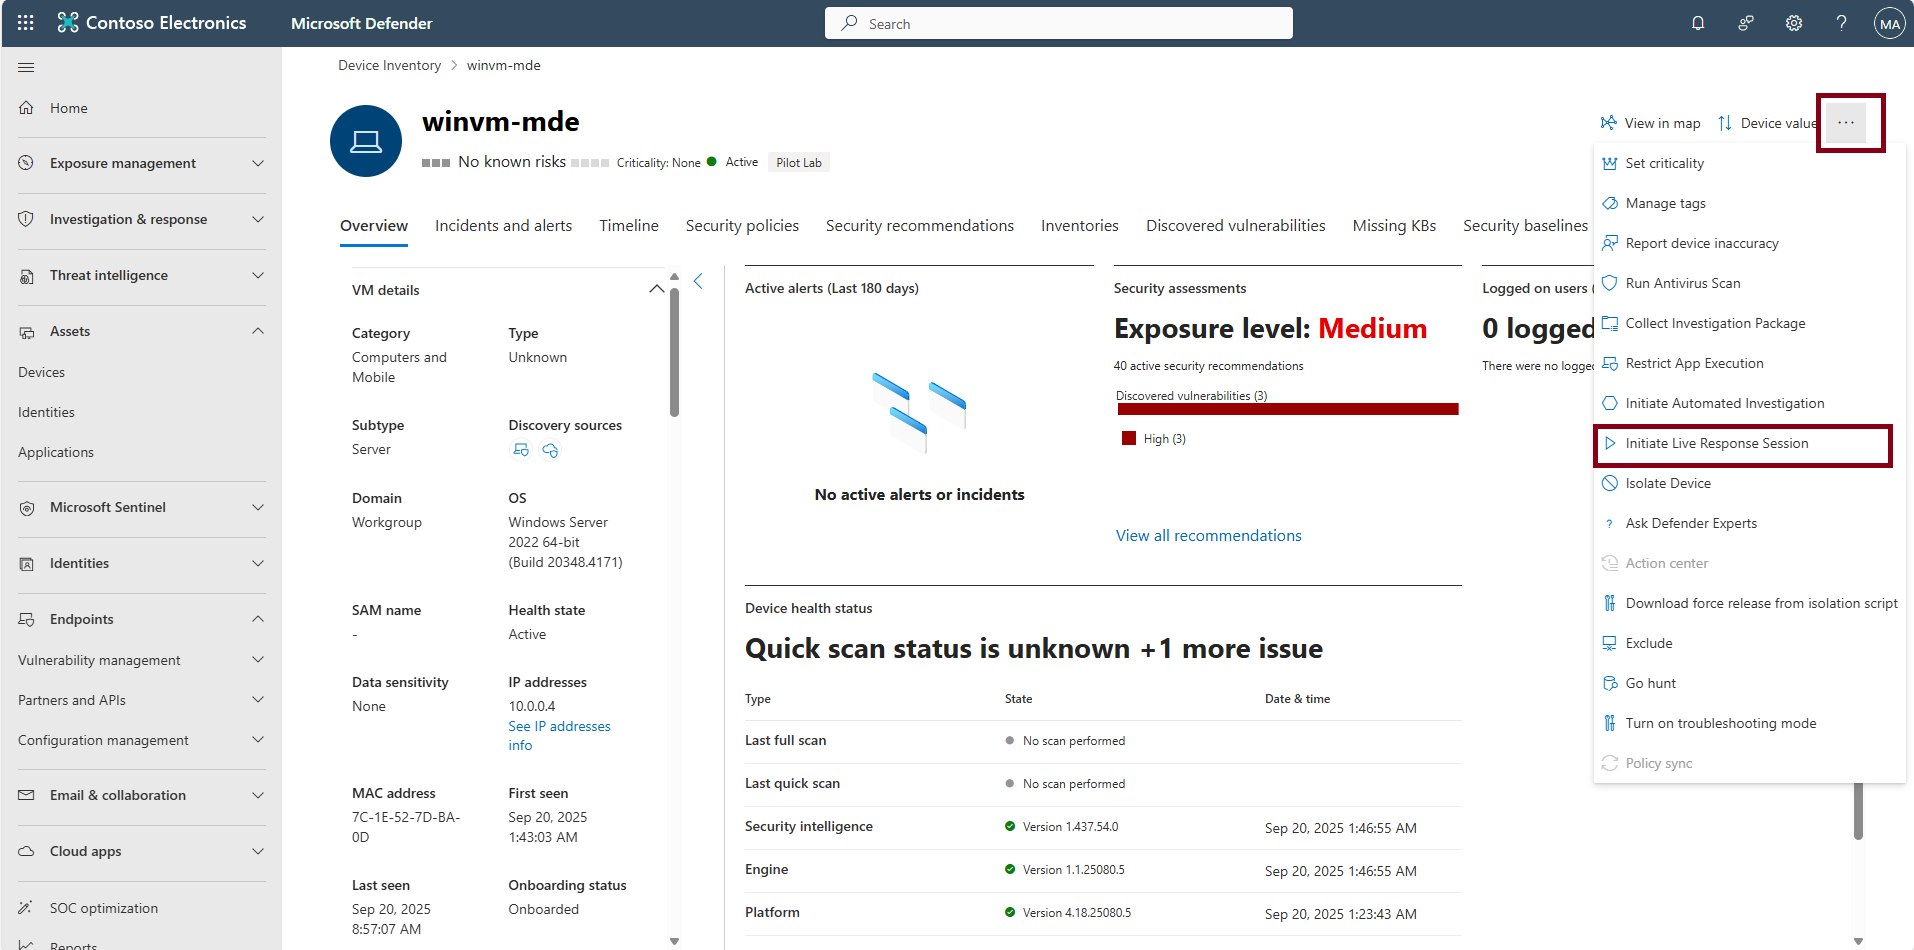
In the upper-right corner of the page, select the ellipsis to open the More actions menu, then select Initiate Live Response Session.
-
In the console, run
dirto confirm access.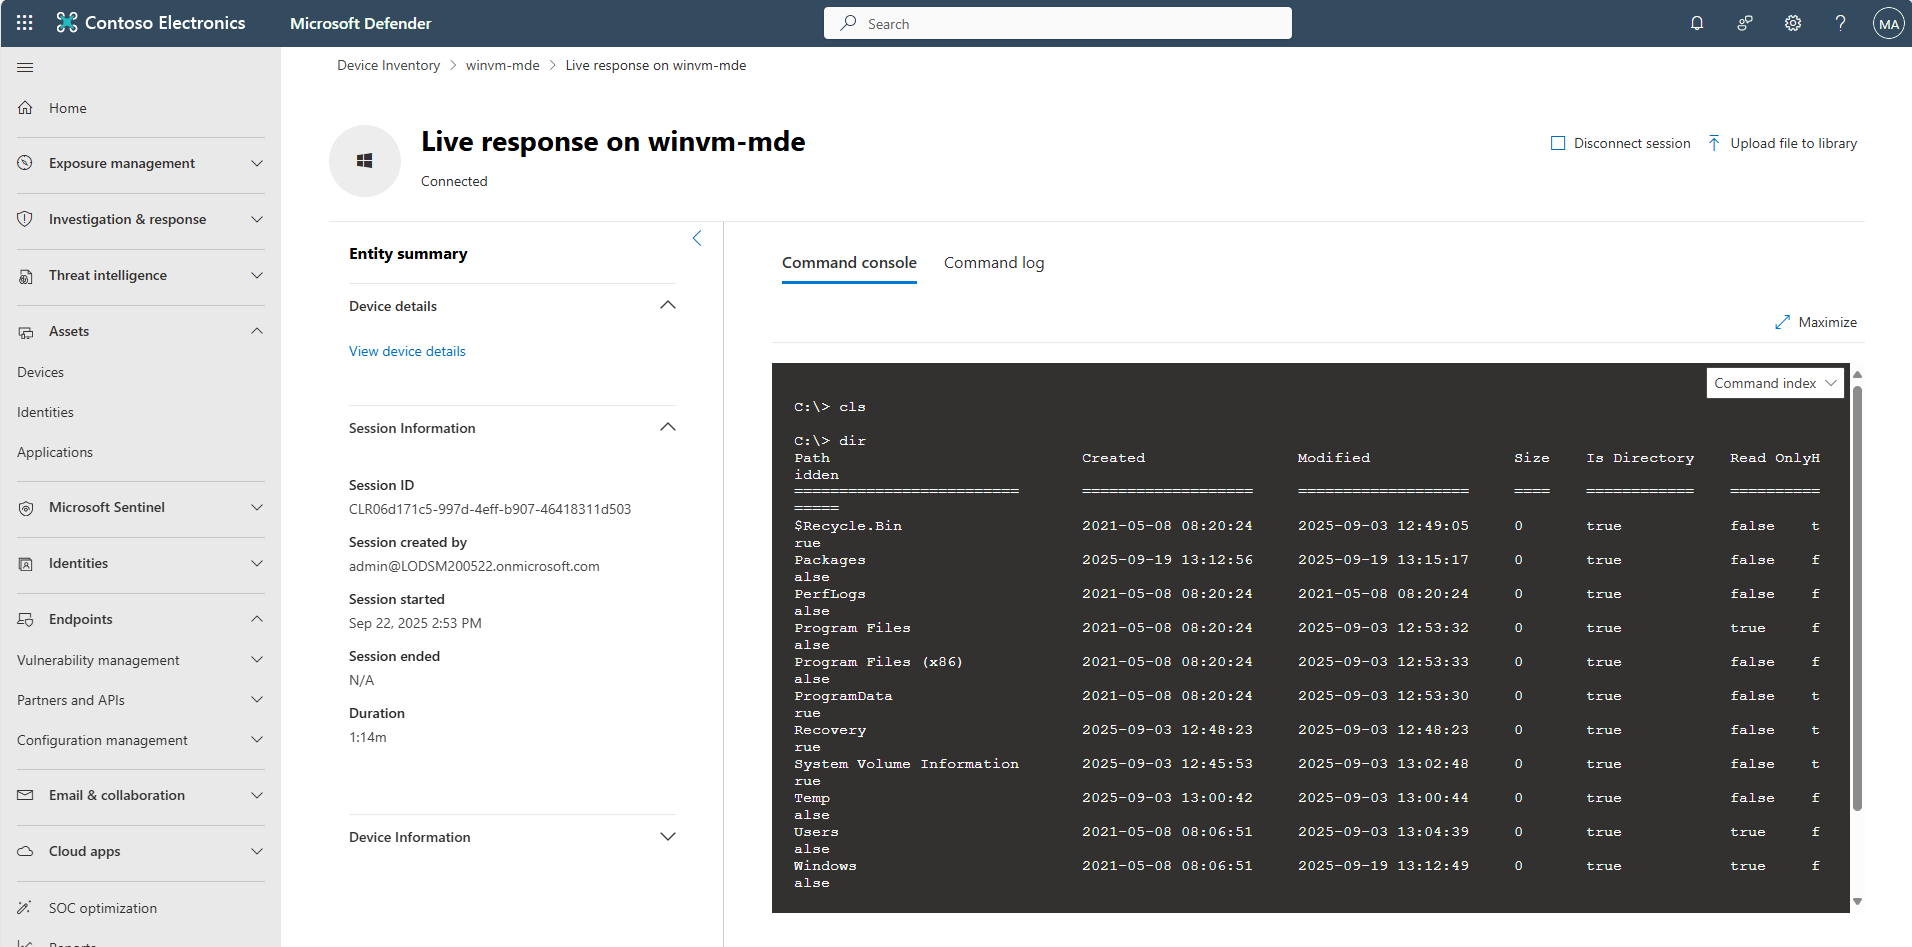
-
In the upper-right corner of the page, select Upload file to library.
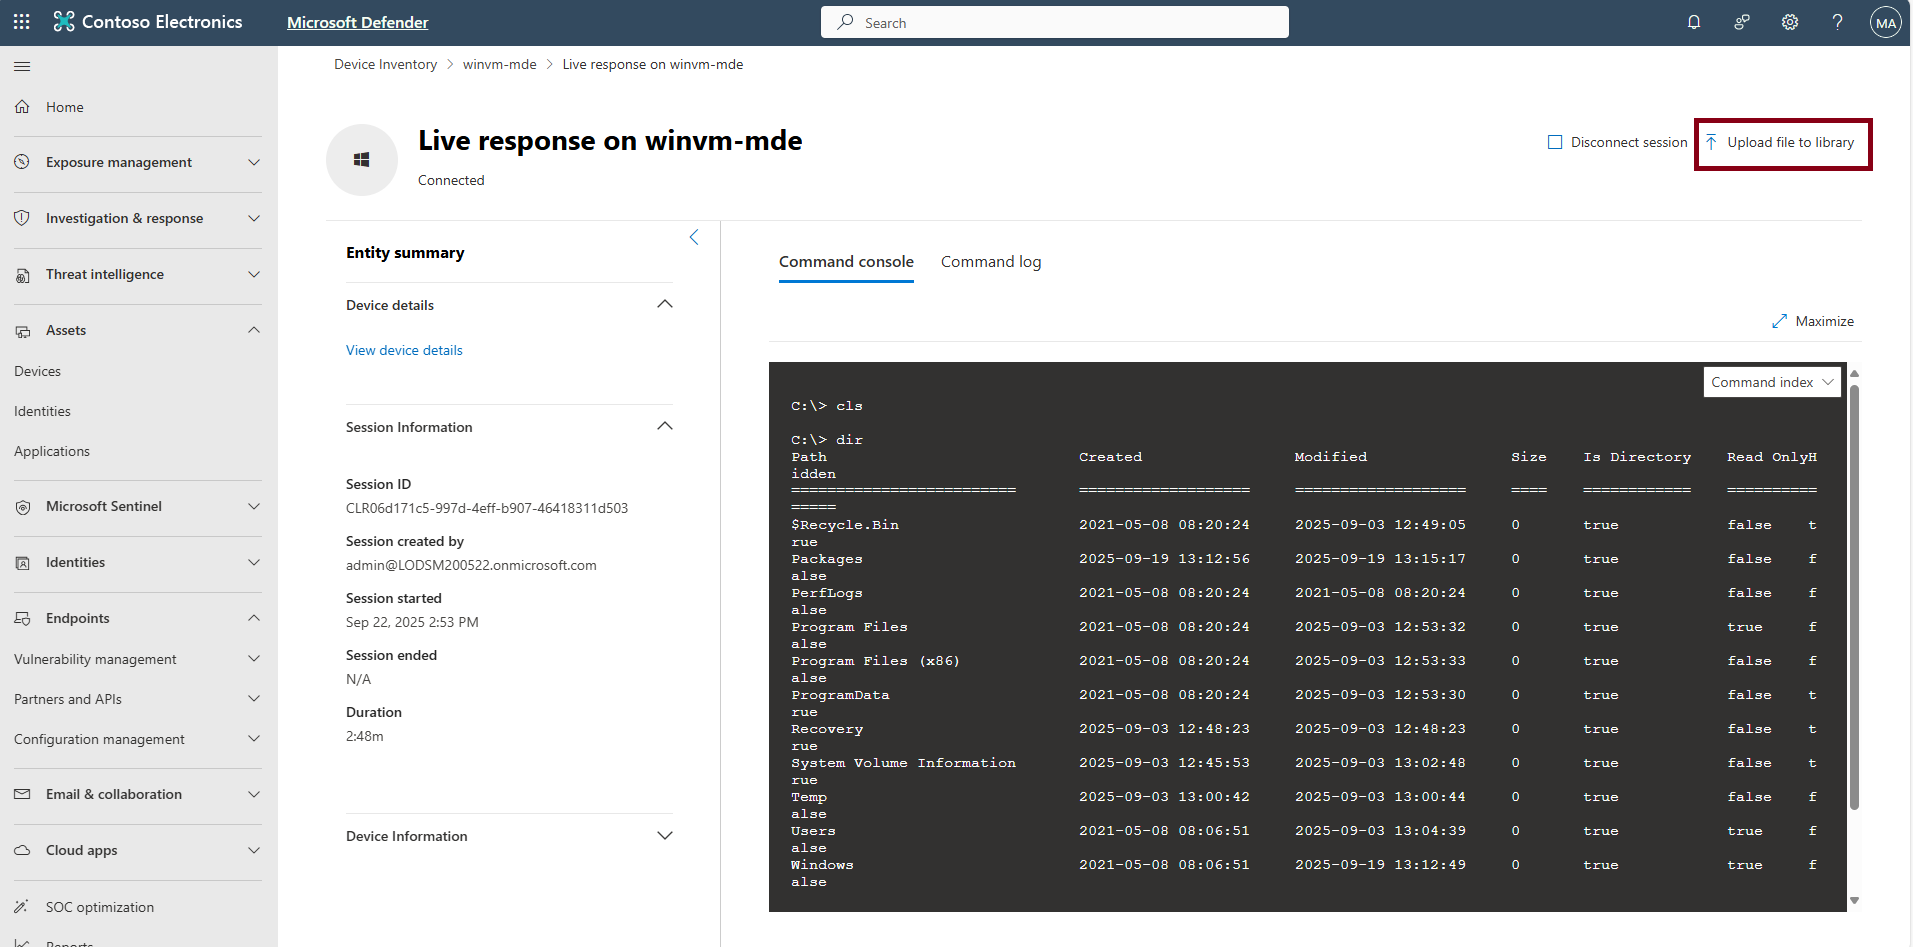
Depending on window size, you may need to select the ellipsis in the upper-right corner of the page to open the More actions menu to see the option.
-
In the flyout pane, select Upload file to library.
-
On the lab VM, @lab.VirtualMachine(Workstation1).SelectLink, go to
C:\Lab Files, select the lr-proof PowerShell script, then select Open.
In production, sign your scripts.
-
At the bottom of the flyout pane, select Submit.