
TIP
💡 Learn more : App Service Documentation (opens new window).
📺 Watch the video : How to Work with Extensions in Azure App Service (opens new window).
# Adding Extensions to Web Apps in Azure App Service
We've recently created a web app (opens new window) and uploaded it to Azure App Service. We also took a look at multiple ways (opens new window) to examine those files through the Azure portal interface. In this post, we'll take a look at extensions that you can add to Azure app services to add additional functionality.
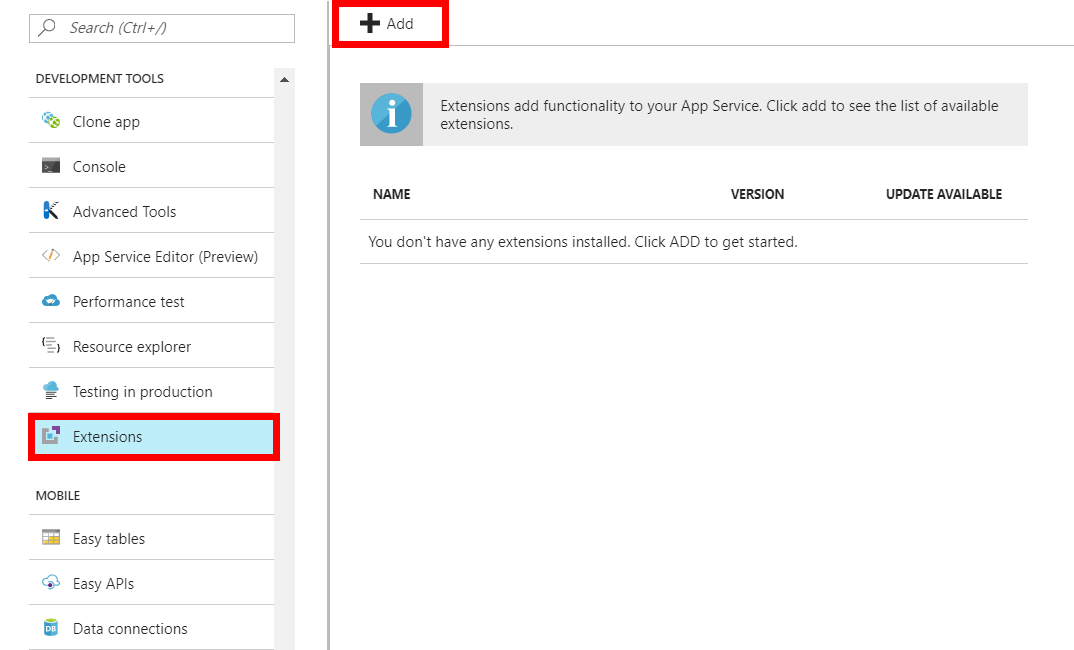
# Back in the Azure Portal
I can go to the Azure Portal and select my App Service and click on Extensions under Development Tools to get started. Then click on the Add button.
In the choose extension screen, you have a vast variety of extensions to select from. Some are from MS and others are from independent authors.
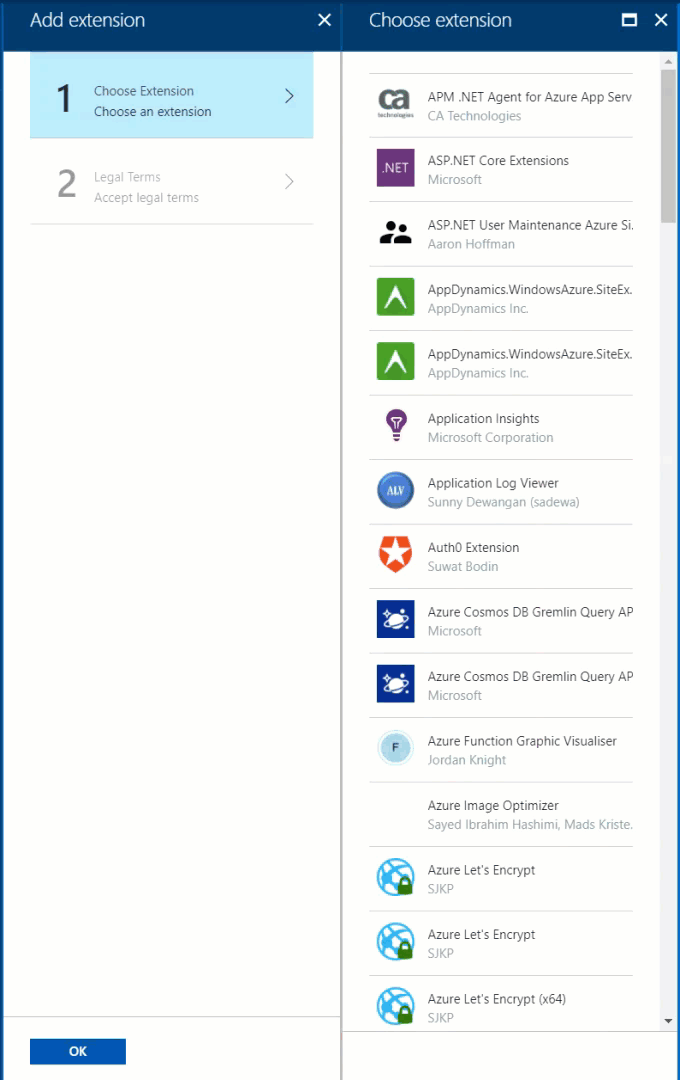
Select Azure Web Apps Disk Usage by Rajrang Rapuri and agree to the terms and press OK. It should only take a moment to install and then navigate back to Extensions.
What does this thing do? Azure Web Apps Disk Usage is a web based File Explorer which lists all folders for your website with size. It provides detailed information about files and folders name, size, number of files, last date modified and percentage of disk usage. This tool provides a tree like folder view for easier parsing.
If you right-click on the item that you just installed, then you'll see that you can pin, browse, update or delete it.
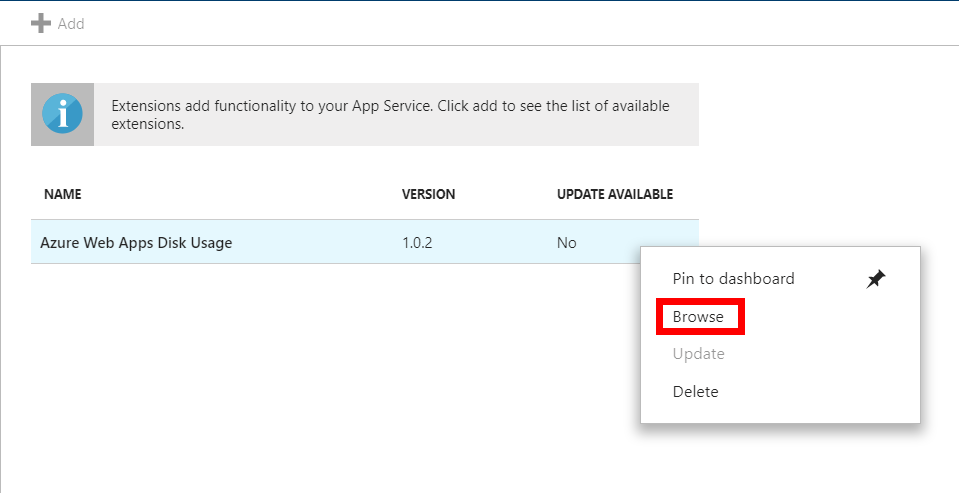
We'll select browse and it will redirect us to the extension that we installed.
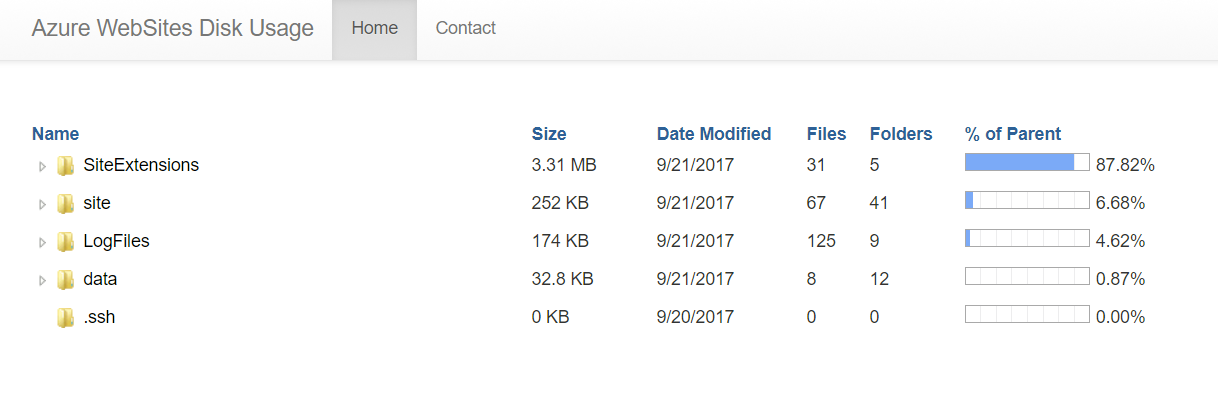
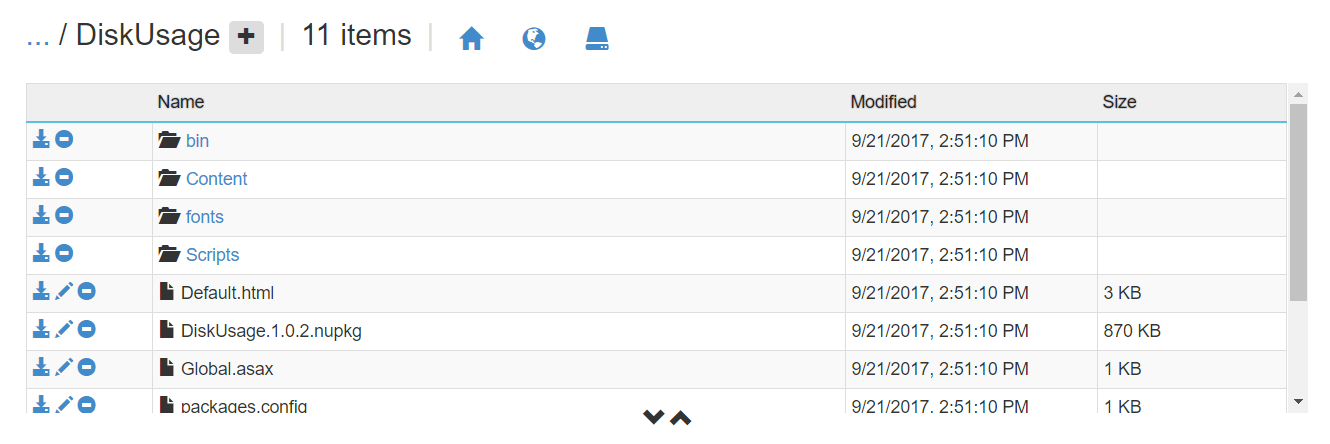
Cool! We're able to see the extension working.
# Exploring the Extension in the File System
You may be wondering what happened when we clicked on the Extension. Well, if we click on the Kudu Advanced Tools* option in the Azure Portal, then navigate inside SiteExtensions and then DiskUsage, then we'll see that here is where the extension was installed into.
Source Code The source code to the extension that we installed can be found here (opens new window)