TIP
💡 Learn more : Azure SignalR Service (opens new window).
# Easily add real-time web functionality to applications with Azure SignalR Service
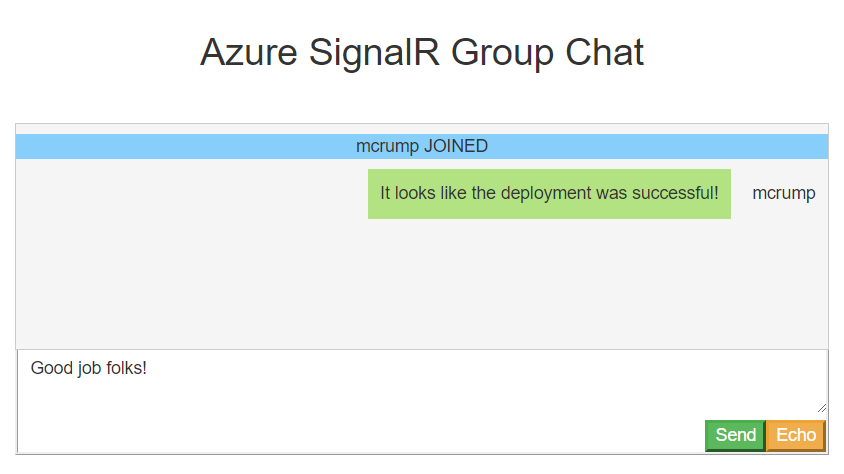
Hi, folks. Today I wanted to chat with you about real-time web functionality. Normally when we think of the web, we think of a mostly passive experience. When you bring up your mail web client and leave it for a while, your mail gets stale. You won’t get your recent emails until you refresh the page, or, if you’re lucky, your client has a timer that automatically refreshes the page for you. But it doesn’t have to be this way. SignalR (opens new window) is a technology that can push new emails to you as soon as they arrive. Using SignalR, you can even have a real-time, two-way conversation with someone over the web. And with Azure SignalR Service (opens new window), you get a fully managed service that helps you build real-time experiences such as chat (opens new window), stock tickers (opens new window), live whiteboard (opens new window), and more.
# Real-time web functionality with SignalR
SignalR is built on ASP.NET Core, and the secret sauce behind the SignalR architecture is something called Hubs (opens new window). Hubs run on your server and route messages in and out to make sure they get to the intended web recipient in real time. When you develop a Hub in your middleware, there are two pieces of code that tie everything together.
services.AddSignalR();
The first is the AddSignalR method, which you call in your web app’s Startup.ConfigureServices method to enable passing SignalR messages to SignalR.
app.UseSignalR(route =>
{
    route.MapHub<ChatHub>("/chathub");
});
2
3
4
The second call is to UseSignalR, which is placed in your web app’s Startup.Configure method. This makes SignalR aware of your Hub.
I’m telling you about this because these two methods become really important later when you move your SignalR app to Azure SignalR Service, which is really a lot more convenient than provisioning the infrastructure yourself.
By the way (in case you were curious), SignalR supports real-time two-way communication between clients by using WebSockets (opens new window) under the hood. But because not all browsers support WebSockets, it can also gracefully degrade to other technologies to support the same behavior. As a last resort, it just uses frequent polling of the server for changes.
# Azure SignalR Service
Setting up an Azure SignalR Service instance is straightforward.

In your Azure portal, select Create a resource to get started. Search for and select the “SignalR Service” template in the Marketplace.
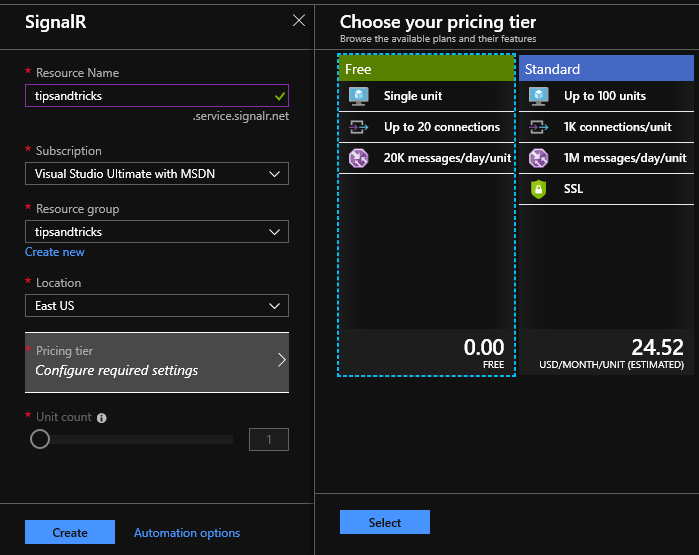
Click the Create button at the bottom of the template panel and fill in the details of your resource, including the resource name, location, and pricing tier (free is just fine for development). Click the second Create button at the bottom of the SignalR panel to allocate the service.
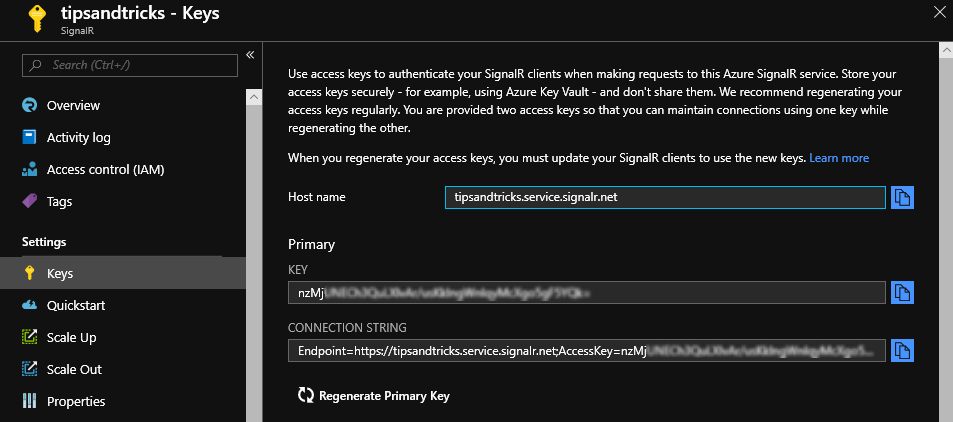
Once your SignalR resource is created, go into the Keys setting and copy your secret key.
# Moving your SignalR app to your SignalR Service
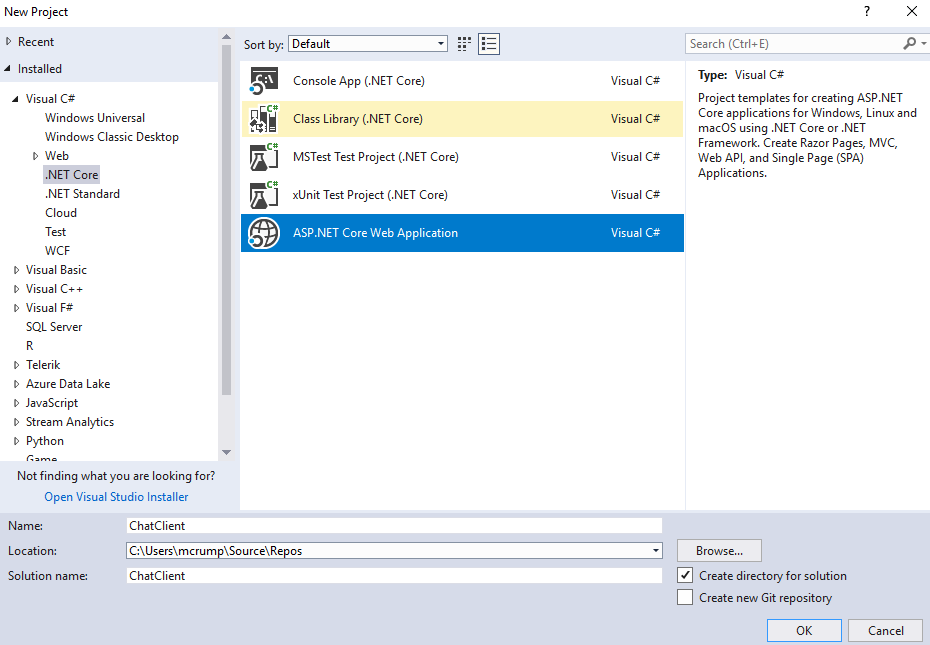
You should now develop your SignalR app in either VS Code or, as I do here, in Visual Studio using the ASP.NET Core Web Application project template.
There are lots of great tutorials (opens new window), and even completed samples (opens new window), that will show you how to do this, so I won’t waste your time with it. However, I do want to remind you to do three things before deploying your SignalR app to your SignalR Service.
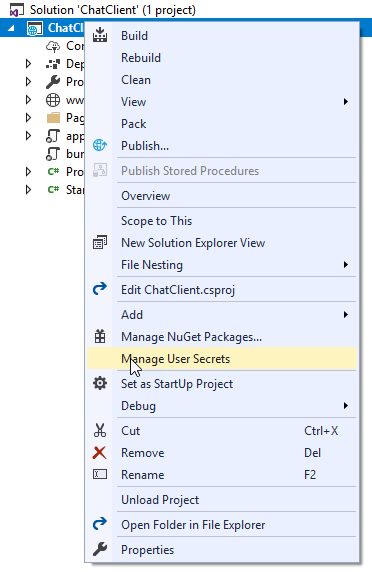
- The first thing you’ll want to do is store your secret key using the Secret Manager (opens new window). Right- click your project in Solution Explorer and use the Manage User Secrets option.
This will store your secret outside of your actual project for added security during development. When you get ready to move to test or production, you will want to use Azure Key Vault (opens new window) instead.
- Next, find your AddSignalR method and append AddAzureSignalR to it like this:
services.AddSignalR().AddAzureSignalR();
- Finally, find UseSignalR and replace it with
//app.UseSignalR(route =>
//{
//    route.MapHub<ChatHub>("/chathub");
//});
app.UseAzureSignalR(route =>
{
    route.MapHub<ChatHub>("/chathub");
});
2
3
4
5
6
7
8
These steps will switch your app from a standard SignalR application to one that uses Azure SignalR Services.
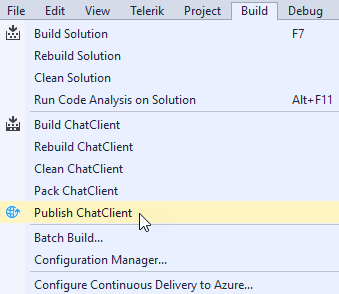
Now, select Publish from the Build menu and deploy to your service with the click of (a few) buttons. Your infrastructure provisioning and traffic monitoring are all taken care of.