TIP
👊 that ⭐️ button on the official GitHub repo (opens new window) to stay up to date.
💡 Learn more : Azure App Service Web App (opens new window)
# Build and deploy your first app with the Azure SDK for Java on Azure
Azure is a very inclusive cloud platform. You can run applications on it that have been created in almost any programming language. This includes Java. And Microsoft has even created an Azure Toolkit for Eclipse to make it easier to use Azure when you are developing Java applications. Let's see how that works. In this post, we'll create a simple Java application and run that in an Azure App Service Web App (opens new window).
# Getting your development environment ready
Before we get started, we need to make sure that we can develop Java applications on our development machine and that we have the Azure toolkit for Eclipse installed. Follow the steps below to get your development environment ready.
- Download and install the latest Java Development Kit (opens new window)
- I'm sure you have eclipse installed already but for those new to Java it can be found here. (Eclipse IDE for Java EE Developers) (opens new window).
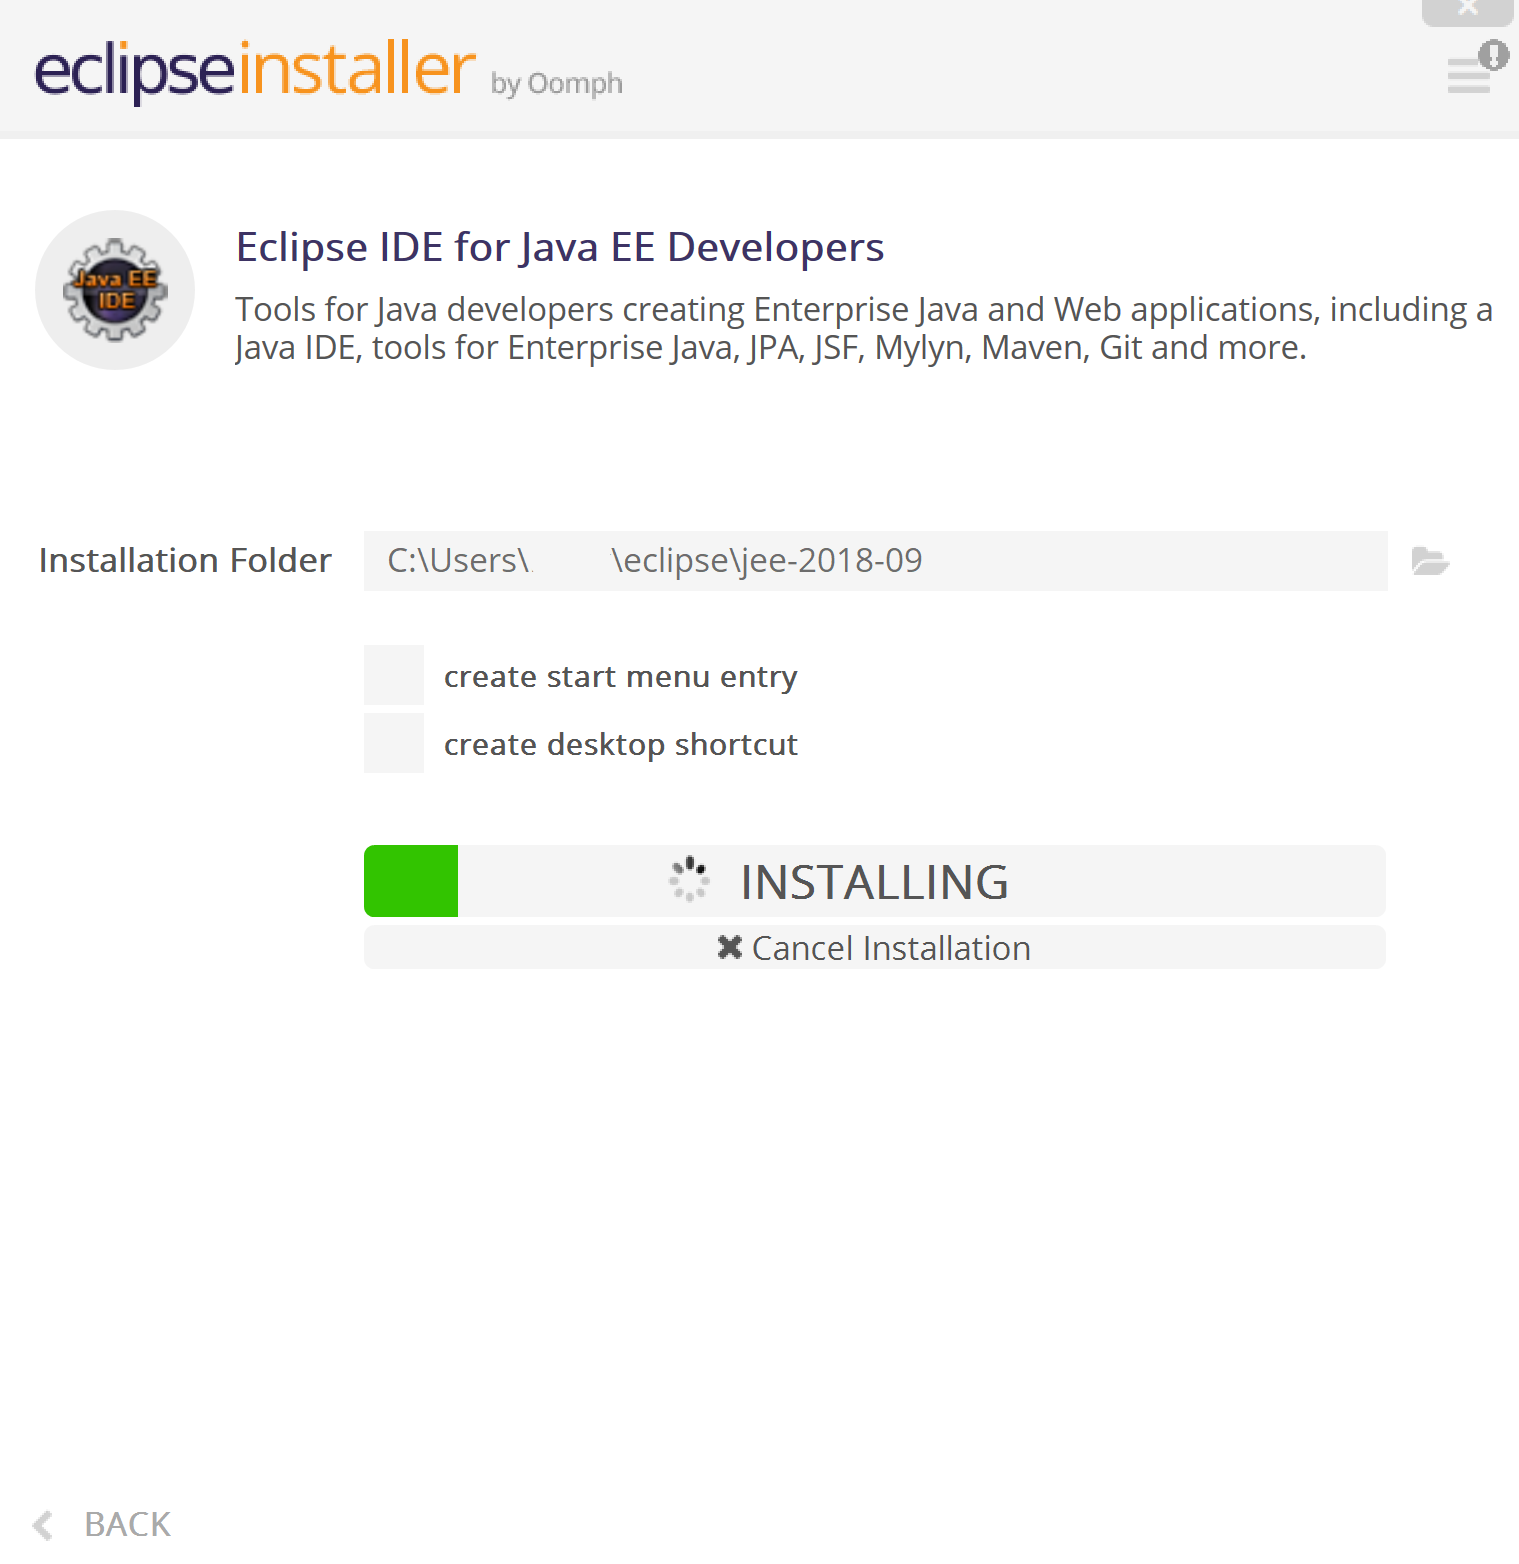
(Installing the Eclipse IDE for Java EE Developers)
- Install the Azure Toolkit for Eclipse (opens new window)
That's it! you're now ready to develop a Java application and run it in Azure.
# Create a Java application and run it on Azure
Now that our development environment is ready, we'll create a Java application and see if it rus locally. We'll create a Dynamic Web Project, (if you are not familiar with Java, this is a dynamic web application).
- Open Eclipse
- In Eclipse, click File > New > Dynamic Web Project
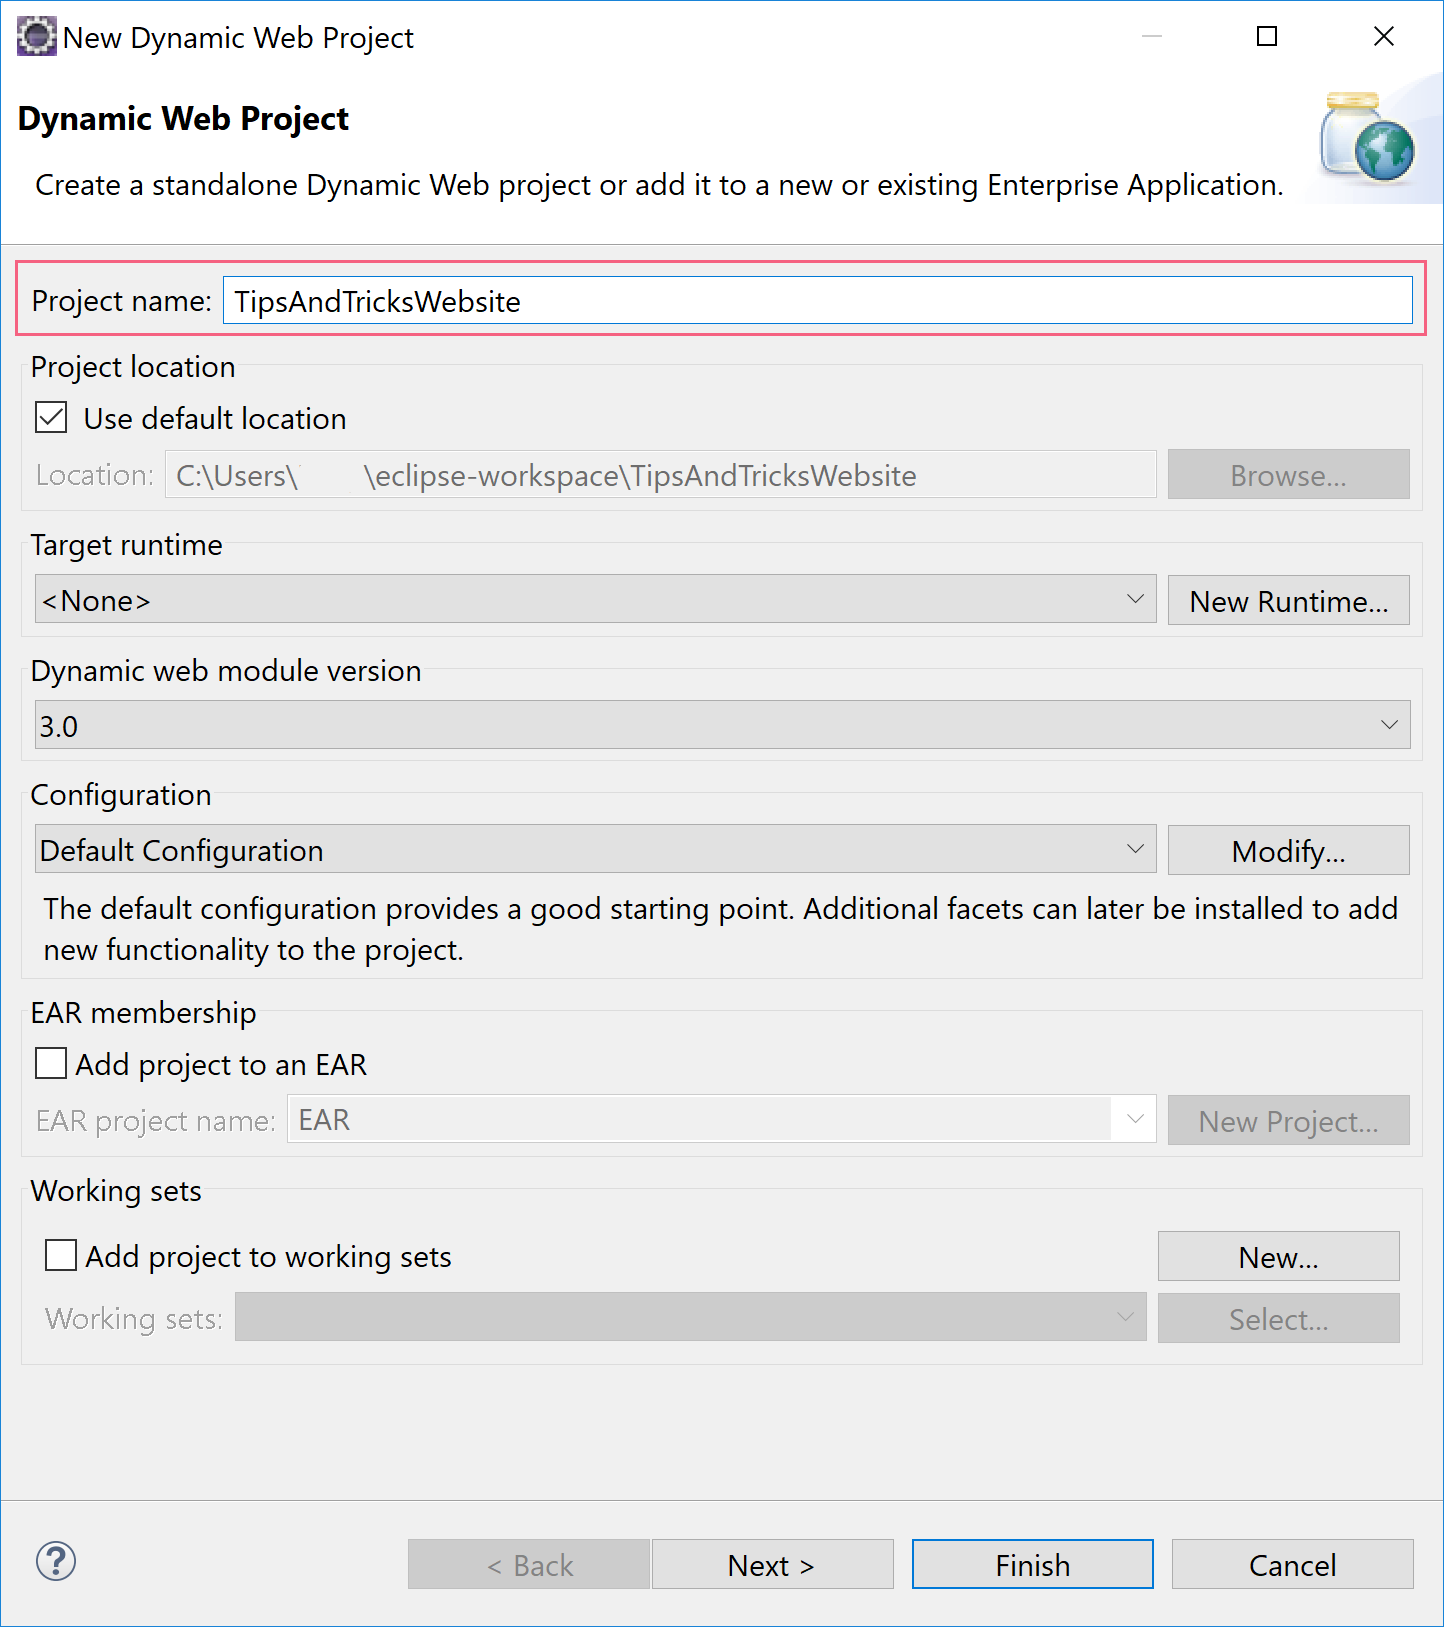
(Create a new Dynamic Web Project)
- Fill in a Name and click Finish to create the project
- In the Project Explorer, expand your project and right-click WebContent
- Now select New > JSP File
- In the New JSP File window, name the file index.jsp and click Finish to create a new Java Server Pages file
- In the .jsp file, put the following line in the body tags and save the file
<% out.println("Hello world!"); %>
- In the Project Explorer, right-click on the project and select Azure > Publish as Azure Web App
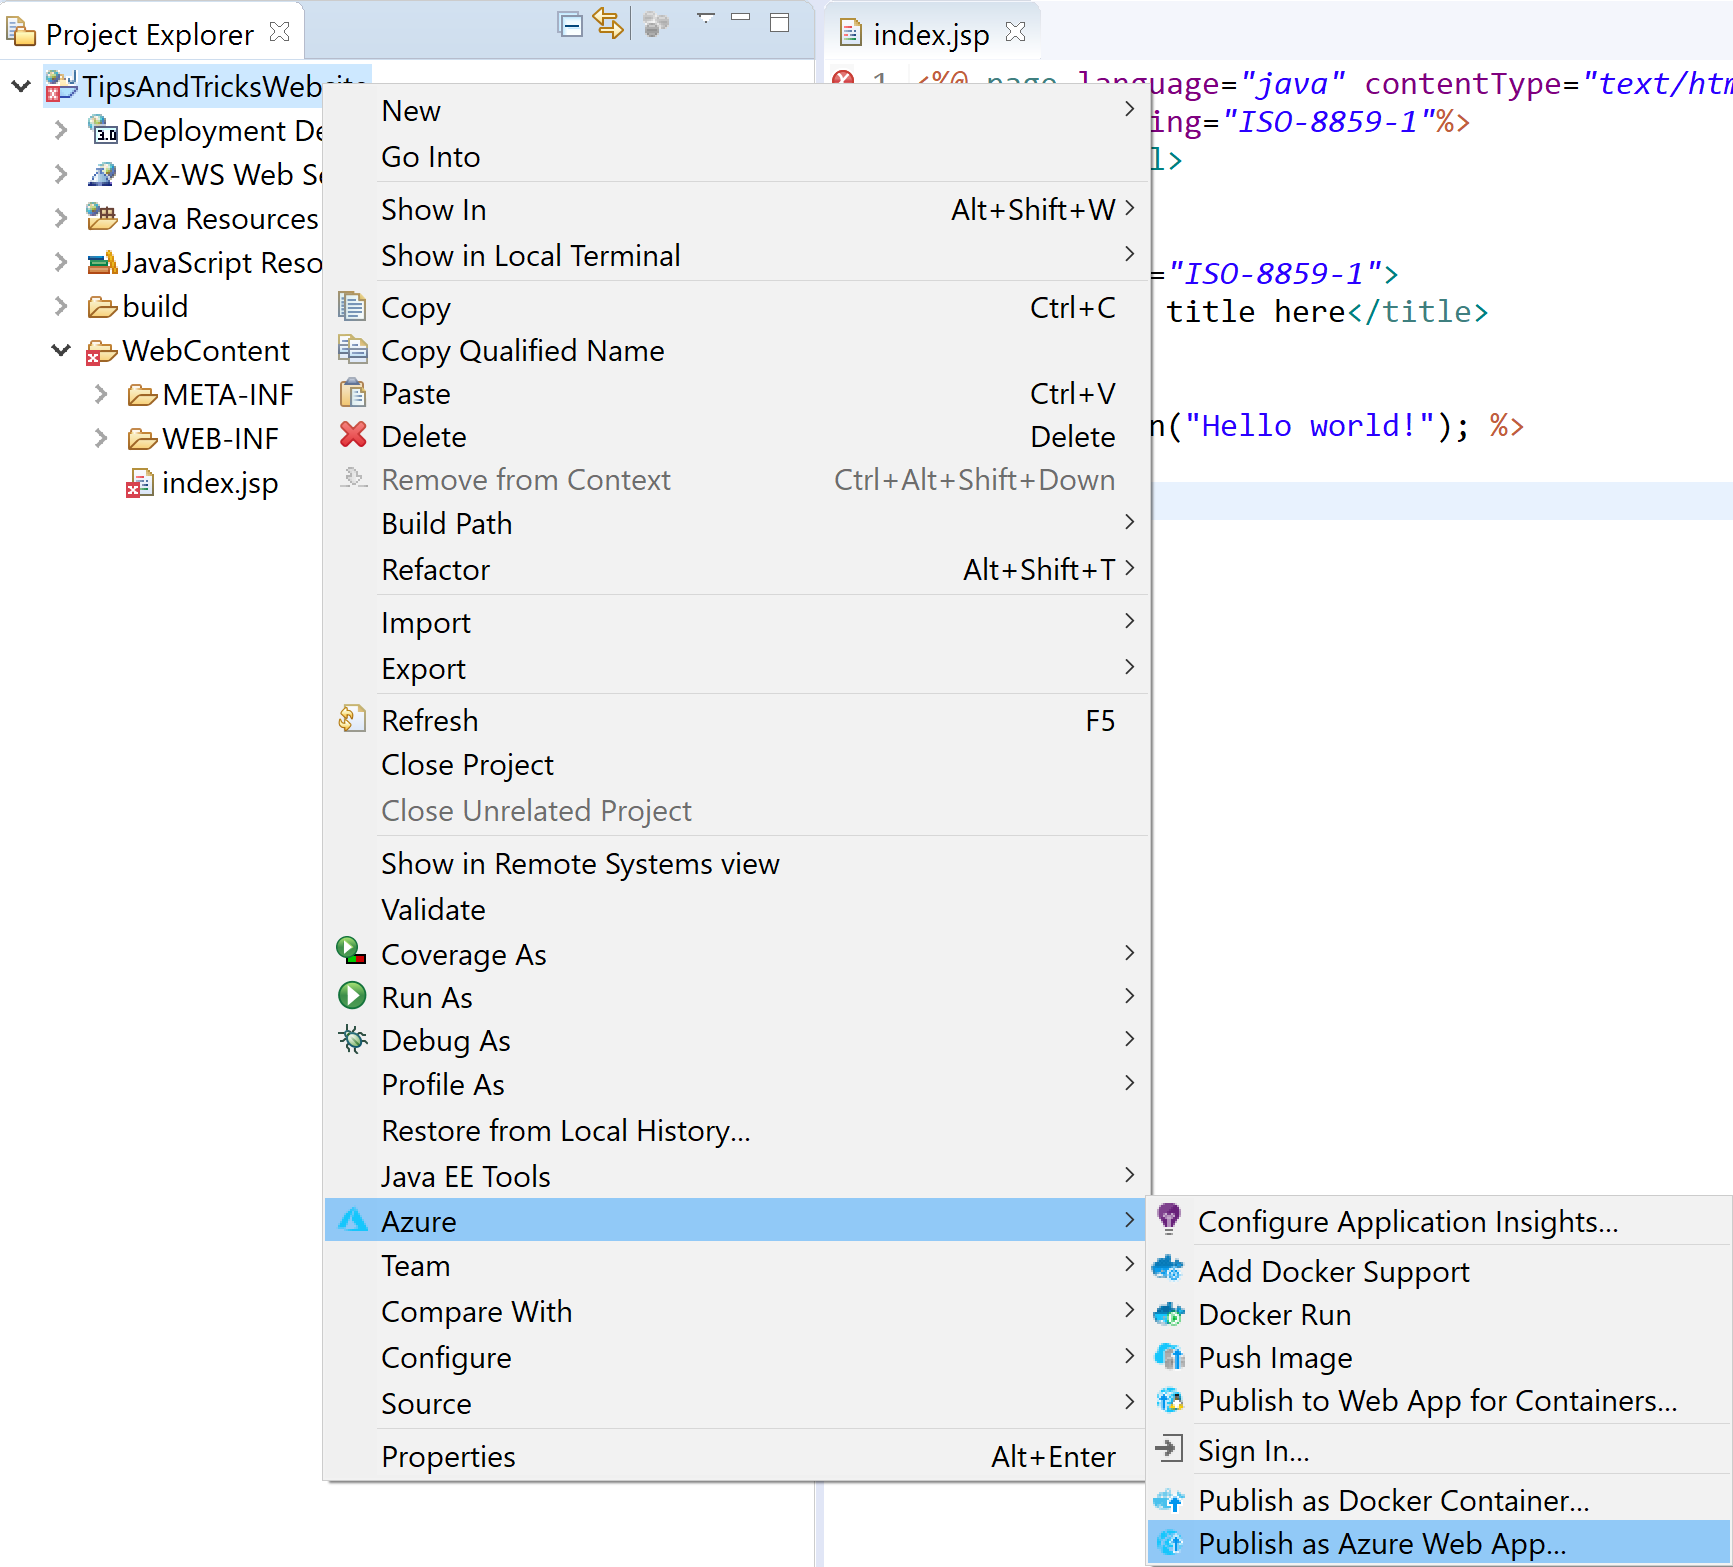
(The publish to Azure menu in Eclipse)
- Choose interactive for the authentication method and click Sign in
- You're now prompted to log in. Use you Azure credentials to log in
- After you've logged in, you can create a new Web App by clicking Create
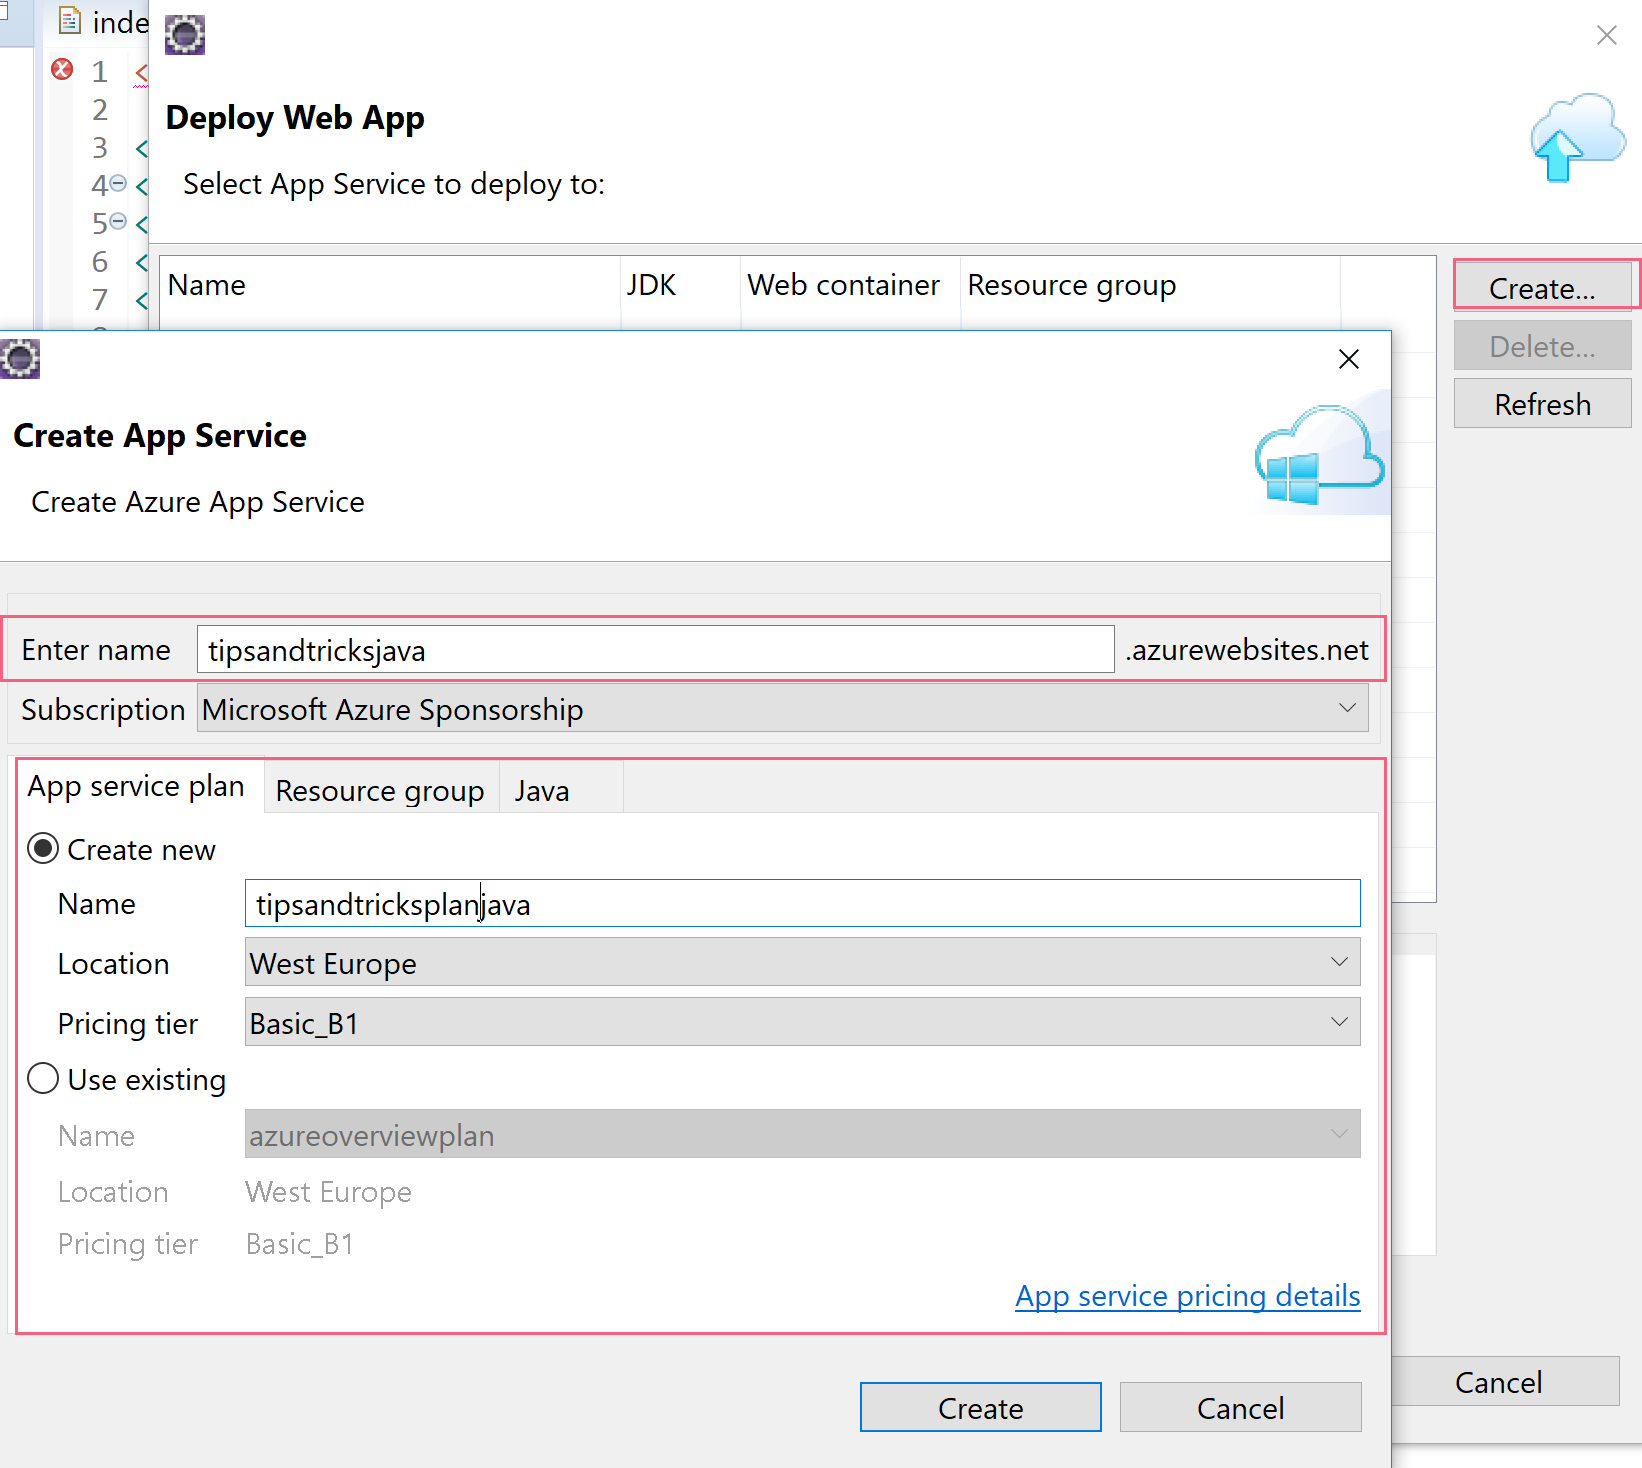
(Create an Azure App Service Web App in Eclipse)
- Fill in a Name for the Web App
- Use an existing App Service Plan or create a new one
- In the Resource Group tab, select an existing Resource Group or create a new one
- Check the settings in the Java tab to make sure that you're happy with them (usually, the latest version is fine, but it depends on your specific needs)
- When you are ready, click Create to create the Web App
- The Web App is now available in the deployment window. Select the Web App and click Deploy to start publishing the application to the Web App
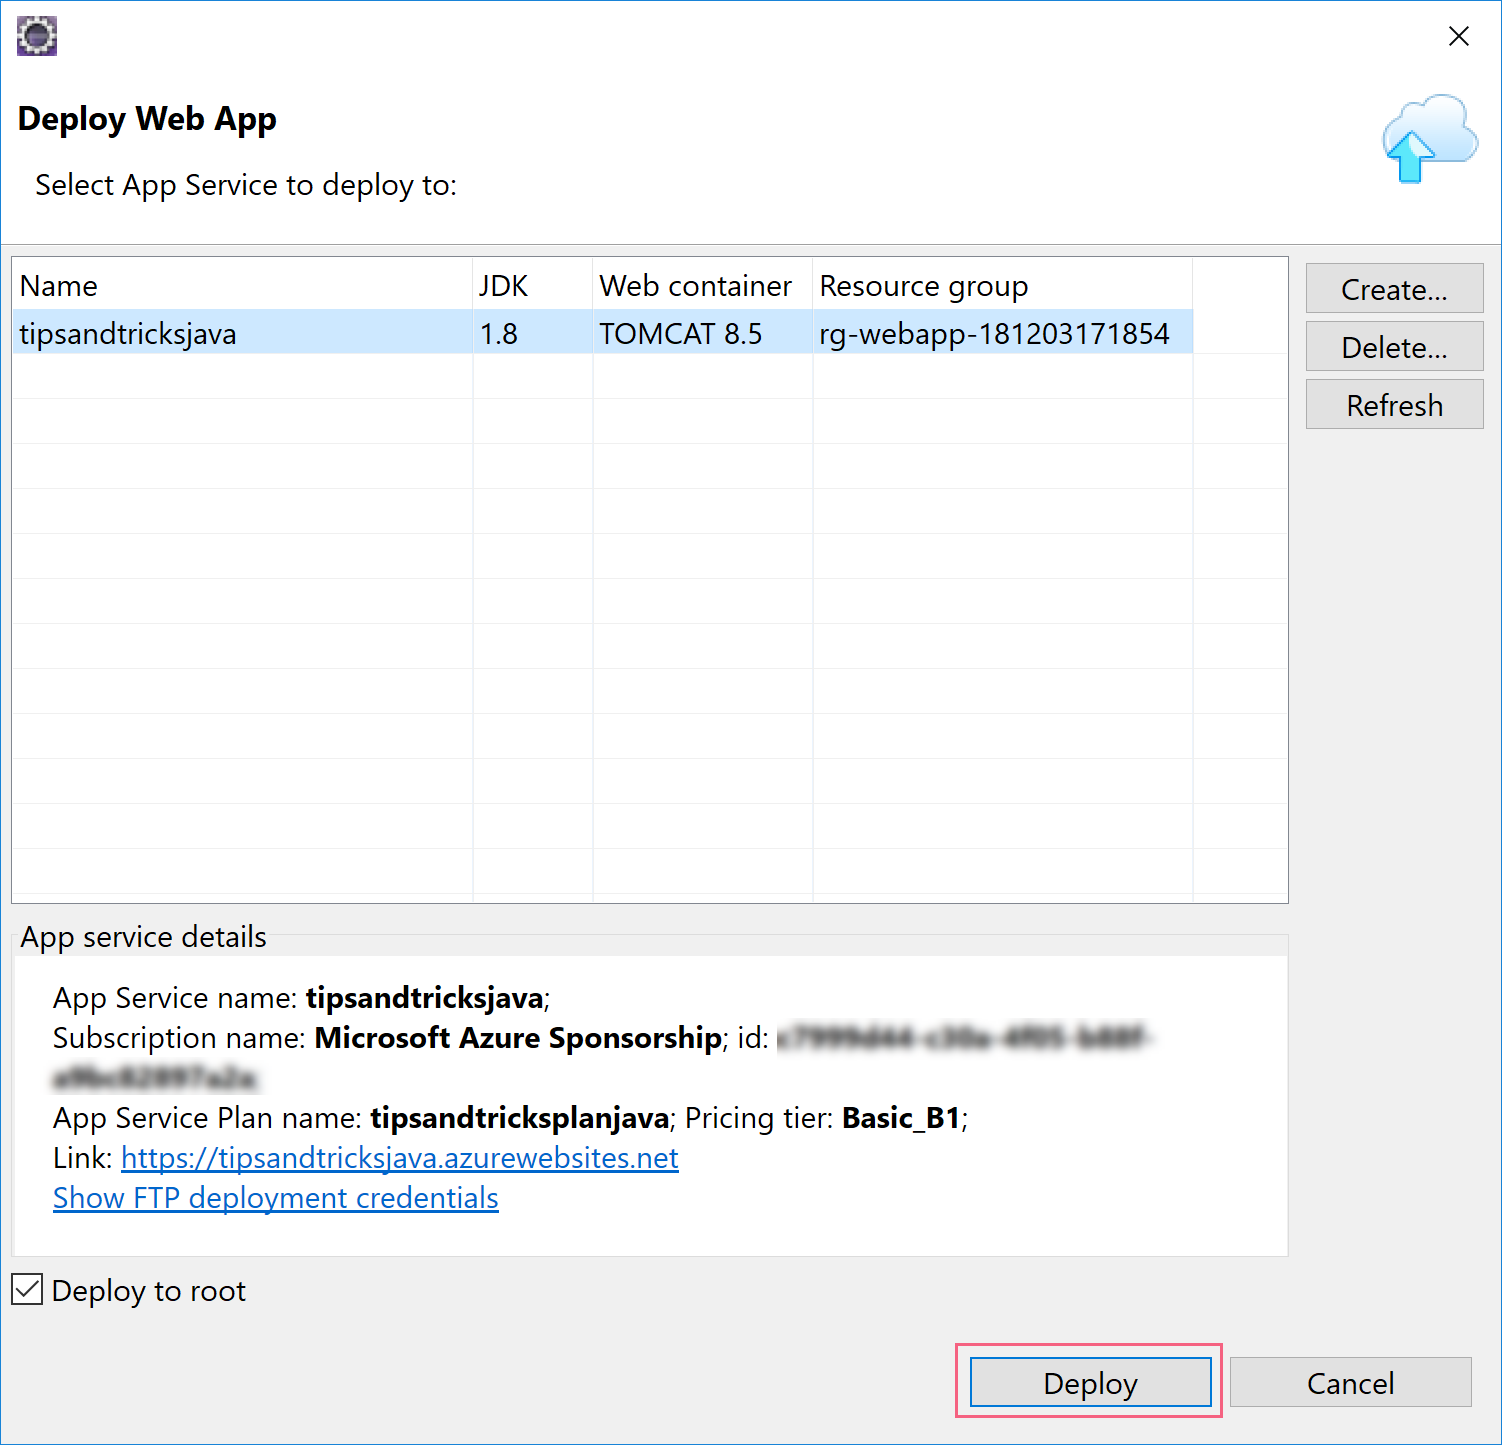
(Create an Azure App Service Web App in Eclipse)
- Once the deployment is done, navigate to the Azure portal and find the Web App that you've just created
- In the overview blade of the Web App, you'll find the URL of the Web App. Click on the URL

(Web App URL in Azure portal)
- The application will now load and will show the text: Hello world!. Congratulations, you are running a Java application on Azure!
Today we deployed a simple app but few are aware of all the Azure integration with eclipse and Java.
# Conclusion
Java is just one of the programming languages that is supported on Azure. This makes Azure a very inclusive cloud platform that welcomes applications from almost any platform. And for most programming languages, there is an SDK and development tools available to help you out.
