
TIP
🦄 Follow me on Twitter (opens new window) for daily software updates and a chance to get FREE Azure sticker set shipped anywhere!
🔥 Make sure you star the repo (opens new window) to keep up to date with new tips and tricks.
💡 Learn more : Get a free Azure account (opens new window).
# Azure Free Account? Is it really free?
# Try Azure for free, for 12 months
Azure is an extremely big and powerful cloud platform that you can use to develop and run your applications with. There are services to run your applications with, like Web Apps (opens new window), VMs (opens new window), Kubernetes (opens new window), Logic Apps (opens new window) and many more. And there are lots of other services, that help you focus on the things that matter, instead of building plumbing. These are services like Cosmos DB (opens new window), Cognitive Services (opens new window), Azure Active Directory (opens new window) and many more.
If you are new to Azure or if you want to run an experiment on Azure, you can use it for free, for 12 months.
In this post, we'll explore how to create an Azure account that you can for free, and what's included in the offer.
# Creating a free Azure account
To start your journey into Azure, you can go to https://azure.microsoft.com/free/ (opens new window). This takes you to the landing page of the free account offer, which looks like this:
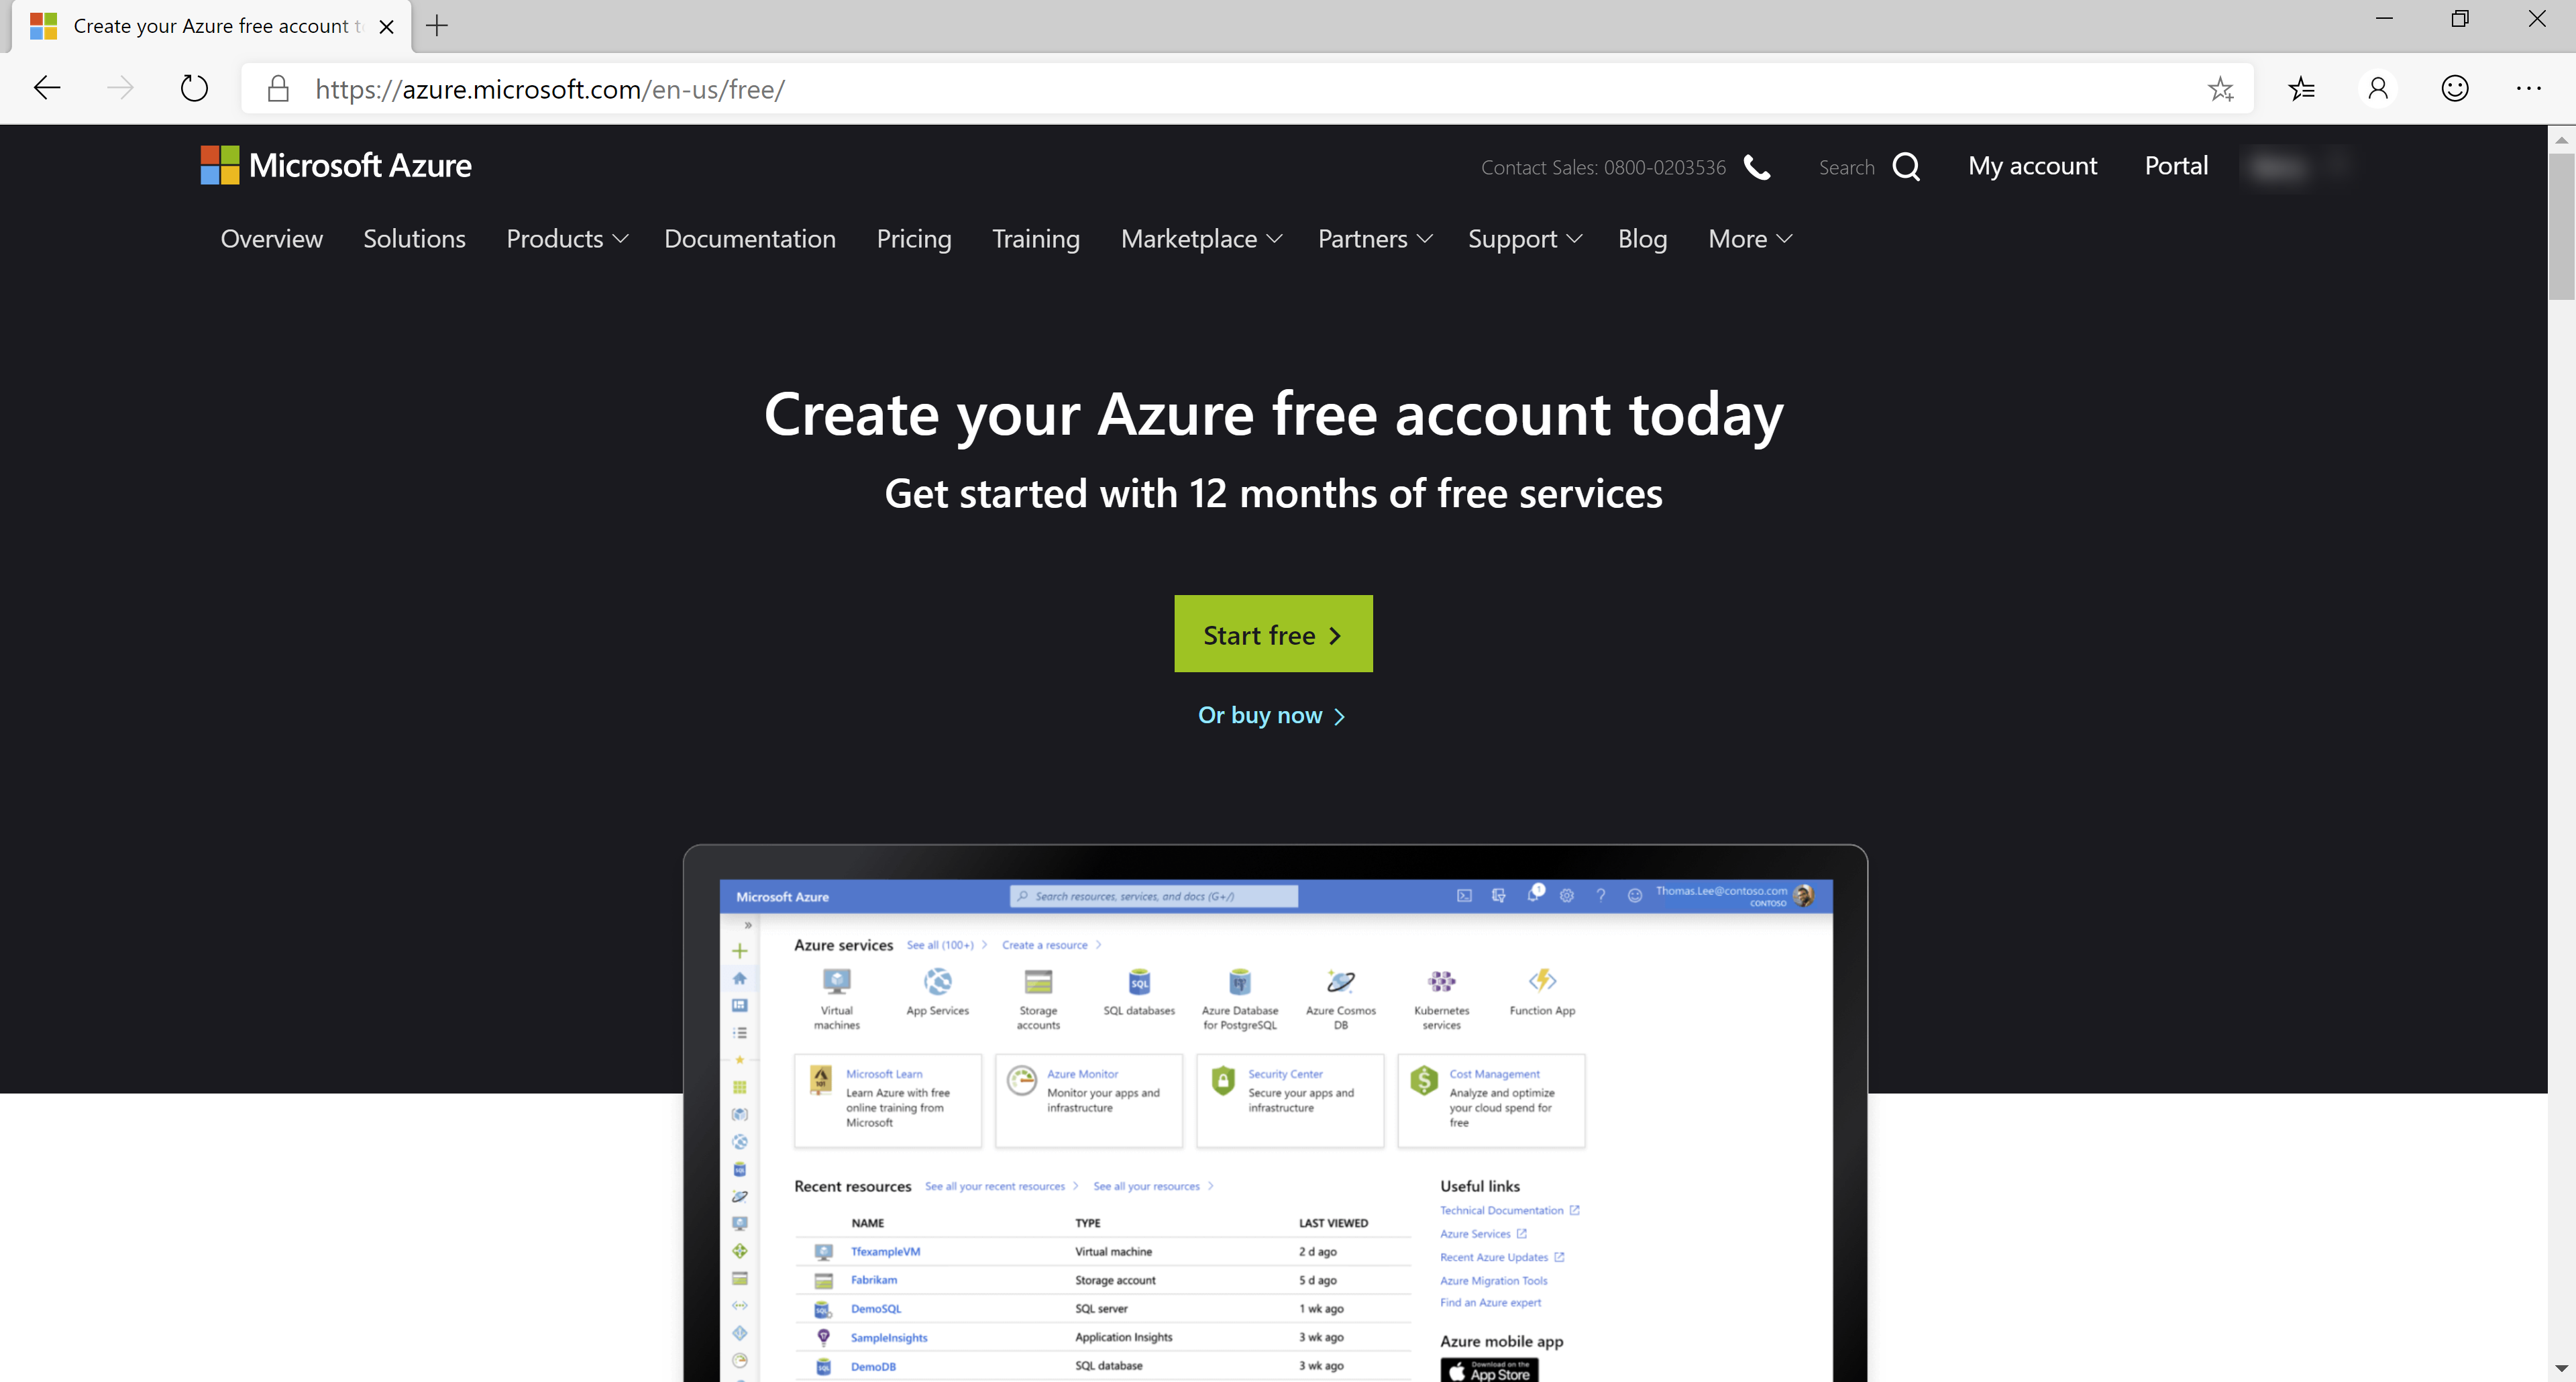
(Free Azure account website)
You can explore the page to see what's included in the offer. This is what you get when sign up for a free Azure account:
12 months of free use of the following services:
- Linux Virtual Machines (opens new window)
- Windows Virtual Machines (opens new window)
- Managed Disks (opens new window)
- Blob Storage (opens new window)
- File Storage (opens new window)
- SQL Database (opens new window)
- Azure Cosmos DB (opens new window)
- Bandwidth (Outbound Data Transfer) (opens new window)
- Cognitive Services (opens new window)
- Computer Vision (opens new window)
- Personalizer (opens new window)
- Translator Text (opens new window)
- Anomaly Detector (opens new window)
- Form Recognizer (opens new window)
- Content Moderator (opens new window)
- Custom Vision (opens new window)
- Face (opens new window)
- Ink Recognizer (opens new window)
- Language Understanding (opens new window)
- QnA Maker (opens new window)
- Text Analytics (opens new window)
You can use all of these services for free for 12 months, within the free service limits for the particular service. For instance, you get 750 hours of Windows Virtual Machine for free. You can spend these hours over 12 months.
$200 Azure credit for the first 30 days
If you want to use a service that is not in the list of free services, or if you use more than the free service limits, you get charged for that usage. In the first 30 days after you've created your free account, this charge is deducted from $200 that you get for free. When you've spent the $200 or your 30 days are up, you will be charged for any service usage that is beyond the free service limits.
Services that are always free to use
On top of the free services offer, there are Azure services that have a free tier that you can always use. These are the services that have a free usage tier:
- App Service (opens new window)
- Azure Functions (opens new window)
- Event Grid (opens new window)
- Azure Kubernetes Service (AKS) (opens new window)
- DevTest Labs (opens new window)
- Active Directory B2C (opens new window)
- Service Fabric (opens new window)
- Azure DevOps (opens new window)
- Security Center (opens new window)
- Advisor (opens new window)
- Load Balancer (opens new window)
- Data Factory (opens new window)
- Cognitive Search (opens new window)
- Notification Hubs (opens new window)
- Batch (opens new window)
- Automation (opens new window)
- Data Catalog (opens new window)
- Virtual Network (opens new window)
- Inter-VNET data transfer (opens new window)
- Bandwidth (Outbound Data Transfer) (opens new window)
Create your free account
Let's create a free account!
- Go to https://azure.microsoft.com/free/ (opens new window) and click the green Start button
- Login with a Microsoft account or a GitHub account. If you don't have one yet, you can create one
- First, you need to verify your identity by phone. You can do that by entering your phone number and putting in the verification code that you receive
- Next, you need to fill in details of a creditcard. Don't worry, you won't be charged. And by default, the Azure subscription that you create has a spending limit on it, so you can't use more than the free $200 that you receive until you remove this limit manually
- Fill in your personal details and click Next
- Finally, agree to the agreement and click Sign up. Your free Azure account will now be created
After a few moments, you Azure subscription is ready. Now, you can go to the Azure portal (https://portal.azure.com/ (opens new window)) and start using Azure.
# Start using Azure
Now that you have a free account, you can start using Azure.
A great place to start is with the Azure Cognitive Services (opens new window). These are services that provide AI-as-a-service. They come with pre-trained machine learning algorithms and are packaged as APIs that you can call. Take the Face API (opens new window) for instance. You can spin up an instance of it and send it an image of a person. It will tell you if it can see the person's face in the image and where it is in the image. And it will also tell you the gender of the person, estimated age, facial hair, glasses, emotion, hair and more. And you get 30.000 transactions for free!
Let's create a Cognitive Service:
- Go to the Azure portal (opens new window)
- Click the Create a resource button (the plus-sign in the top left corner)
- Search for Cognitive Services and click on the result to start creating one a. This brings you to the create blade of Azure Cognitive Services b. Fill in a Name for the service c. Select a Location d. Select the S0 Pricing tier e. Select a Resource Group (or create a new one) f. Check the box to indicate that you've read and understood the legal notice g. Click Create to create the Cognitive Service
Once the Cognitive Service is created, you can give the Face API a try by following one of the 5-minute quickstarts on this page (opens new window).
You can also use one of the services that has a free tier. You can try that with Azure Web Apps (opens new window). This has a free tier that you can use forever. The only catch is that the free tier isn't as powerful and doesn't have as many capabilities as paid tiers.
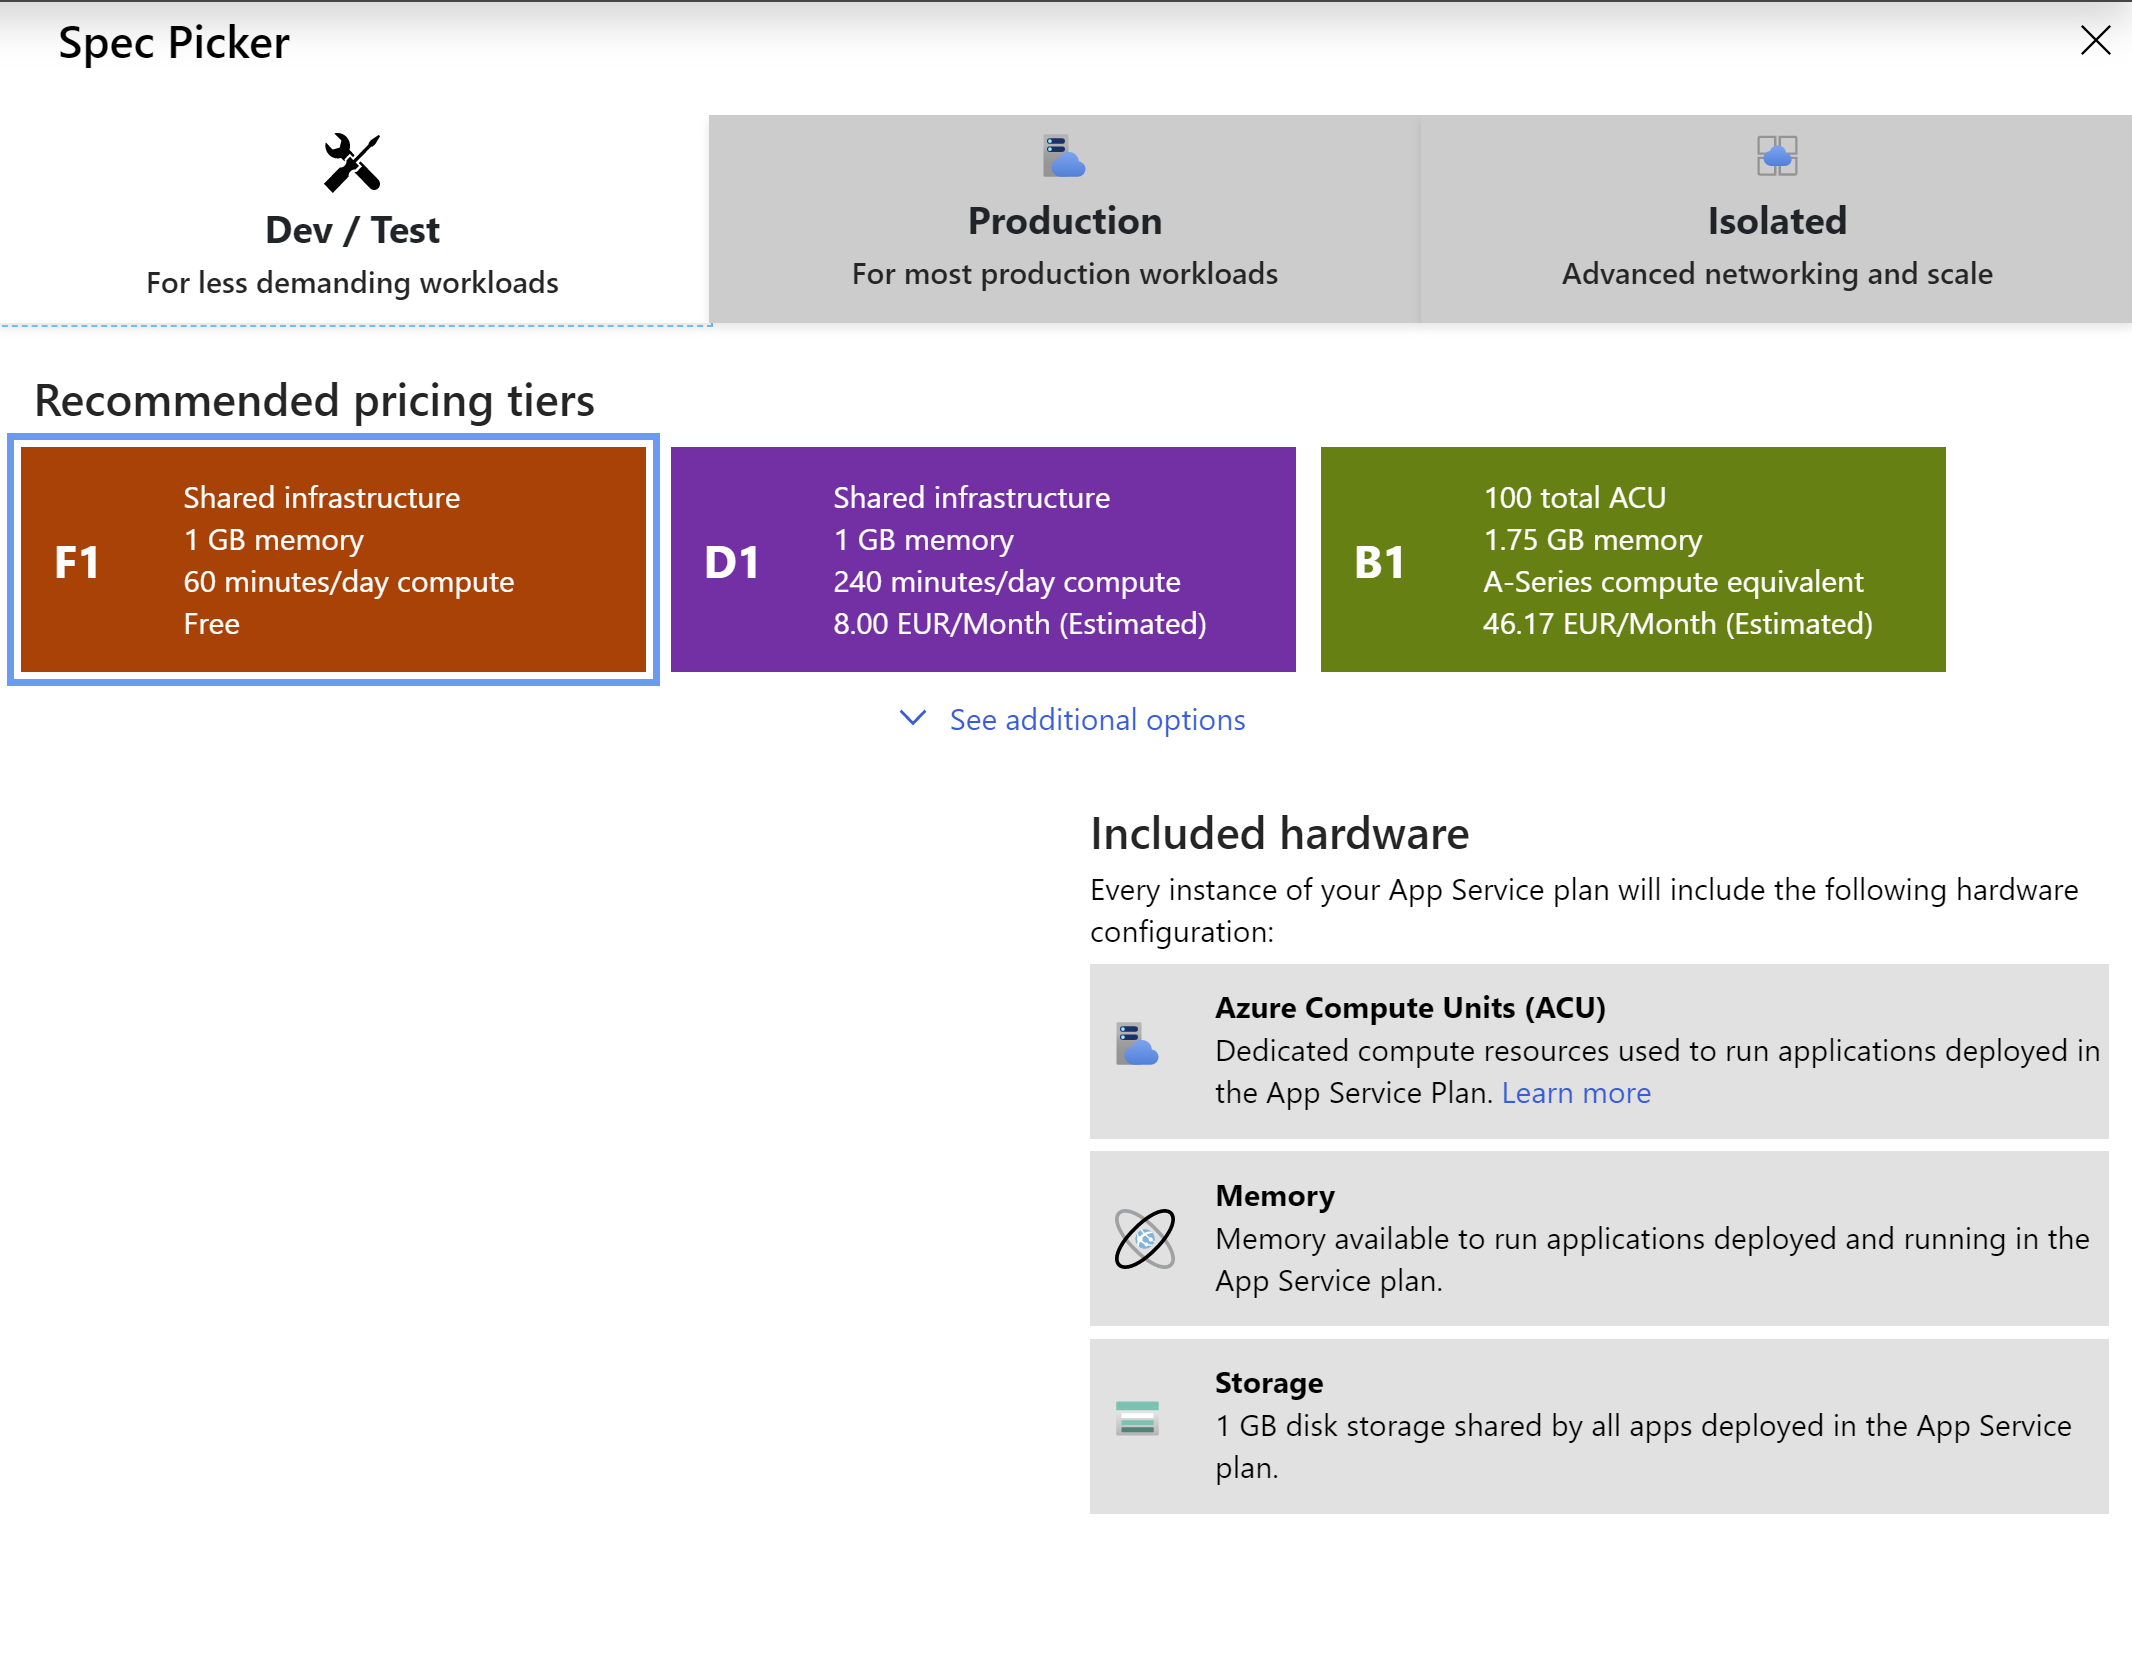
(Web Apps free tier in the Azure portal)
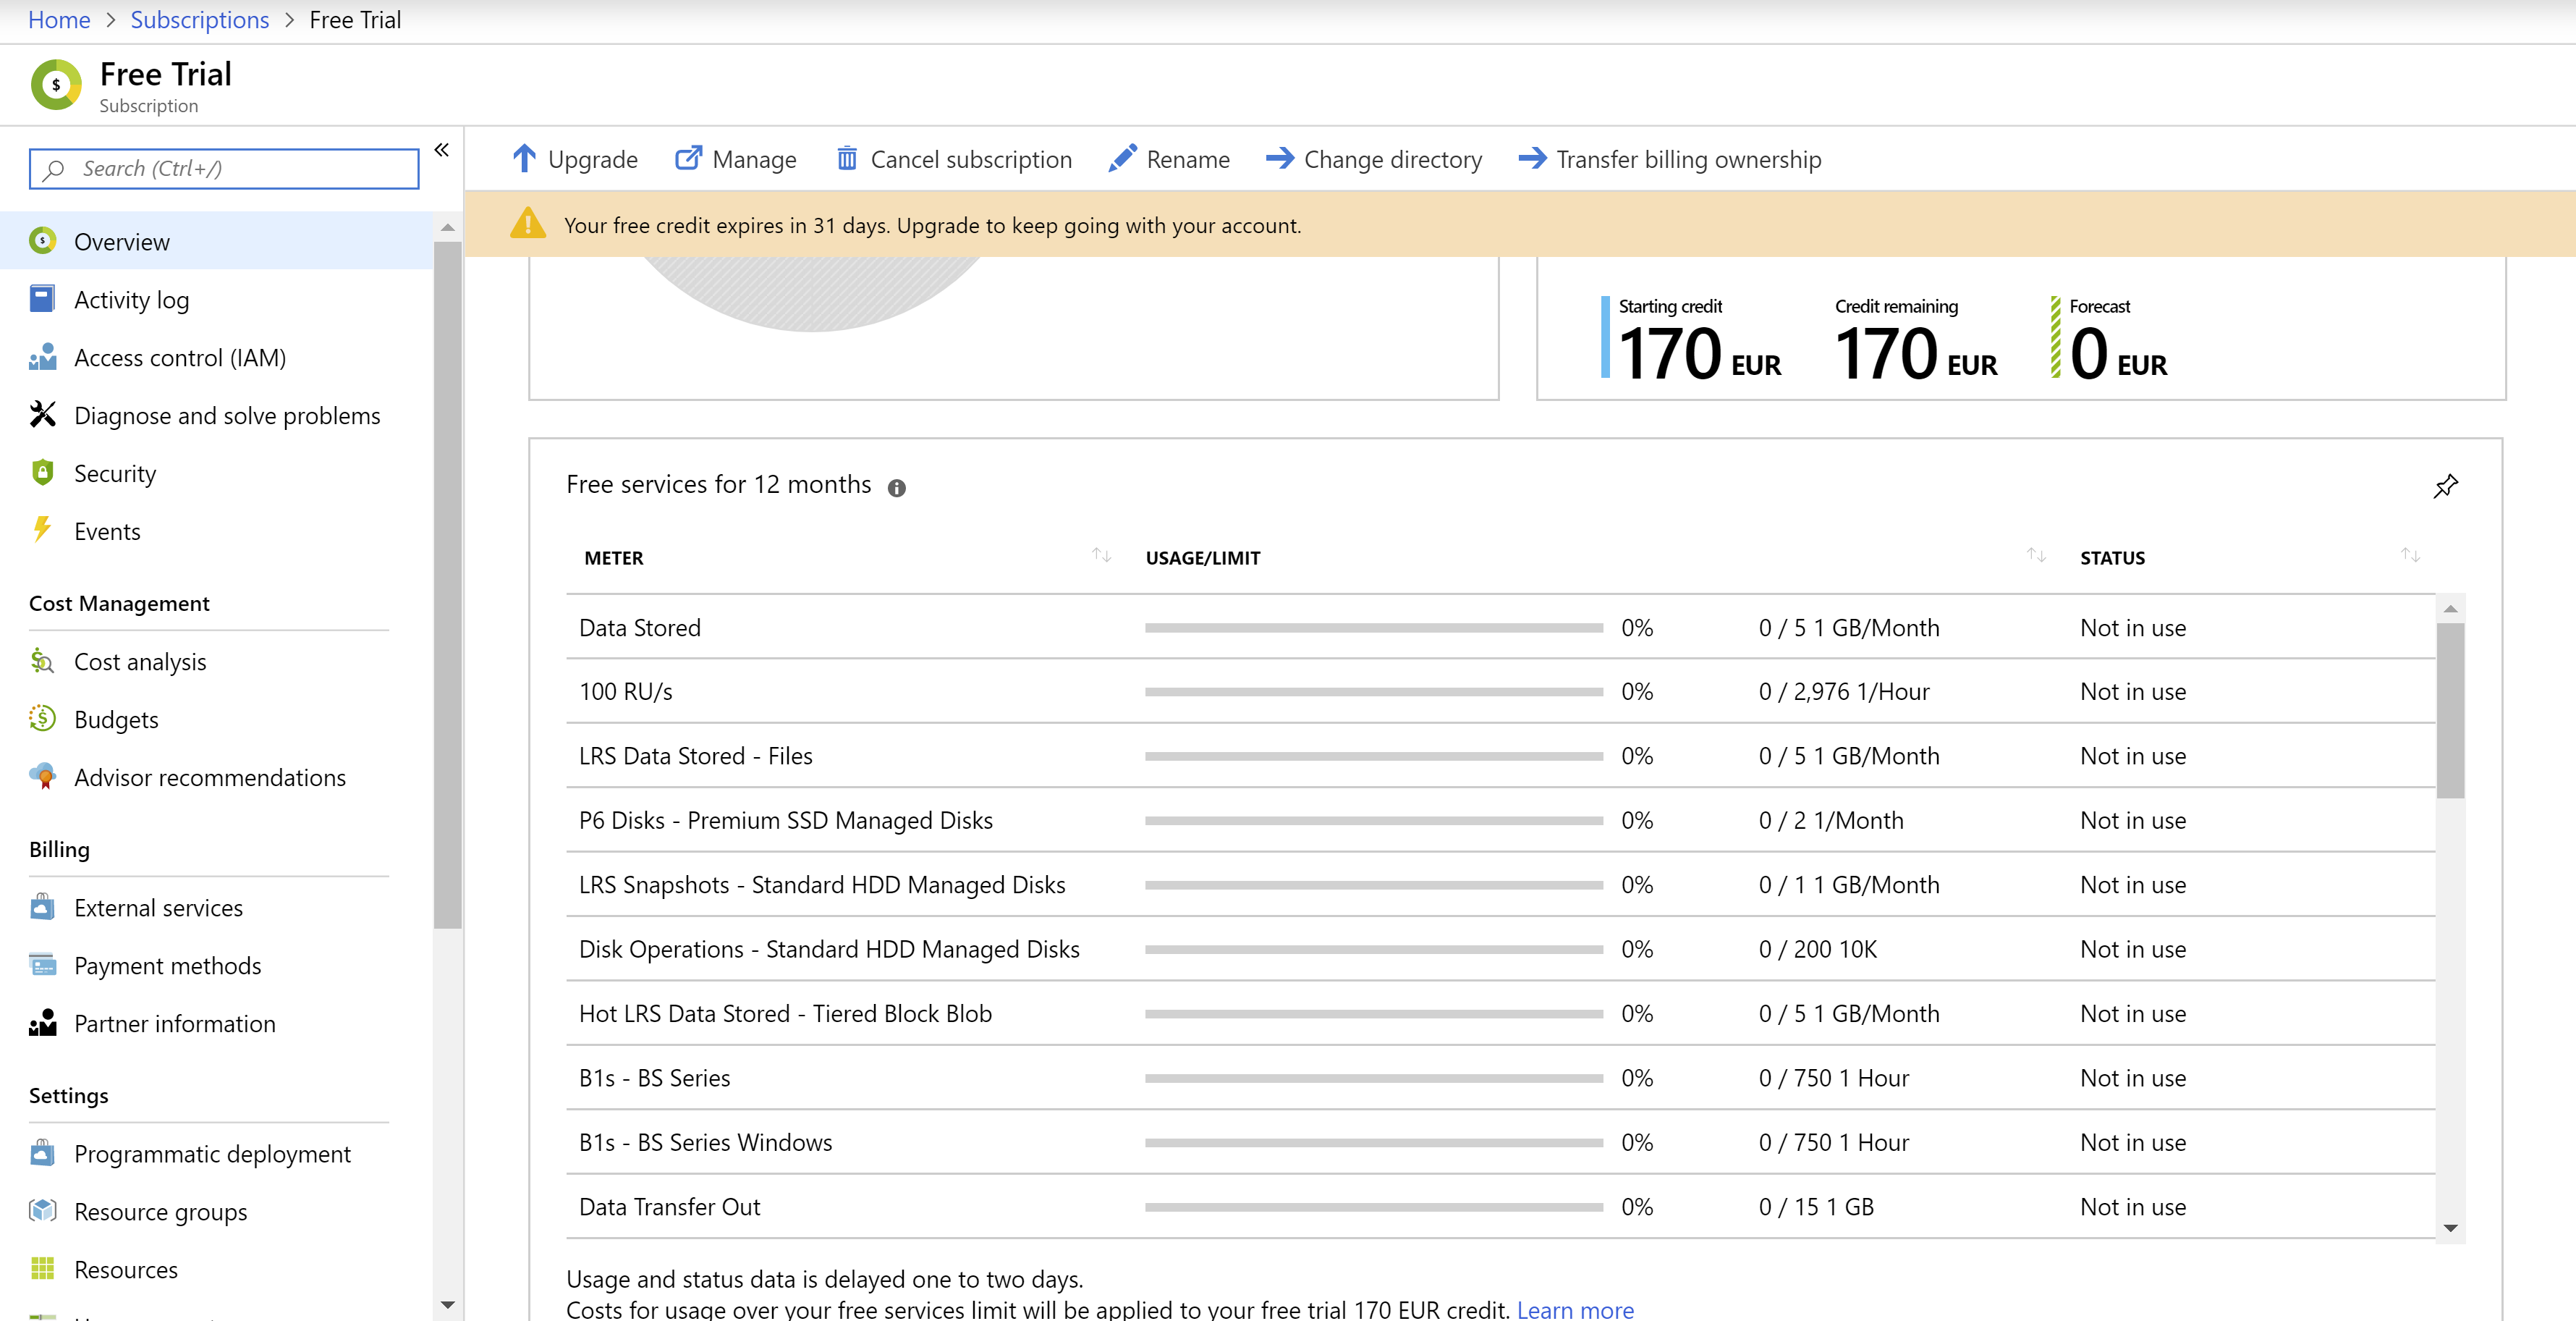
# Monitor your free usage
In the Azure portal, you can see the usage of your free services when you look at your subscription details:
- Go to the Azure portal (opens new window)
- Search for subscription in the searchbox at the top of the portal and click on the Subscriptions result
- Select the subscription (it is probably called Free Trial)
You'll now see your usage for the free services, shown in percentage. Here, you'll also see your free $200 credit and if anything of that is used and for what.
(Free service usage in the Azure portal)
# Conclusion
If you want to try Azure for free, you can! There are many services that you can use for free, for 12 months. On top of that, you get $200 to spend in the first month. And there are many services that always have a free usage tier, so that you can use them for free, or just try them out. Sign up now (opens new window) and check it out!