Tip 200!
🔥 Checkout our new Azure Developer page at azure.com/developer (opens new window).
💡 Learn more : Extensions with Azure CLI (opens new window).
📺 Watch the video : How to build your own Azure CLI Extensions (opens new window).
Side note: Michael here - I just wanted to thank all the readers and contributors to this project. It wouldn't be successful without your help and support. Here is to another 200!
# Build your own Azure CLI Extensions
Azure CLI extensions are really helpful. You can read about them in this [Azure Tip](link to tip about Azure CLI Extensions). You can use extensions from the list here (opens new window), which you can also get when you enter the az extension list-available --output table command in the Azure CLI.
And you can also built Azure CLI extensions yourself. You do that by creating a Python wheel, which is a package of Python code.
Let me show you how you can create and use your own Azure CLI extension.
# Creating an Azure CLI Extension
Azure CLI extensions can currently only been Python wheel packages. So to create a new extension, you need to have the following prerequisites installed on your development machine:
- Python (version 2.7.9 or 3.4 or up). Download it here (opens new window)
- Python wheel (opens new window) (once Python is installed, you can get wheel by using the command pip install wheel)
Now that we have Python and wheel installed, we can start to create the extension.
- We'll start by creating a new folder that holds all of the files that we need for he extension. Let's call it
Tipsextension. - In the
Tipsextensionfolder, we'll create some files that make up the extension. These are:
(folder) azext_tipsextension\_\_init\_\_.py
setup.cfgsetup.<nolink>py
- Now, we will fill in the content of the files. We'll start with the
setup.<nolink>py file. This file will tell the Azure CLI what is in the extension. We'll put in this code:
from codecs import open
from setuptools import setup, find_packages

VERSION = "0.0.1"

CLASSIFIERS = [
    'Development Status :: 4 - Beta',
    'Intended Audience :: Developers',
    'Intended Audience :: System Administrators',
    'Programming Language :: Python',
    'Programming Language :: Python :: 2',
    'Programming Language :: Python :: 2.7',
    'Programming Language :: Python :: 3',
    'Programming Language :: Python :: 3.4',
    'Programming Language :: Python :: 3.5',
    'Programming Language :: Python :: 3.6',
    'License :: OSI Approved :: MIT License',
]

DEPENDENCIES = []

setup(
    name='tipsextension',
    version=VERSION,
    description='My CLI extension',
    long_description='An example Azure CLI Extension.',
    license='MIT',
    author='MY CORP.',
    author_email='example@contoso.com',
    url='https://github.com/ORG/REPO',
    classifiers=CLASSIFIERS,
    packages=find_packages(),
    install_requires=DEPENDENCIES
)
2
3
4
5
6
7
8
9
10
11
12
13
14
15
16
17
18
19
20
21
22
23
24
25
26
27
28
29
30
31
32
33
34
- The next file that we are going to fill, is the setup.cfg file. This file will be used by wheel to create the package that the CLI can use. This file is short and will contain only this code:
[bdist_wheel]
universal=1
2
- The last file that we'll fill is the __init__.py file in the azext_tipsextension folder. This file contains the actual functionality of the extension. It is written in Python. I'm not a Python expert myself, but it's easy enough to pick up. We'll put this code in the file:
from knack.help_files import helps

from azure.cli.core import AzCommandsLoader

helps['gimme tips'] = """
    type: command
    short-summary: Points you to a world of Azure Tips and Tricks.
"""

def showtipsurl():
    print('Azure Tips and Tricks - The Complete List: tip-complete-list/')

class TipsAndTricksCommandsLoader(AzCommandsLoader):

    def __init__(self, cli_ctx=None):
        from azure.cli.core.commands import CliCommandType
        custom_type = CliCommandType(operations_tmpl='azext_tipsextension#{}')
        super(TipsAndTricksCommandsLoader, self).__init__(cli_ctx=cli_ctx,
                                                       custom_command_type=custom_type)

    def load_command_table(self, args):
        with self.command_group('gimme') as g:
            g.custom_command('tips', 'showtipsurl')
        return self.command_table

    def load_arguments(self, _):
        pass

COMMAND_LOADER_CLS = TipsAndTricksCommandsLoader
2
3
4
5
6
7
8
9
10
11
12
13
14
15
16
17
18
19
20
21
22
23
24
25
26
27
28
29
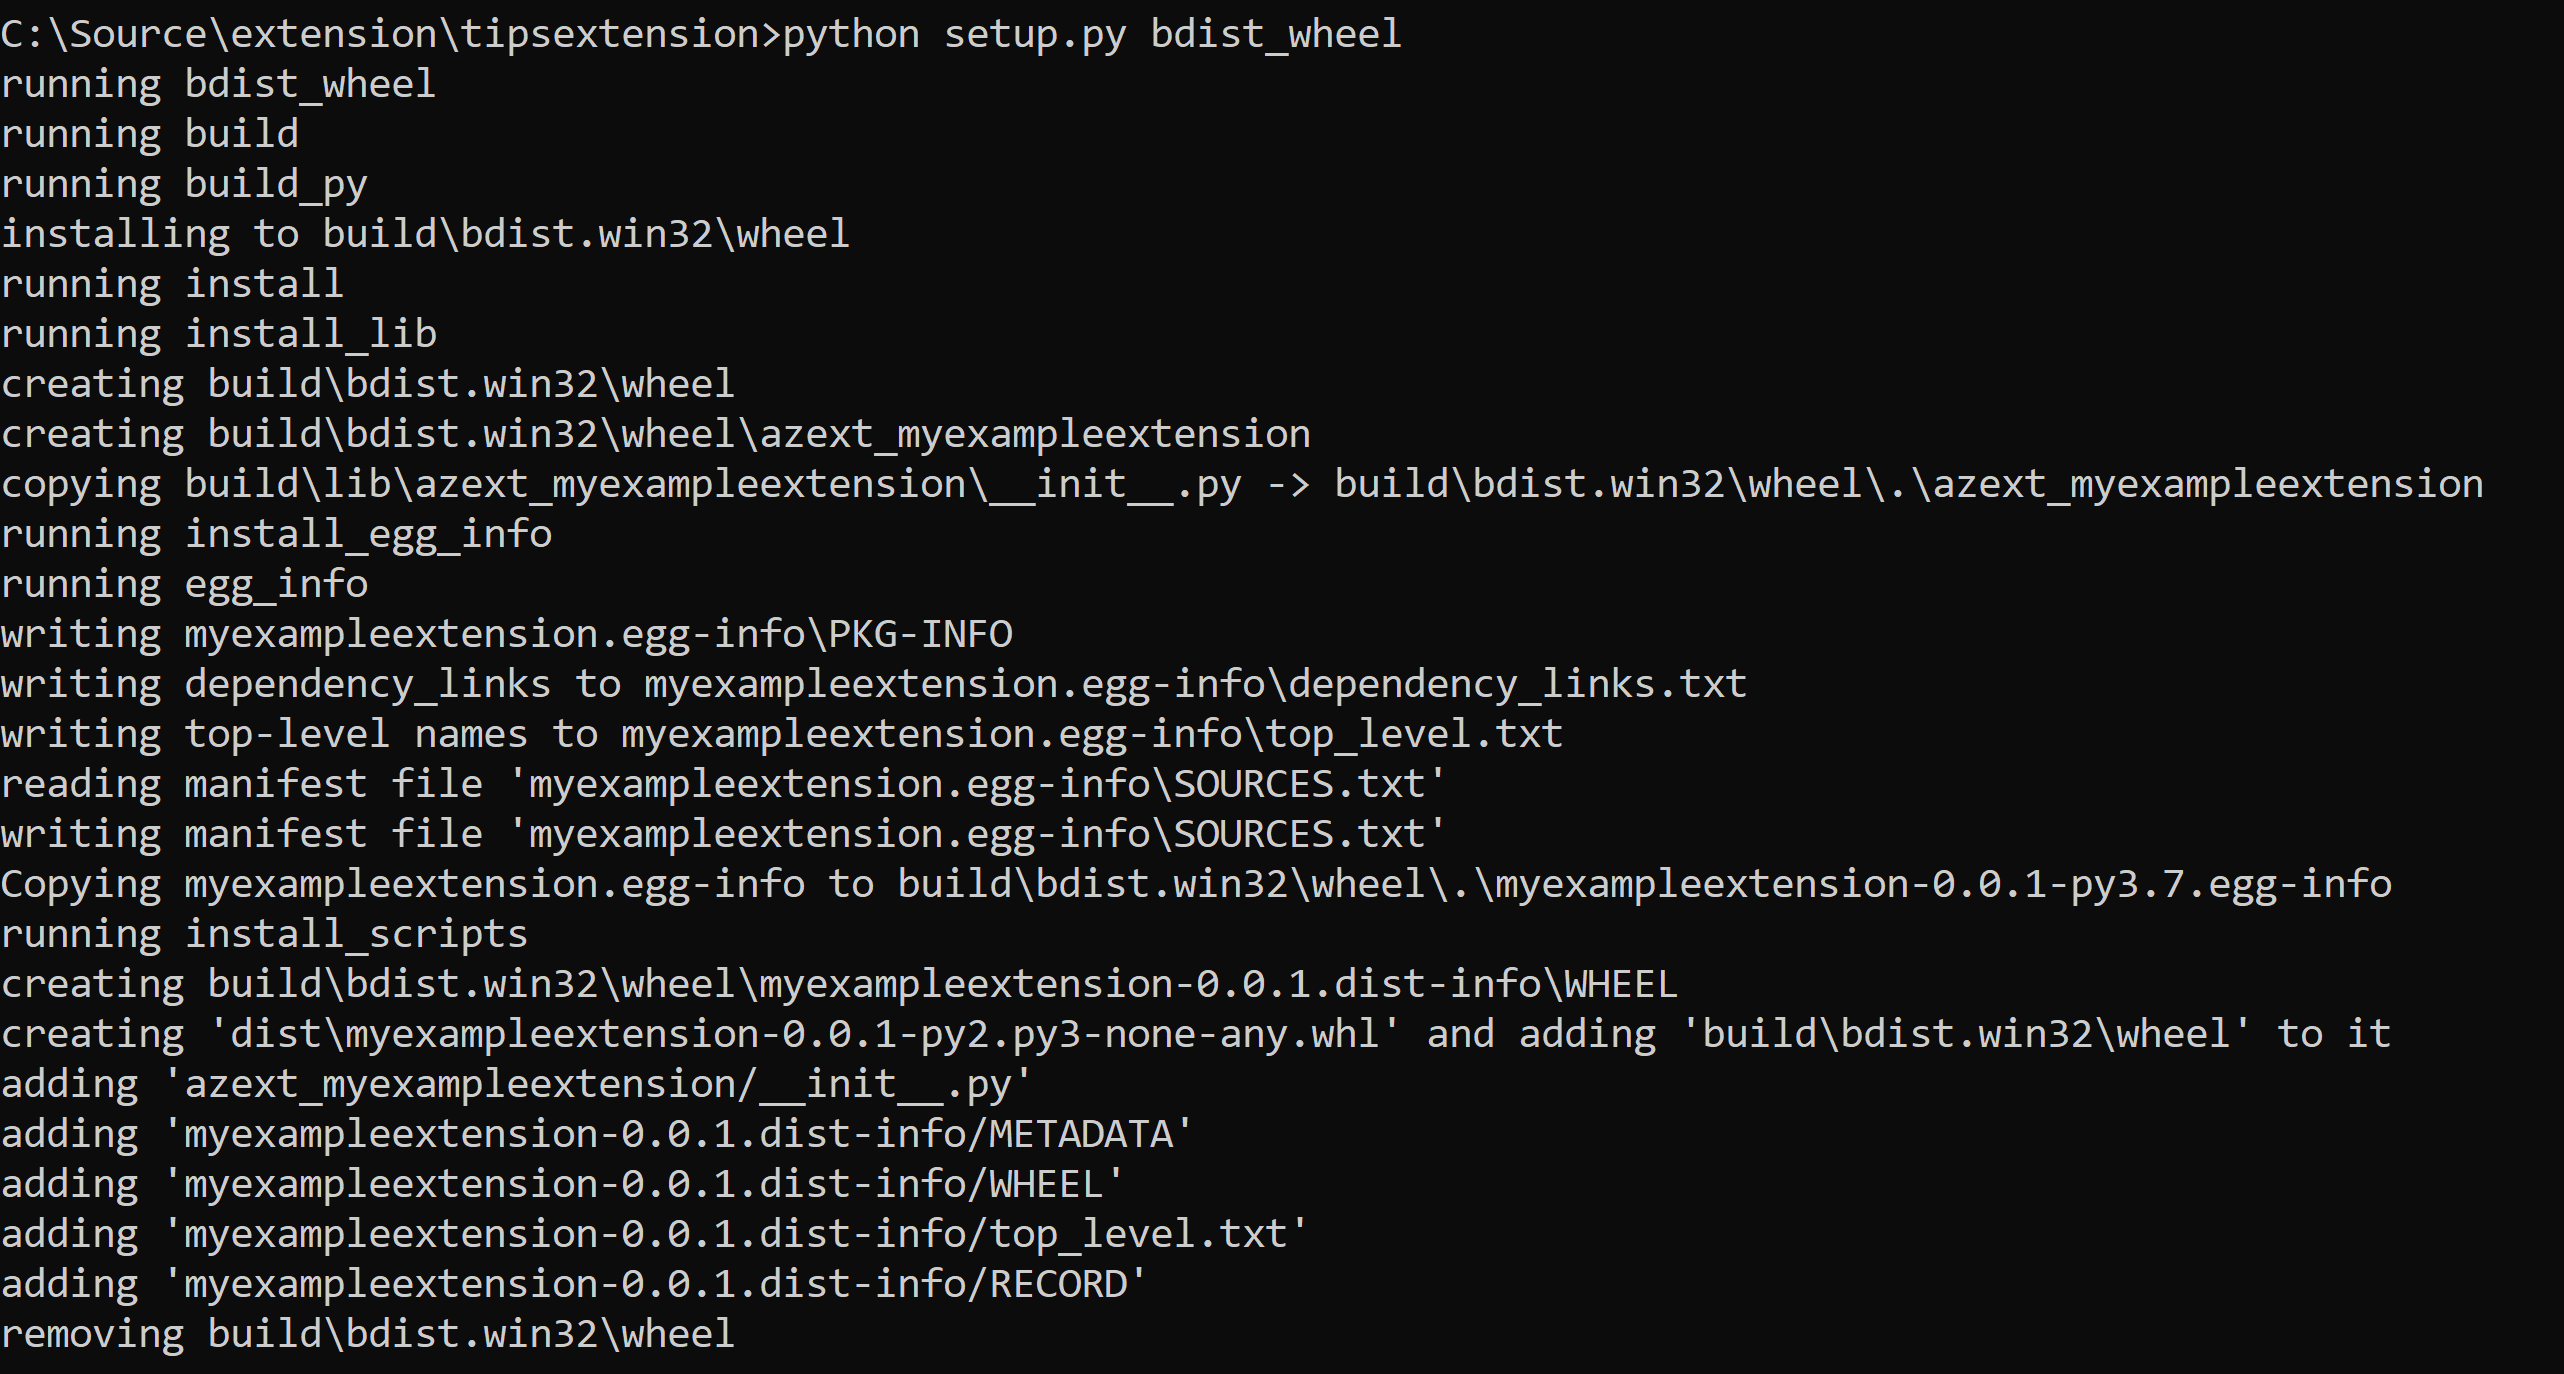
- Next, we need to build the application and compile it into a wheel package. We can do that with the command below. The directory should match the directory that contains all of the extension files
cd /Source/extension/Tipsextension
python setup.py bdist_wheel
2
This output of the build result looks like this and produces a .whl file.

(Results of building the extension)
- Now, we can try the extension out. We can do that by installing it with the following command
az extension add --source C:\Source\extension\tipsextension\dist\tipsextension-0.0.1-py2.py3-none-any.whl
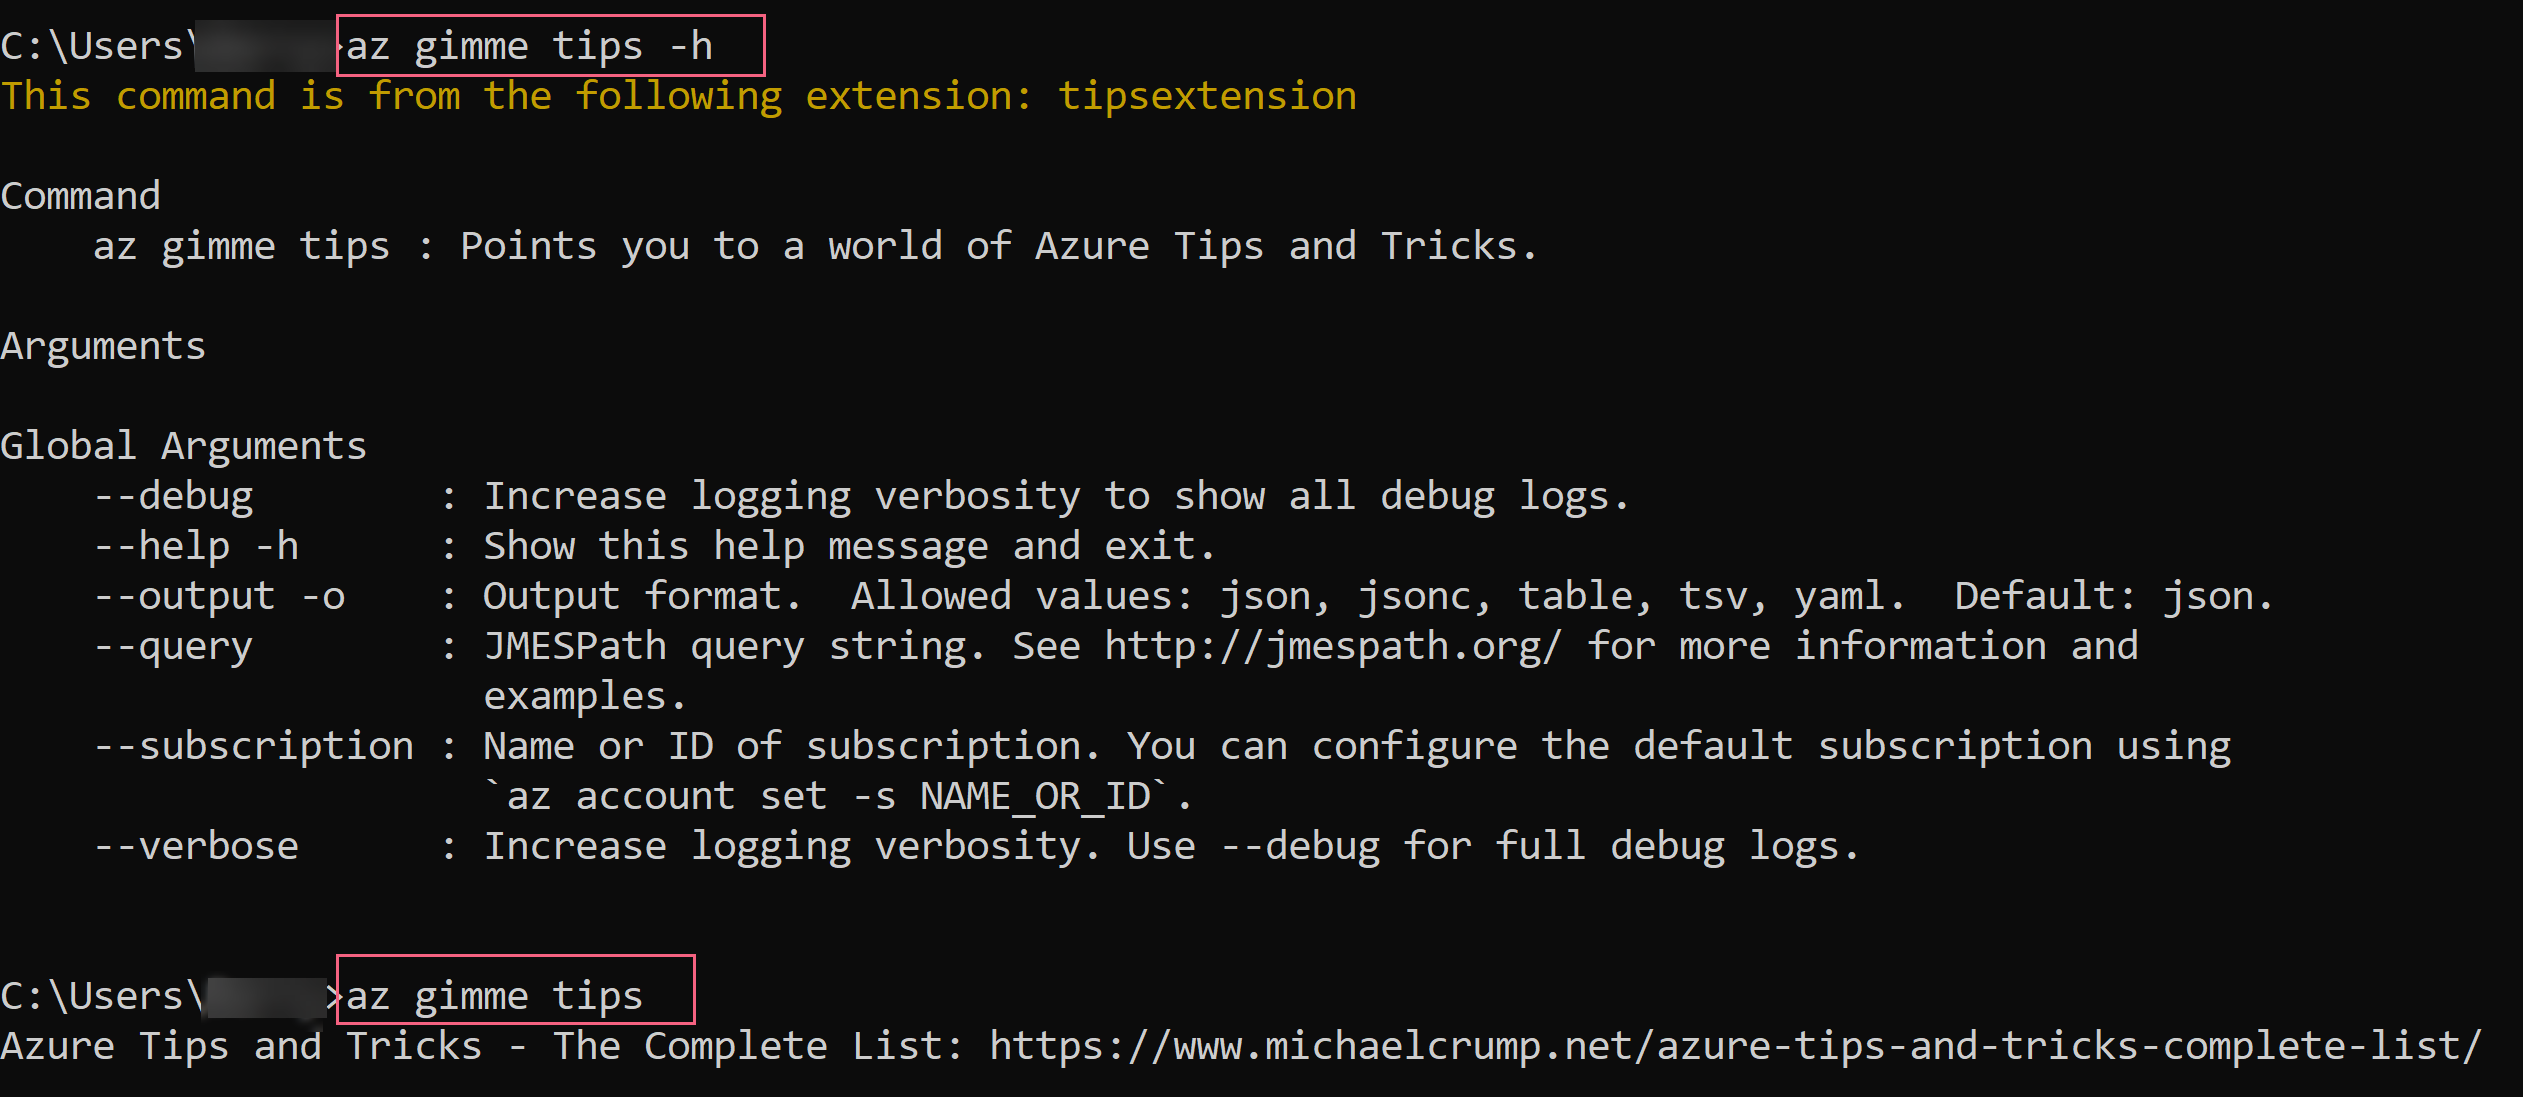
- When the extension is installed, you can see the help by using az gimme tips -h or get the results by using az gimme tips

(Trying the extension)
The above is the happy flow of developing an Azure CLI Extension. Usually, you need to debug the extension and have more control when you are developing it. You can read more about that here (opens new window). And you can also publish the extension so that people can start using it. You can read about how to do that here (opens new window).
Here are some of the published CLI Extensions that I find very useful:
- find, which helps you to get contextual information with the CLI
- webapp, which has some extra commands for managing Web Apps, ike creating a new one from the CLI
- resource-graph, which enables you to query the Azure Resource Graph
# Conclusion
Azure CLI extensions are a very powerful way to make the CLI work for you. The steps to develop an Azure CLI extension are relatively easy. The downside (to me) is that it is currently only possible to develop the extensions in Python. Maybe in the future, other languages will be supported. In any case, it is wonderful that it is possible to extend the CLI. Go and develop your ultimate extension and share it with the community!
