Task 04: Defender for Endpoint (MDE) - onboard the VM & generate safe alerts
In a real-world scenario, this would be run by the Security Engineering team, with the Security Administrator role.
-
In Azure’s search box, enter and select
Microsoft Defender for Cloud. -
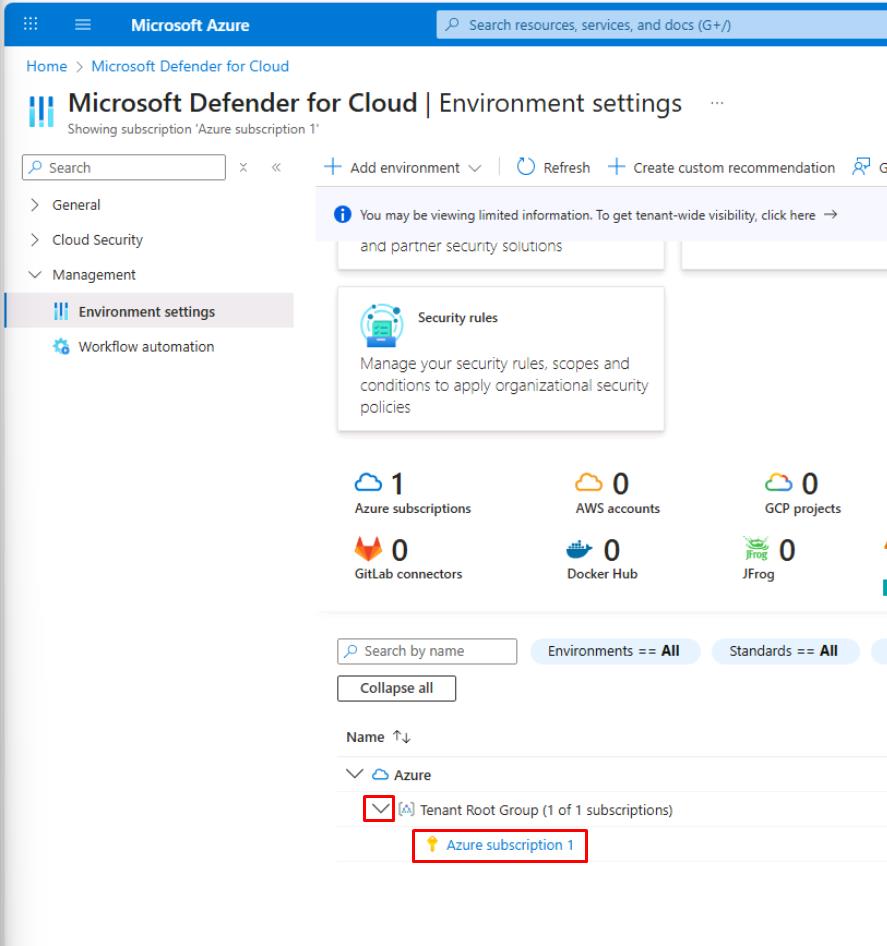
In the leftmost pane, select Management, then Environment settings.
-
Move through the page to the table, expand the tree, then select your subscription.
-
Under the Cloud Workload Protection (CWPP) section, ensure Servers is On.
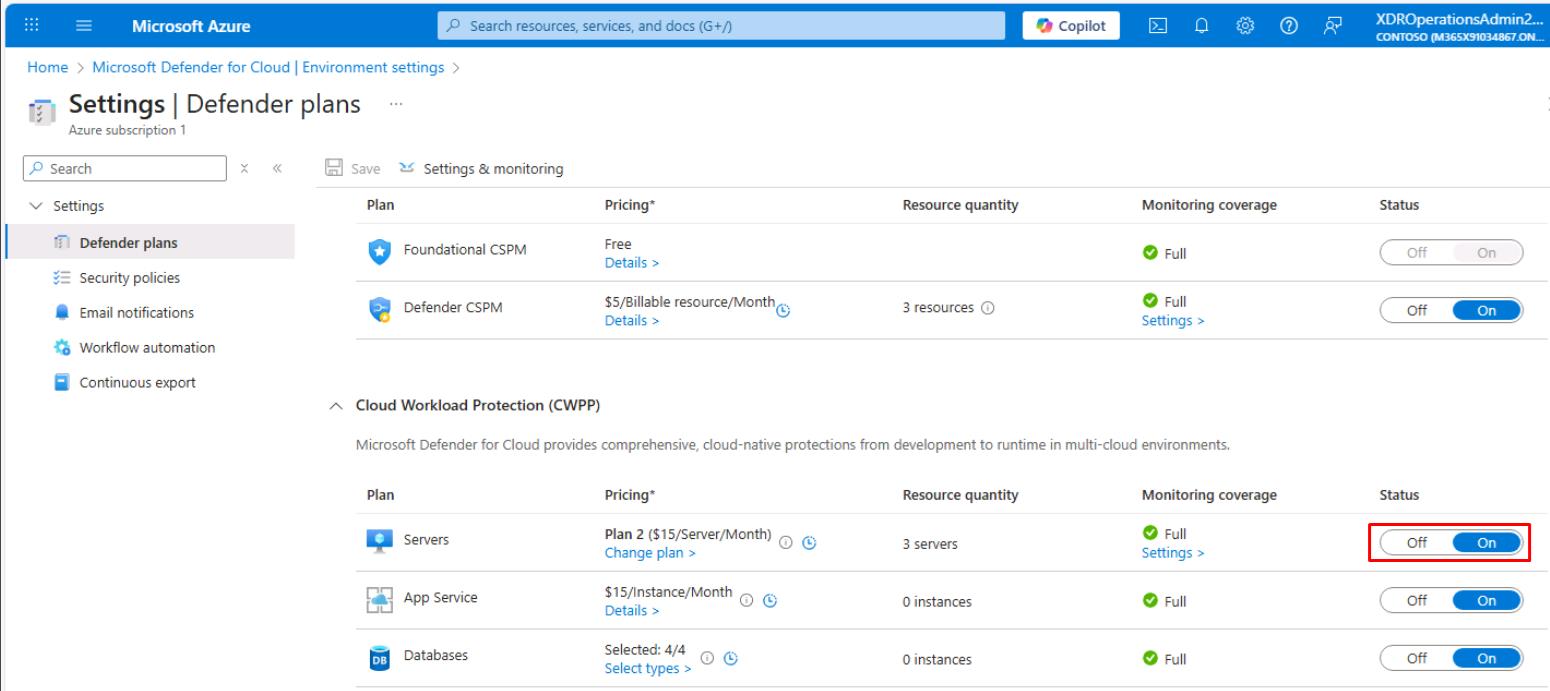
If settings have changed, on the top bar, select Save.
-
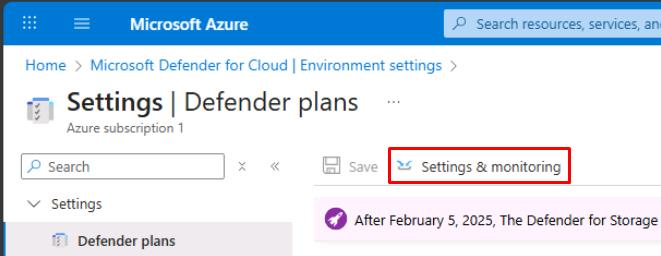
On the top bar, select Settings & monitoring.
-
Ensure the following settings are On:
- Endpoint protection
- Defender sensor
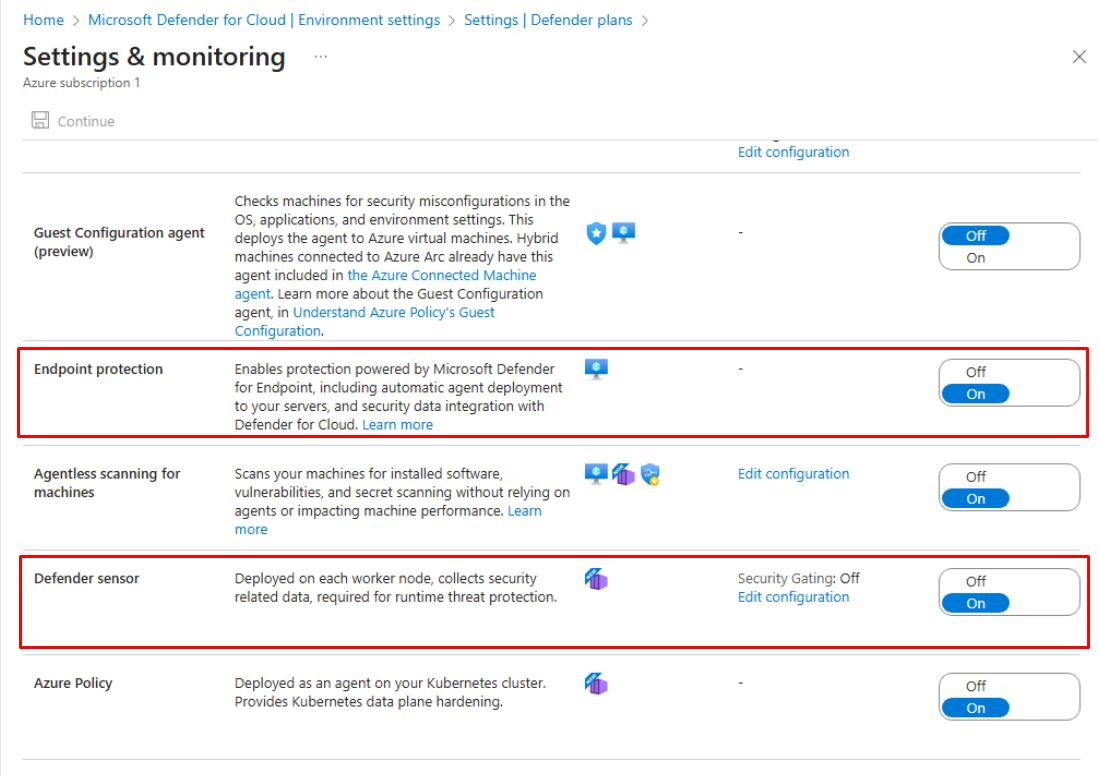
If settings have changed, at the top of the page, select Continue.
If prompted when enabling Defender sensor, set Security Gating to Off.
-
Near the upper-left corner of the page, select the **Settings Defender plans** breadcrumb link. 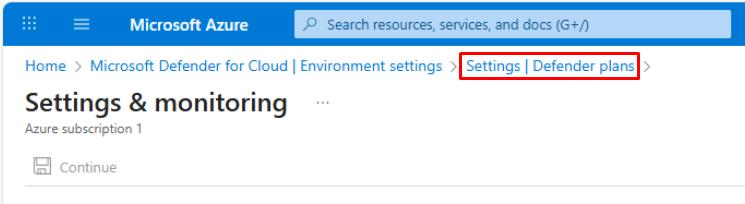
-
On the top bar of the **Settings Defender plans** page, select Save. This will automatically deploy the MDE sensor/extension to supported Windows machines in the subscription.
The deployment may take an hour to complete.
-
Open a new browser tab, then go to
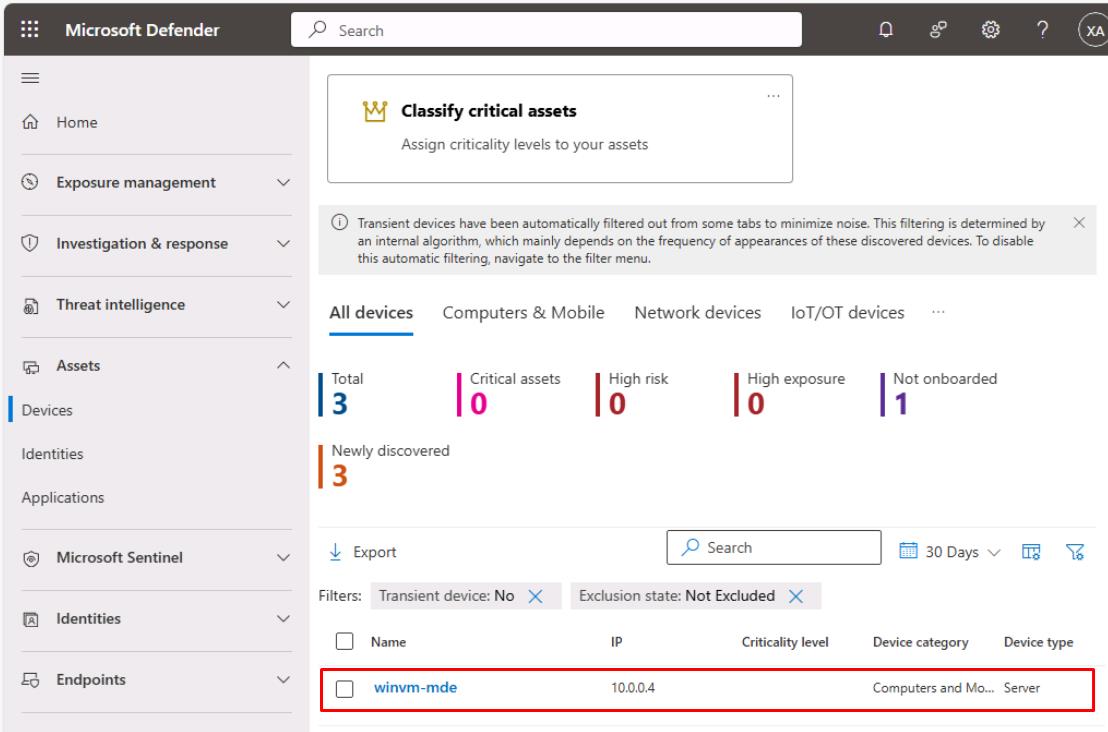
security.microsoft.comto go to the Microsoft Defender XDR portal. -
In the leftmost menu, go to Assets, then select Devices.
-
Ensure the new winvm-mde is listed on the table before proceeding.