Task 06: Defender for Office 365 (MDO) - Baseline policies and Safe simulations
01: Create core policies (Exchange Online PowerShell)
-
Go back to your Windows PowerShell ISE window.
-
In the top pane, replace the existing script with the following:
 # Run as global admin
 Connect-ExchangeOnline
 Enable-OrganizationCustomization -ErrorAction Continue

 # Safe Attachments: Dynamic Delivery with blocking
 New-SafeAttachmentPolicy -Name "LAB-SafeAttachments" -Enable $true -Redirect $false -Action Block
 New-SafeAttachmentRule -Name "LAB-SA-Default" -SafeAttachmentPolicy "LAB-SafeAttachments" -RecipientDomainIs @("@lab.Variable(userDomain)")

 # Safe Links: time-of-click scanning and URL rewrite
 New-SafeLinksPolicy -Name "LAB-SafeLinks" -EnableSafeLinksForEmail $true -EnableForInternalSenders $true -DoNotRewriteUrls $false -TrackClicks $true
 New-SafeLinksRule -Name "LAB-SL-Default" -SafeLinksPolicy "LAB-SafeLinks" -RecipientDomainIs @("@lab.Variable(userDomain)")

 # Anti-Phish: enable impersonation protection
 New-AntiPhishPolicy -Name "LAB-AntiPhish" -EnableMailboxIntelligence $true -EnableTargetedUserProtection $true -EnableOrganizationDomainsProtection $true
 New-AntiPhishRule -Name "LAB-AP-Default" -AntiPhishPolicy "LAB-AntiPhish" -RecipientDomainIs @("@lab.Variable(userDomain)")

 Disconnect-ExchangeOnline -Confirm:$false
This script enables organization customization, then creates Safe Attachments, Safe Links, and Anti-Phish policies and applies them to the specified domain.
-
On the top bar, select Run Script.

-
When prompted, sign in with your global admin account.
In a real-world scenario, a Security Architect would design, while a Security Admin could implement.
02: Launch attack simulation training
-
In Microsoft Edge, go back to your Microsoft Defender XDR portal tab, or reopen
security.microsoft.com. -
In the leftmost pane, select Email & collaboration > Attack simulation training.
-
Under the Create a simulation section, select Launch instant simulation.
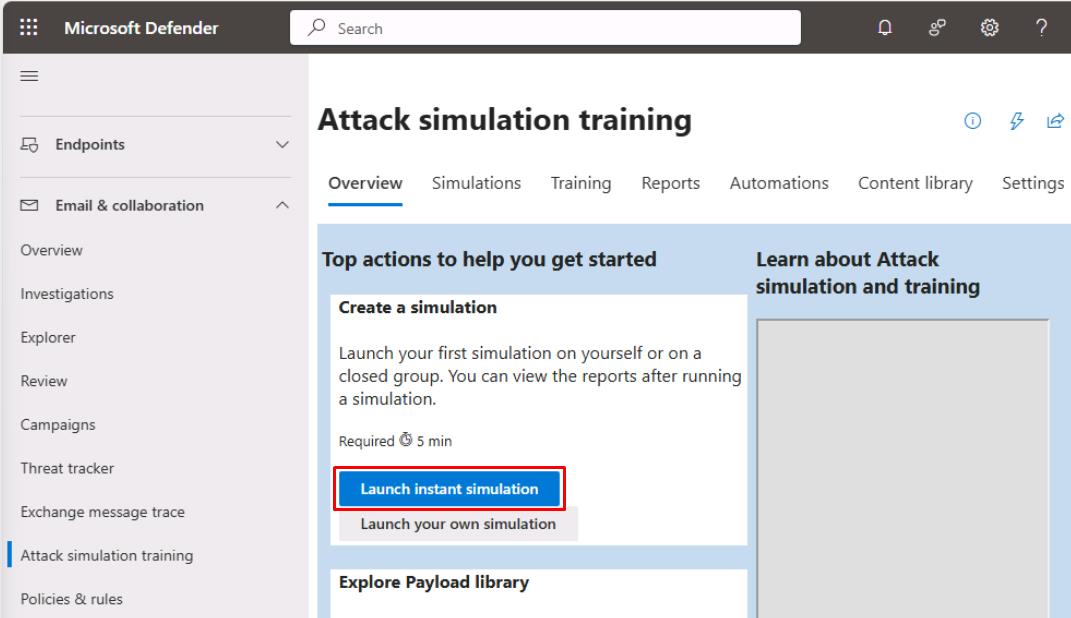
If you don’t see this option, follow these instructions instead:
-
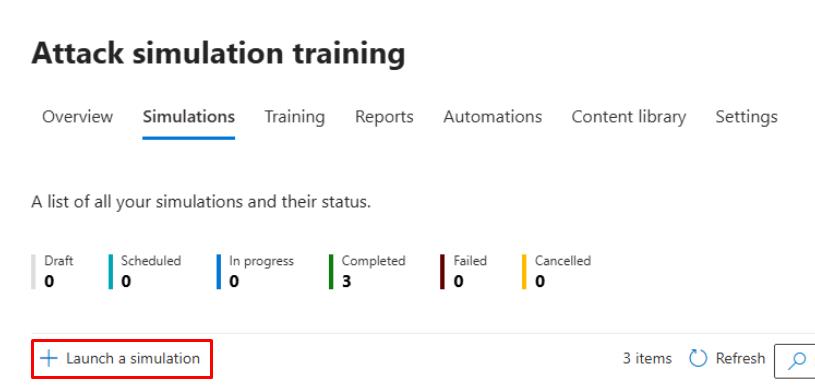
At the top of the page, select the Simulations tab.
-
Select Launch a simulation.
-
Keep the default Credential Harvest, then select Next.
-
For Simulation Name, enter
Baseline Credential Harvest, then select Next. -
On the Select payload and login page, search for and select
Keep Office 365 password.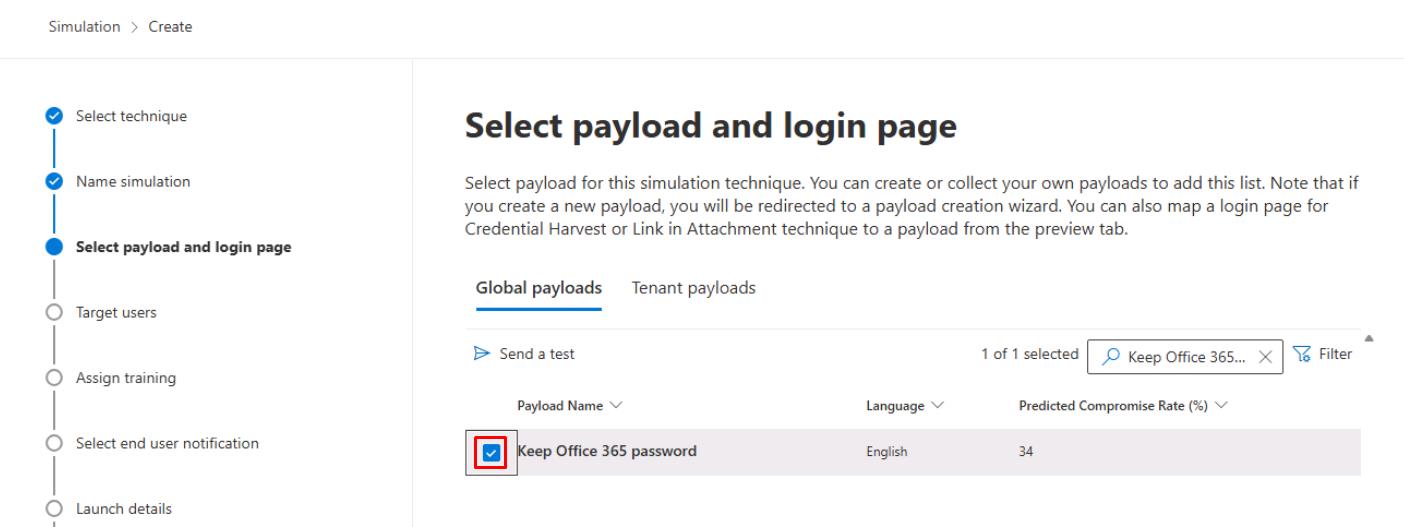
-
Select Next.
-
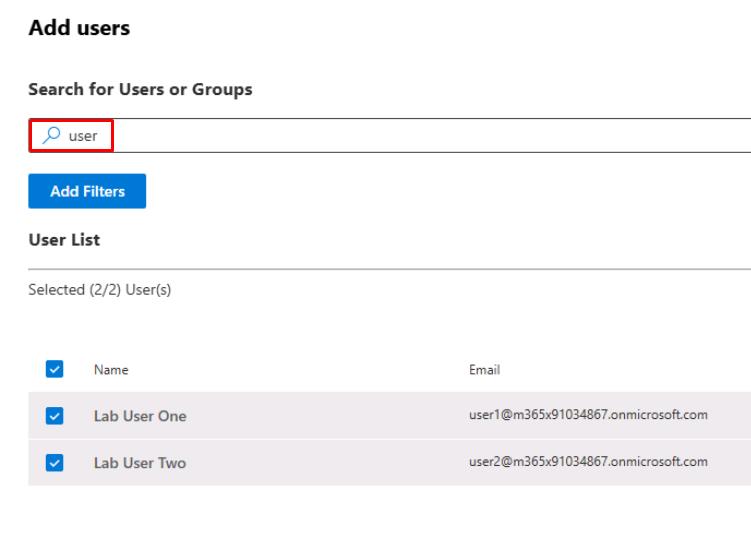
Select Add users.
-
In the search box, enter
user, then select both:- user1@@lab.Variable(userDomain)
- user2@@lab.Variable(userDomain)

Users must be licensed to appear on this list for attack simulations. If you were unable to license, please observe these steps.
-
At the bottom of the pane, select Add 2 User(s).
-
Select Next until the Phish landing page step.
-
Select Microsoft Landing Page Template 1, then select Next.
-
On the Select end user notification step, select Do not deliver notifications, then select Next.
-
Select Next until the Review simulation step, select Submit, then select Done.
This produces alerts in Defender and unified Incidents suitable for future exercises.
-
Select Next in the instructions to proceed.
-
-
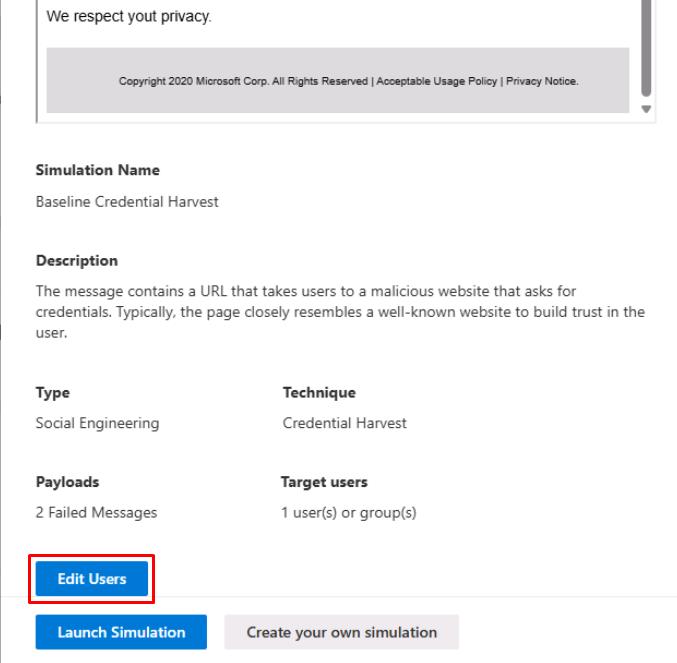
In the flyout pane, select Continue.
-
At the bottom of the pane, select Edit Users.
-
In the search box, enter
user, then select both:- user1@@lab.Variable(userDomain)
- user2@@lab.Variable(userDomain)
Users must be licensed to appear on this list for attack simulations. If you were unable to license, please observe these steps.
-
At the bottom of the pane, select Add 2 User(s).
-
At the bottom of the pane, select Launch Simulation.
This produces alerts in Defender and unified Incidents suitable for future exercises.