Task 01: Turn on Cloud Discovery and seed data
Security Architecture Team
-
In the Defender XDR portal’s leftmost pane, go to System > Settings.
-
Select Cloud Apps.
-
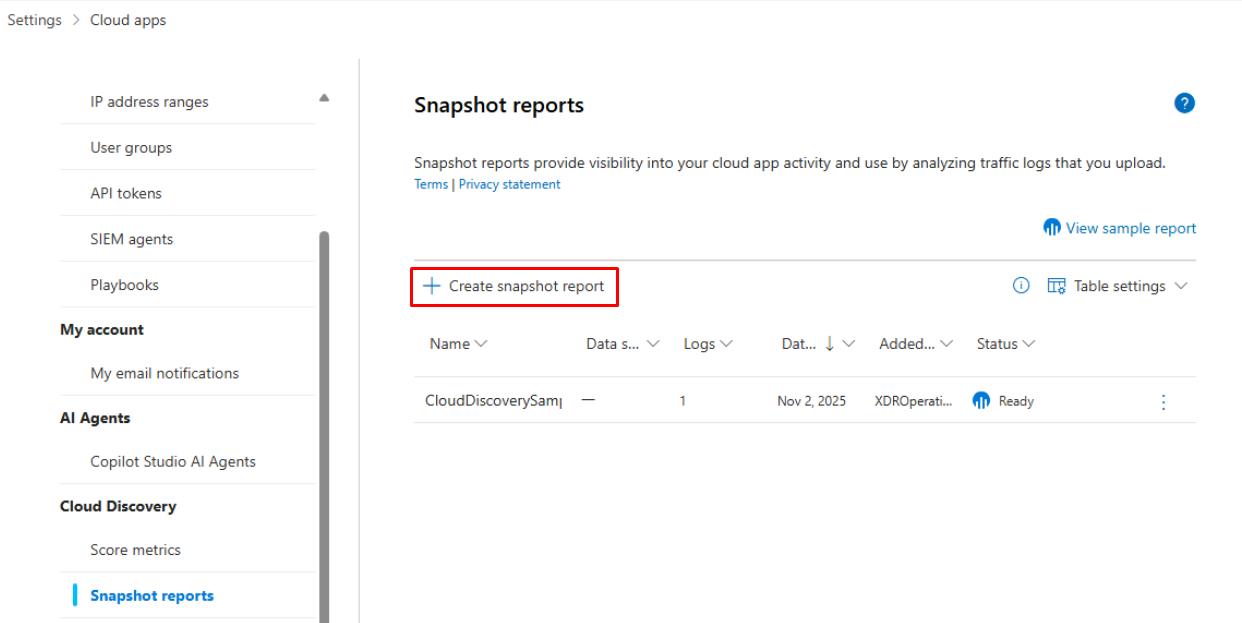
Under the Cloud Discovery section, select Snapshot reports.
-
At the top of the page, select Create snapshot report.
-
In the dialog, select Next.
-
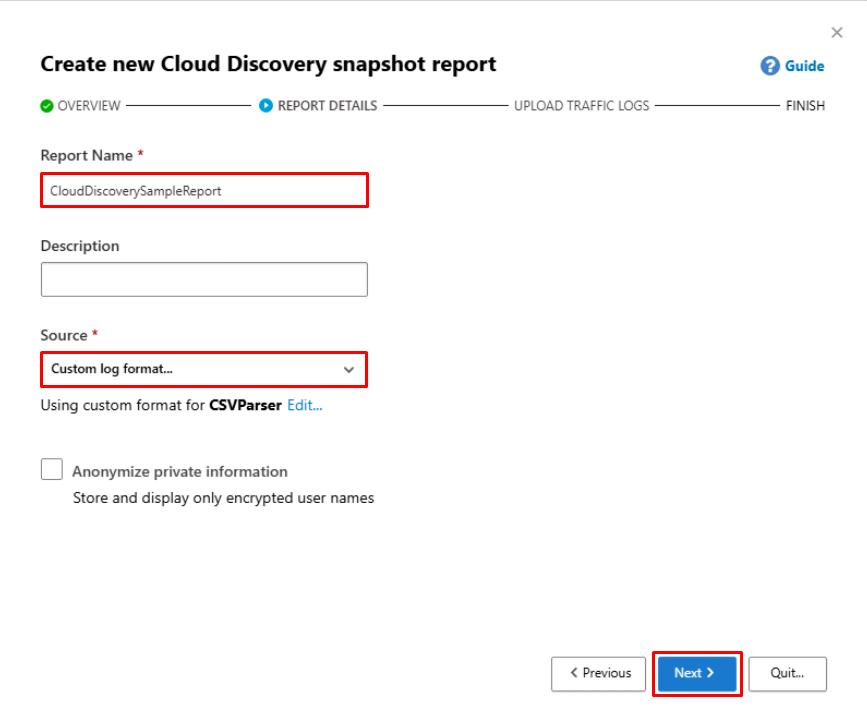
On the REPORT DETAILS step, enter the following:
Item Value Report Name CloudDiscoverySampleReportSource Custom log format… -
In the Custom log format dialog, if it’s not filled in by default, enter the following:
Item Value Parser name CSVParserDelimiter Comma Timestamp column name Timestamp formatTimestamp format d/M/yyyy HH:mm:ss a Source IP address column name Source IPDestination URL address column name Destination IP/URLDestination URL format https://www.contoso.com 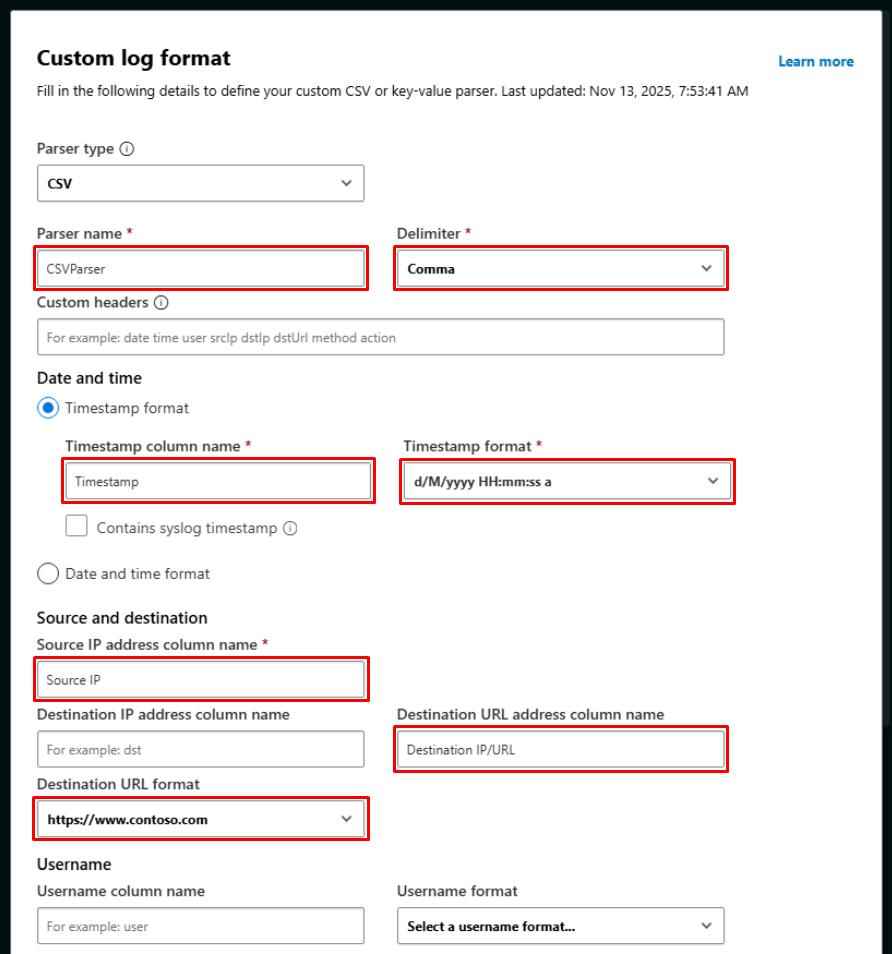
-
At the bottom of the dialog, select Save.
-
Select Next.
-
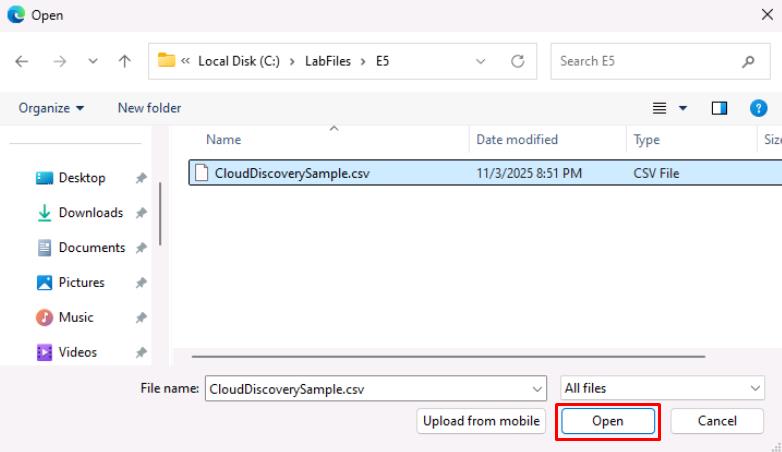
Under Upload traffic logs, select Browse.
-
Go to
C:\LabFiles\E5. -
Select CloudDiscoverySample.csv, then select Open.
-
Select Upload logs.
-
Once finished, select Close.
-
On the table, wait until Status shows Ready.
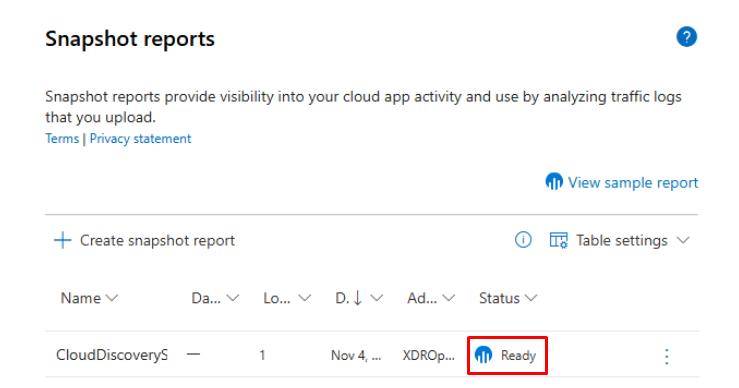
Processing usually happens within 10 minutes. Periodically refresh the page.
-
Once Ready, select the report.
-
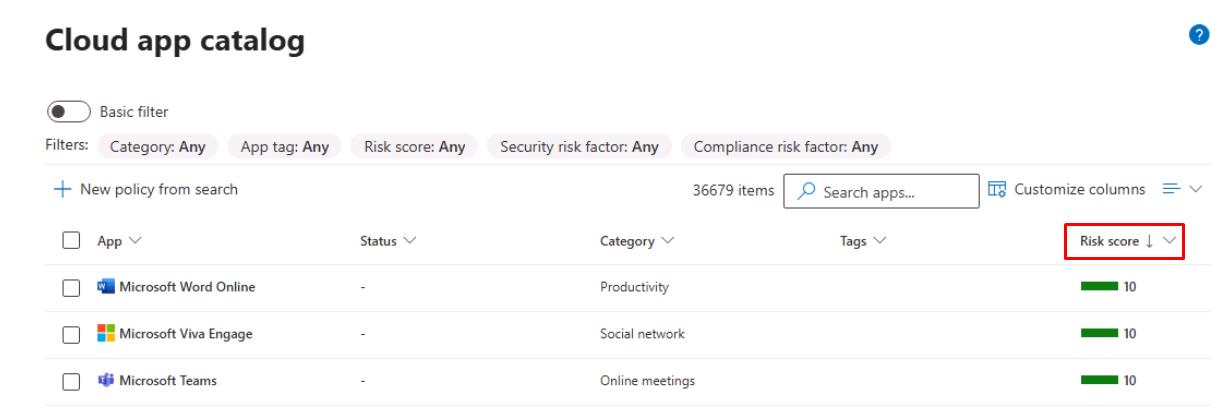
In the leftmost pane, go to Cloud apps > Cloud app catalog.
-
Sort the table by descending Risk score and note the top risky applications.
Security Engineering and Administration
-
In the Defender XDR portal’s leftmost pane, go to System > Settings.
-
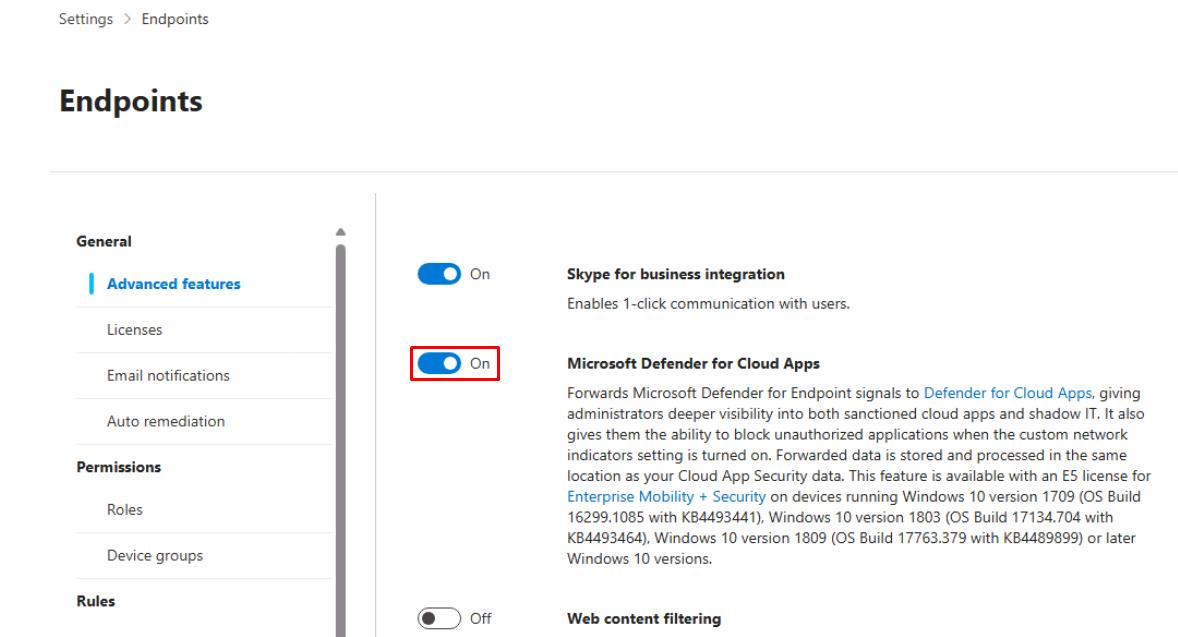
Select Endpoints.
-
Ensure Microsoft Defender for Cloud Apps is set to On (if using MDE).
-
If this was just enabled, select Save preferences at the bottom.
-
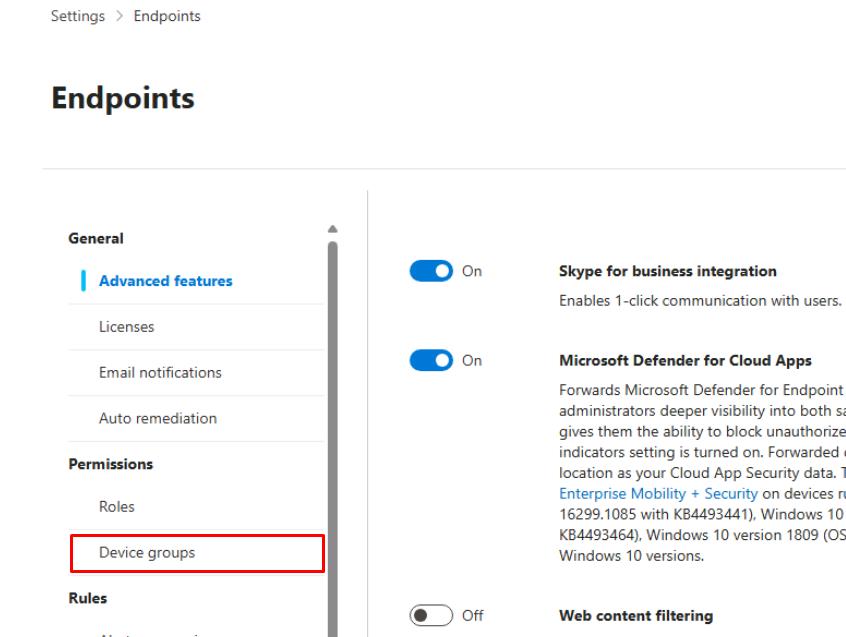
On the Endpoints page menu, under Permissions, select Device groups.
-
At the top of the page, select Add device group.
-
Enter the following, then select Next:
Item Value Device group name PilotDeviceGroupRemediation level No automated response -
On the Devices step, set Name, Starts with,
win, then select Next.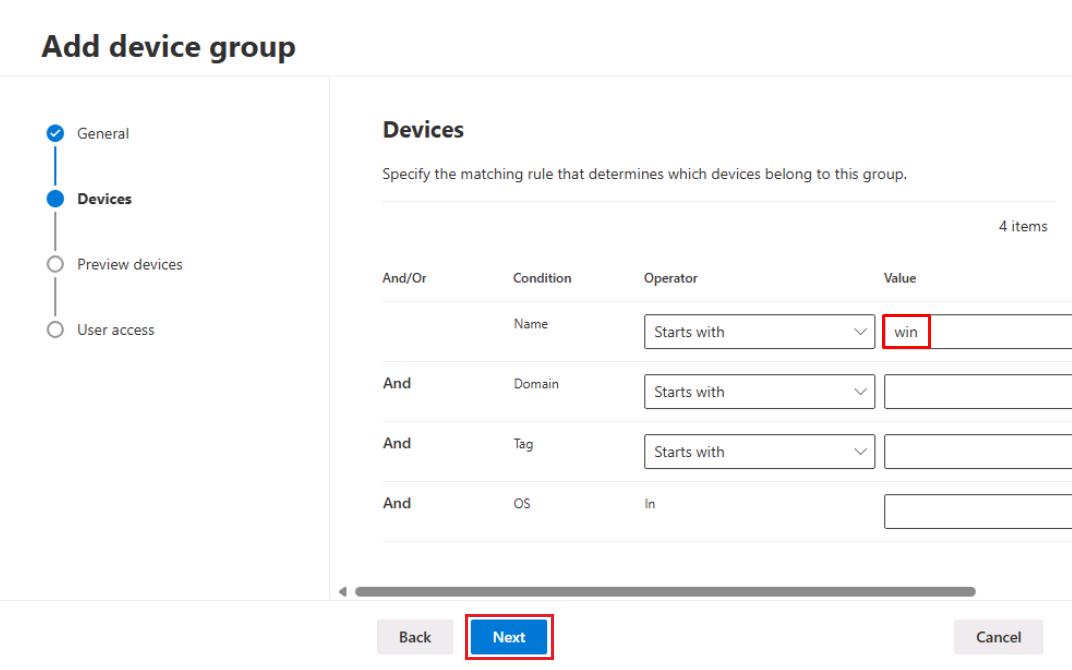
-
Select Next through the remaining steps, then select Submit.
-
In the dialog for No user groups selected, select Continue.
SOC Analyst
-
In the Defender XDR portal’s leftmost pane, go to System > Settings.
-
Select Cloud Apps.
-
Under the Cloud Discovery section, select Snapshot reports.
-
Select CloudDiscoverySampleReport.

Created by the Architect in Task 01 of this Exercise.
-
Explore the various tabs to see what’s being reported.