Task 03: Apply Safe Links, Safe Attachments, and Anti-Phish to a pilot group
Security Architecture Team
Instruct the team to apply the Standard Preset Security policy to a pilot group and exclude executive members initially.
This policy enables time-of-click URL scanning, attachment detonation, and anti-impersonation features.
Security Engineering and Administration
01: Configure groups
-
In PowerShell ISE, select File > New.
-
In the top pane, enter the following:
# ================================ # Run as Global Admin # ================================ Import-Module ExchangeOnlineManagement Connect-ExchangeOnline -ShowBanner:$false # --- Group definitions --- $pilotGroupName = "XDR-Pilot-Group" $execGroupName = "Execs" # --- Members (matching your lab variable format) --- $pilotMembers = @( "user1@@lab.Variable(userDomain)", "user2@@lab.Variable(userDomain)" ) $execMembers = @( "user1@@lab.Variable(userDomain)" ) # --- Helper: add members with retry (for replication delay) --- function Add-DistributionGroupMemberSafe { param( [string]$GroupName, [string[]]$Members, [int]$MaxTries = 10, [int]$SleepSeconds = 30 ) $existing = Get-DistributionGroupMember -Identity $GroupName -ResultSize Unlimited -ErrorAction SilentlyContinue $existingSmtp = @($existing | ForEach-Object { $_.PrimarySmtpAddress.ToString().ToLower() }) foreach ($m in $Members) { if ($existingSmtp -contains $m.ToLower()) { Write-Host "$m already a member of $GroupName." continue } for ($i = 1; $i -le $MaxTries; $i++) { try { Add-DistributionGroupMember -Identity $GroupName -Member $m -ErrorAction Stop Write-Host "Added $m to $GroupName" break } catch { $msg = $_.Exception.Message if ($msg -match "Couldn't find object|DualWrite" -and $i -lt $MaxTrries) { Write-Host "User $m not yet visible in EXO (attempt $i/$MaxTries). Retrying in $SleepSeconds seconds..." Start-Sleep -Seconds $SleepSeconds } else { Write-Host "Failed to add $m to ${GroupName}: ${msg}" break } } } } } # --- Ensure groups exist (create if missing) --- foreach ($g in @($pilotGroupName, $execGroupName)) { $existingGroup = Get-DistributionGroup -Identity $g -ErrorAction SilentlyContinue if (-not $existingGroup) { $alias = ($g -replace '[^a-zA-Z0-9]', '').ToLower() try { New-DistributionGroup -Name $g -Alias $alias -Type Security | Out-Null Write-Host "Created mail-enabled security group: $g" } catch { Write-Host "Could not create ${g}: $($_.Exception.Message)" } } else { Write-Host "Mail-enabled security group already exists: $g" } } # --- Add members to groups --- Add-DistributionGroupMemberSafe -GroupName $pilotGroupName -Members $pilotMembers Add-DistributionGroupMemberSafe -GroupName $execGroupName -Members $execMembers Write-Host "All groups and members processed." Disconnect-ExchangeOnline -Confirm:$false -
On the top bar, select Run Script, then authenticate with your global admin account.
This creates two groups:
- XDR-Pilot-Group: Adds Lab User One and Lab User Two.
- Execs: Adds Lab User One.
02: Update standard protection security policies.
-
In Microsoft Edge, go back to your Defender XDR portal tab, or reopen
security.microsoft.com. -
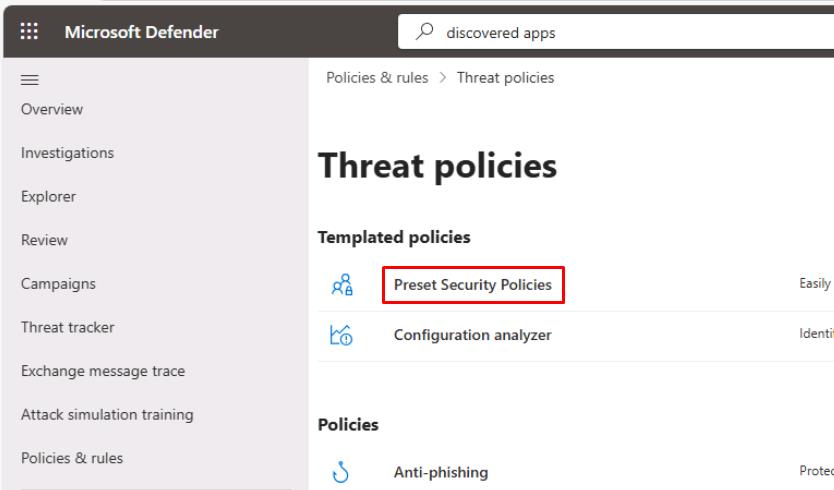
In the leftmost pane, go to Email & collaboration > Policies & rules.
-
Select Threat policies.
-
Select Preset Security Policies.
-
Close the flyout pane.
-
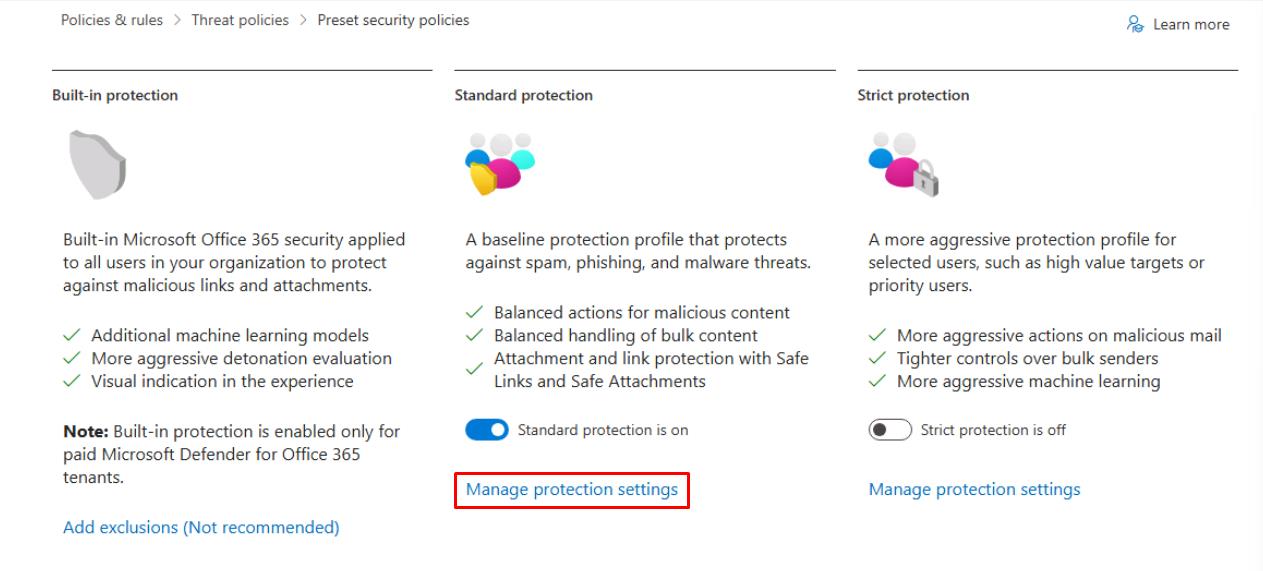
Under Standard protection, select Manage protection settings.
-
In the wizard, select Specific recipients, then under Groups, enter and select
XDR-Pilot-Group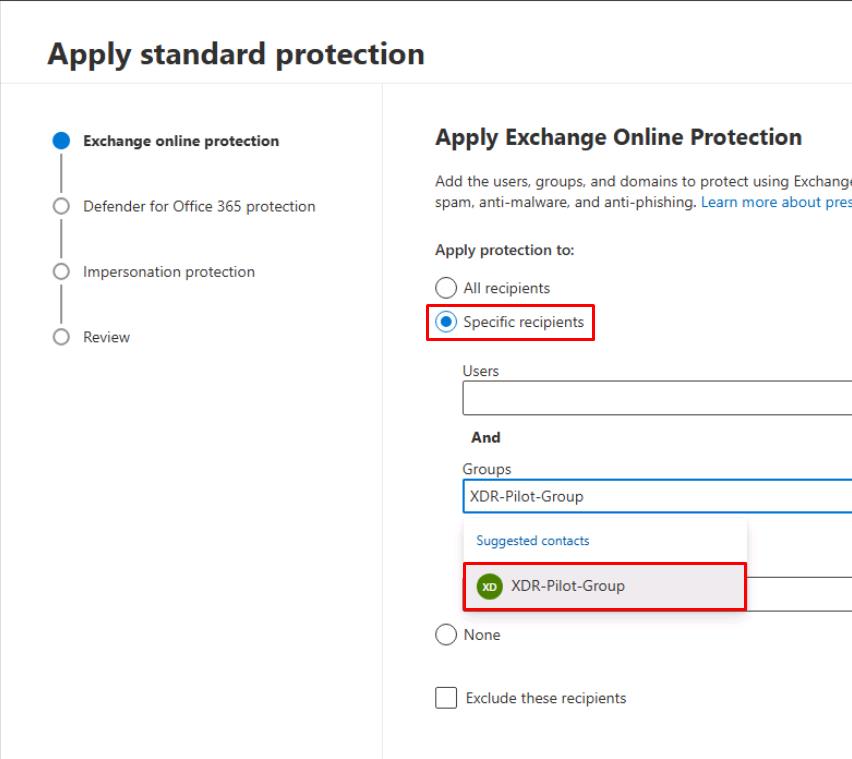
-
At the bottom of the flyout pane, select Next.
-
Again, select Specific recipients, enter and select
XDR-Pilot-Group, then select Next. -
Select Next through the remaining steps to accept the defaults.
-
On the Review step, select Confirm.
-
Once updated, select Done.
03: Read current MDO policy posture
-
Go back to your PowerShell ISE window.
-
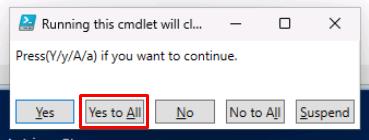
In the bottom console pane, run ScriptD.ps1:
.\ScriptD.ps1 -
In the Running this cmdlet… dialog, select Yes to All.
Exports the current Safe Links and Safe Attachments policy settings into a single text file for quick MDO posture review.
-
Observe the MDO-Policy-Posture text file it creates in
C:\LabFiles\E1to read the current MDO policy posture.
SOC Analyst
-
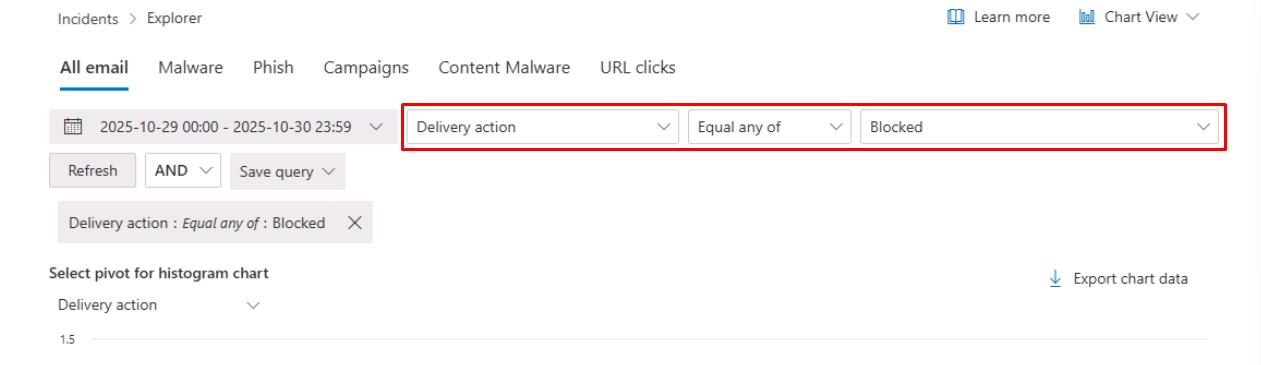
In the leftmost pane, go to Email & collaboration > Explorer.
-
On the top filter, set the following after the date dropdown menu:
- Delivery action
- Equal any of
- Blocked
-
In the upper-right corner of the table, select Export.
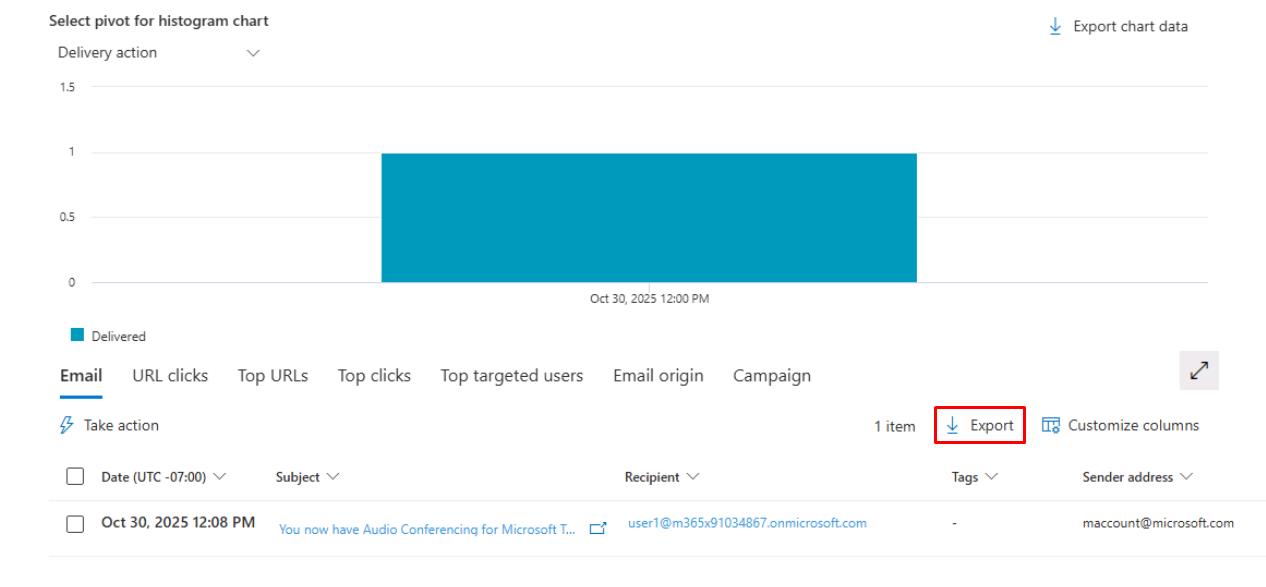
-
At the bottom of the flyout pane, select Export.
-
In the leftmost pane, go to Investigation & response > Hunting > Advanced hunting.
-
Run the following KQL query to check for blocked and delivered emails:
 EmailEvents
 | where Timestamp > ago(24h)
 | summarize Total=count(), Blocked=sumif(1, DeliveryAction in ("Blocked","Replaced")), Delivered=sumif(1, DeliveryAction=="Delivered");