Task 04: Use Threat Explorer and AIR to scope and stop an attack
Security Architecture Team
-
Establish response thresholds: Decide what qualifies as a containment-level event - for example, when the number of confirmed phish detections or user reports exceeds a specific threshold, a tenant-wide purge will be triggered.
-
Document intent and escalation path: Record the agreed-upon response logic in your runbook (who approves AIR actions, when to escalate, when to switch from quarantine to purge).
-
Verify role-based permissions:
Informational. This was already handled during provisioning.
-
In the leftmost pane, go to System > Permissions.
-
Confirm that team members have the Security Administrator and Search and Purge roles needed to execute containment and purge actions.
Search and Purge (Email & collaboration): Approve the deletion of malicious messages as recommended by AIR or take manual action on messages in hunting experiences like Threat Explorer.
By default, the Search and Purge role is assigned only to the following role groups:
- Data Investigator
- Organization Management
You can add users to those role groups, or you can create a new role group with the Search and Purge role assigned.
-
-
Define evidence-collection checklist: Specify the data to capture (message IDs, sender, recipient count, timestamps, URLs, detonation verdicts) for later use in Advanced hunting and post-incident analysis.
Security Engineering and Administration
-
Go back to Microsoft Edge.
-
In the Defender XDR portal’s leftmost pane, go to Email & collaboration > Explorer.
-
From the table, select either of the emails you sent, with the following Subject:
TEST: URL + Attachment Validation (Safe)
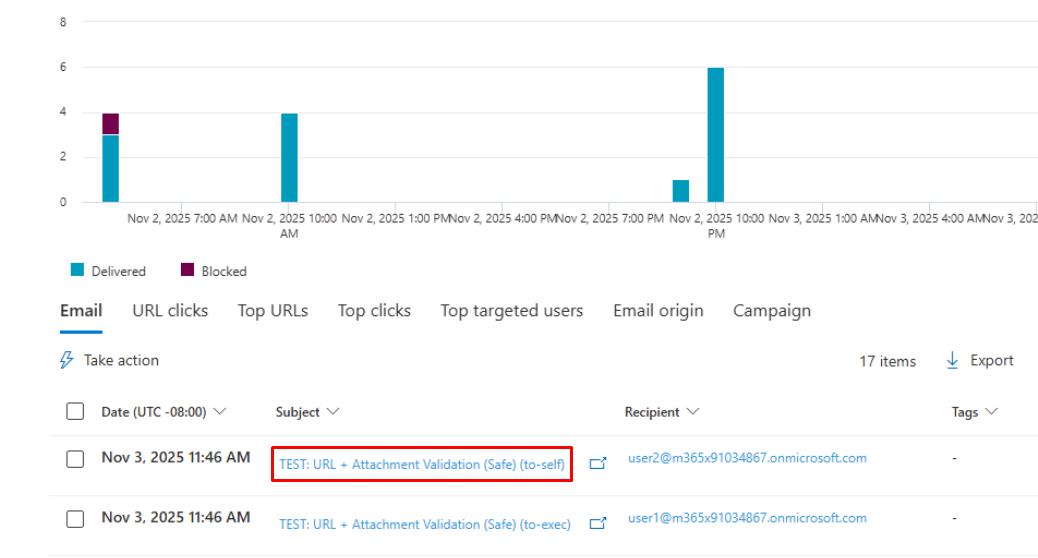
It may take around five minutes for them to appear. Periodically refresh the page.
-
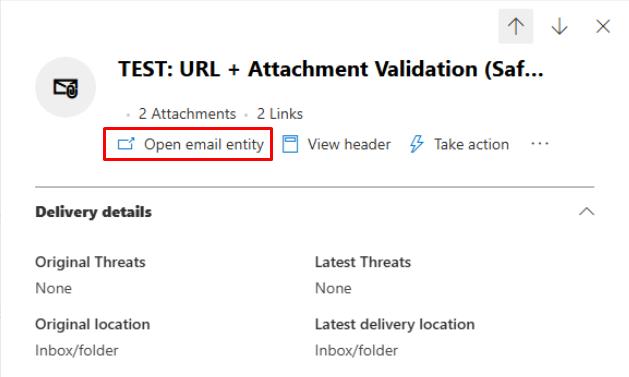
At the top of the flyout pane, select Open email entity.
-
Close any dialogs, then go to the following tabs at the top and observe the results:
- Timeline
- Analysis
- Attachments
- URL
- Similar emails
-
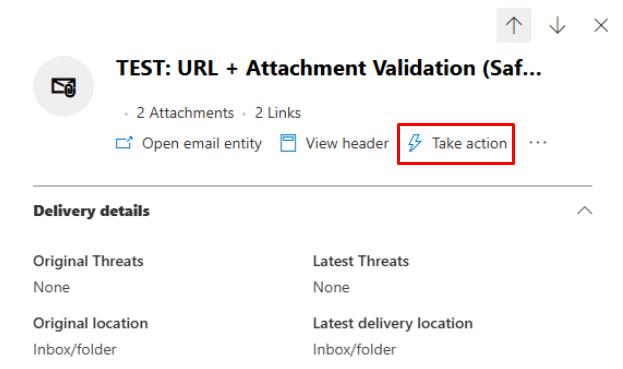
Close the browser tab to return to the flyout pane for the email.
-
At the top of the flyout pane, select Take action.
-
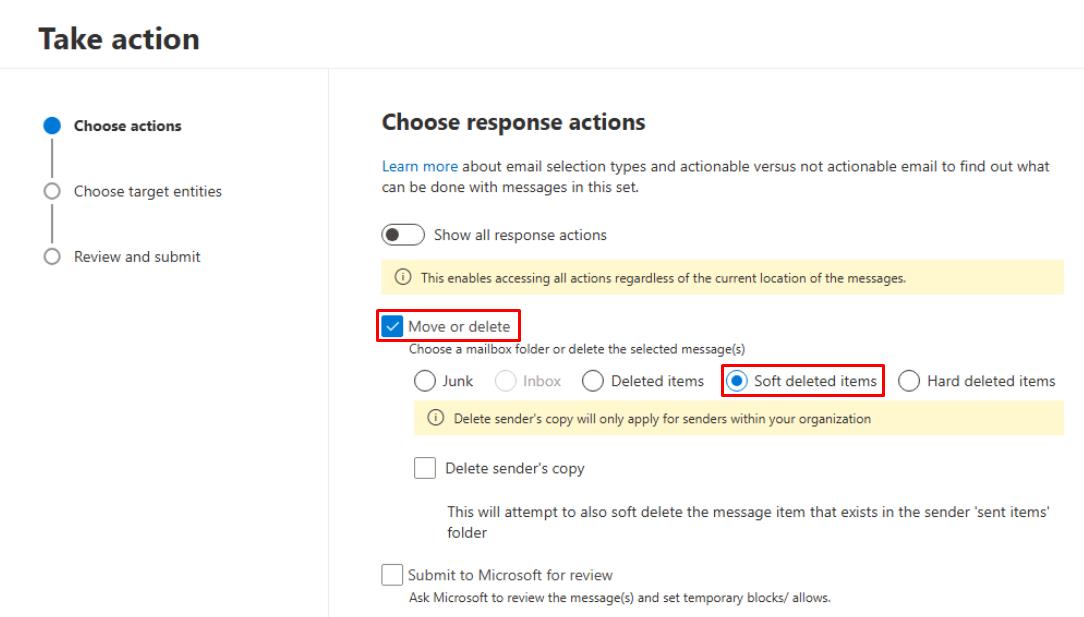
On the Take action wizard, select Move or Delete, select Soft deleted items, then select Next.
-
For Name, enter
Lab: Email Purge. -
Select Next, Submit, and Done through the remaining options.
This will soft delete the email in the system.
-
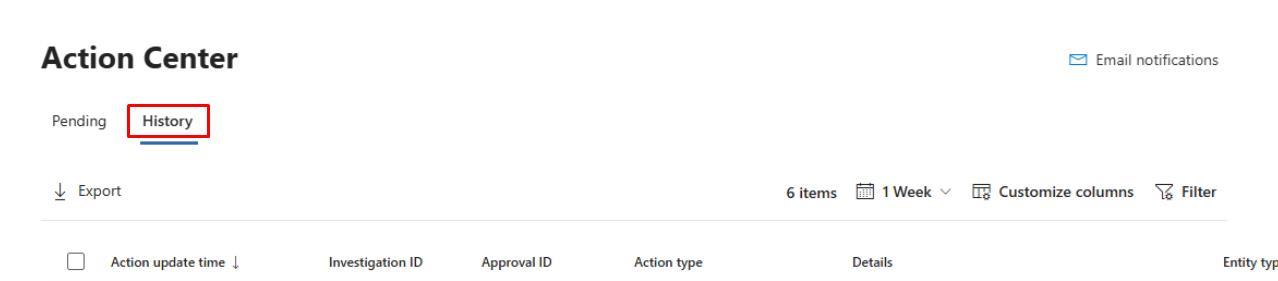
In the leftmost pane, go to Investigation & response > Action & submission > Action center.
-
At the top of the page, select the History tab to view the soft deleted email.

SOC Analyst
01: Review the soft-deleted email action
-
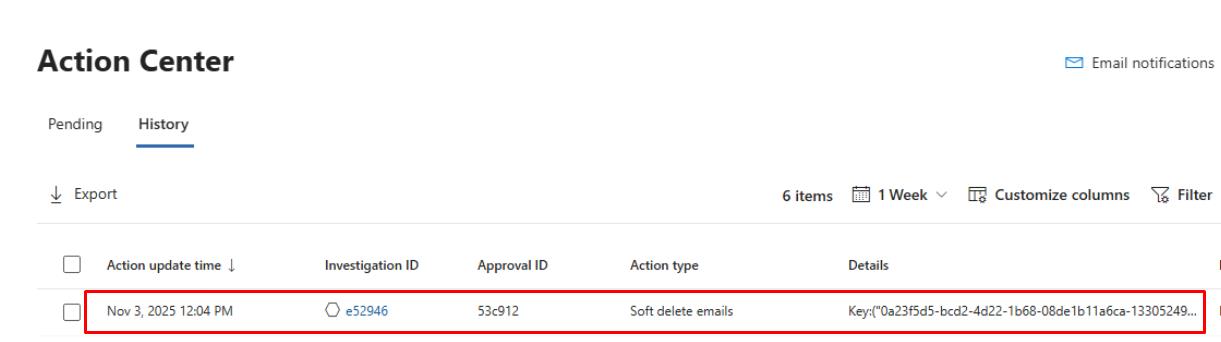
In the leftmost pane, go to Investigation & response > Action & submission > Action center.
-
At the top of the page, select the History tab.
-
Select the line for the Soft delete emails action the Engineering team ran.
-
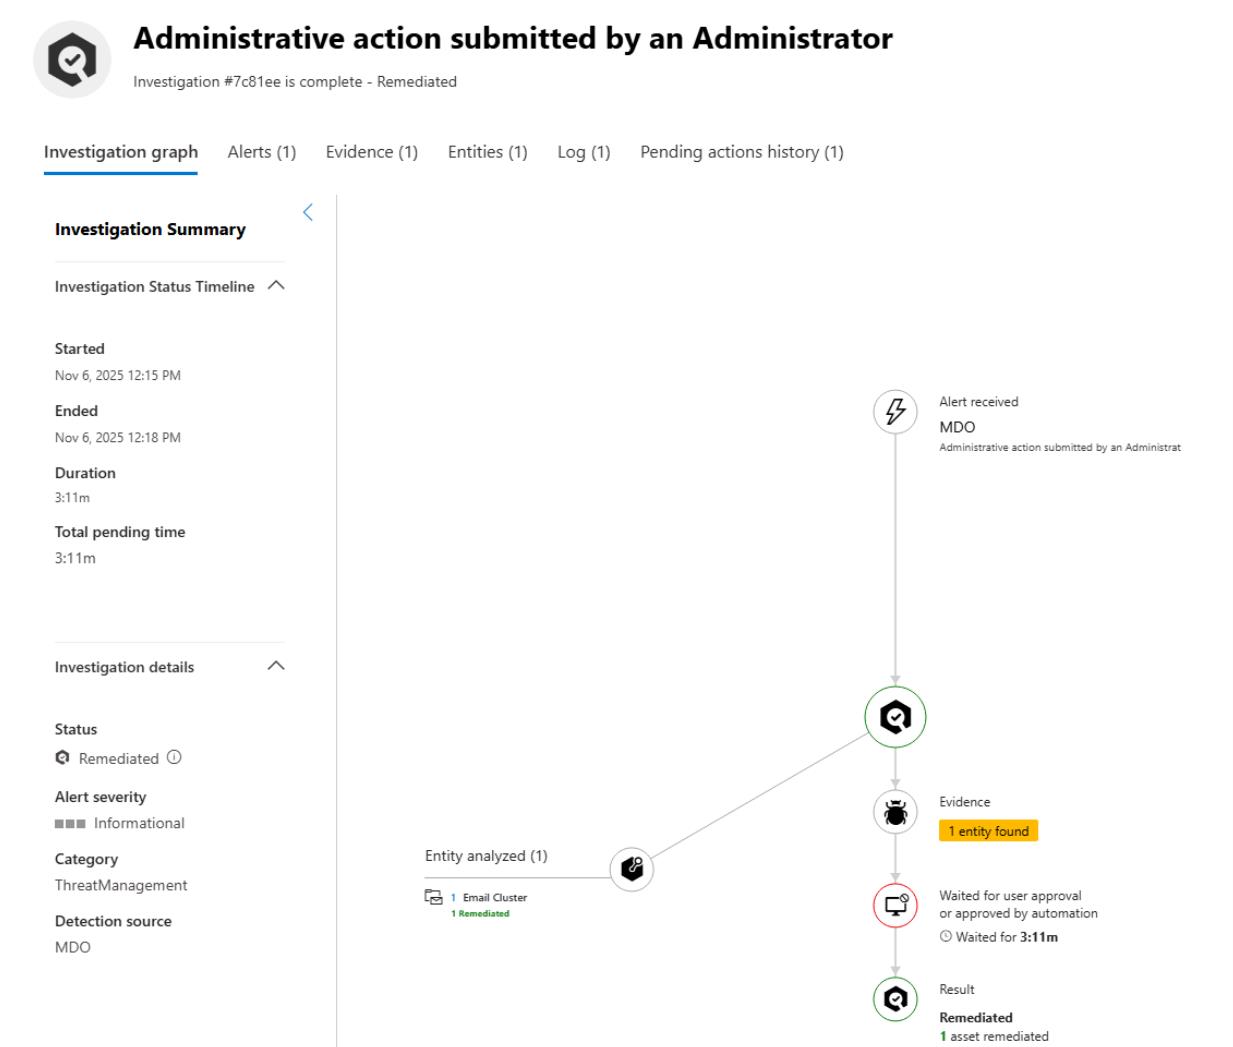
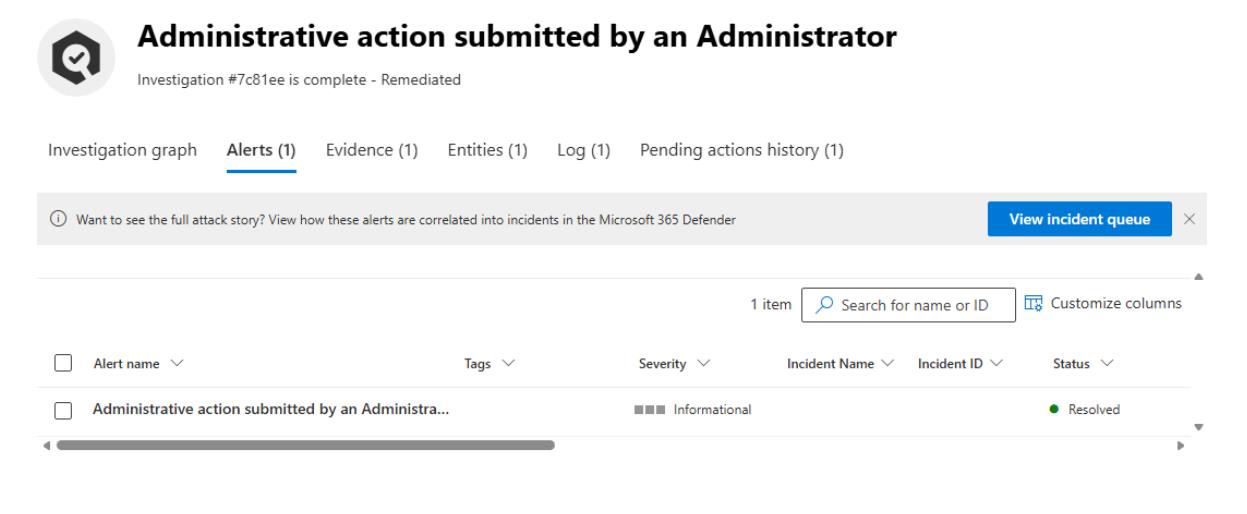
At the top of the flyout pane, select Open Investigation page.

-
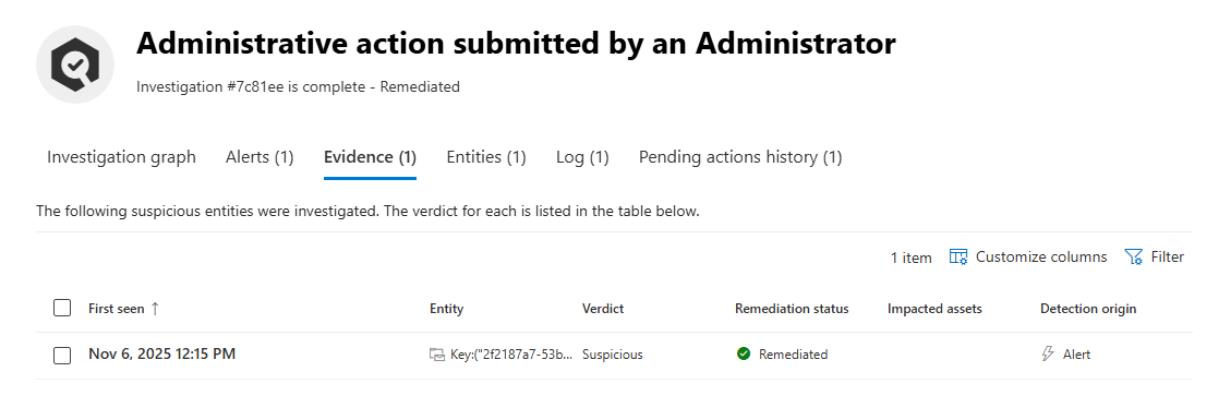
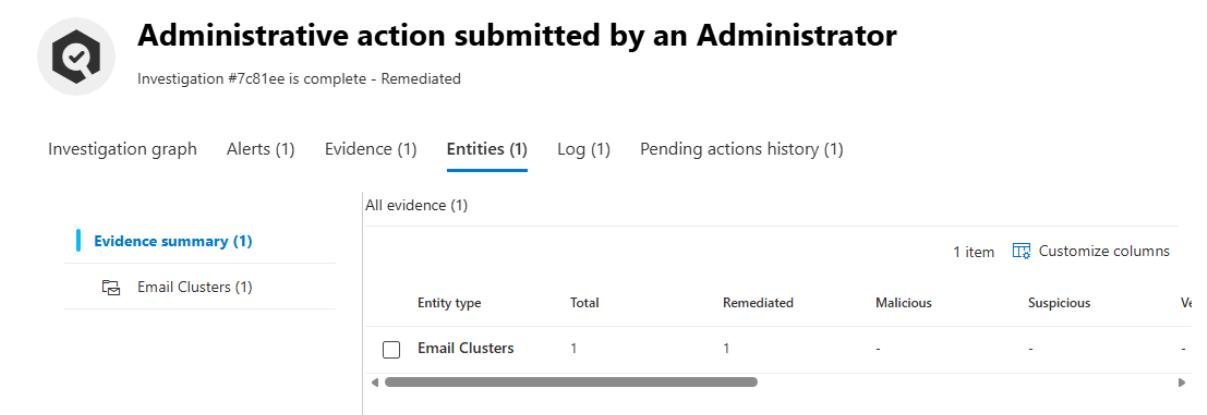
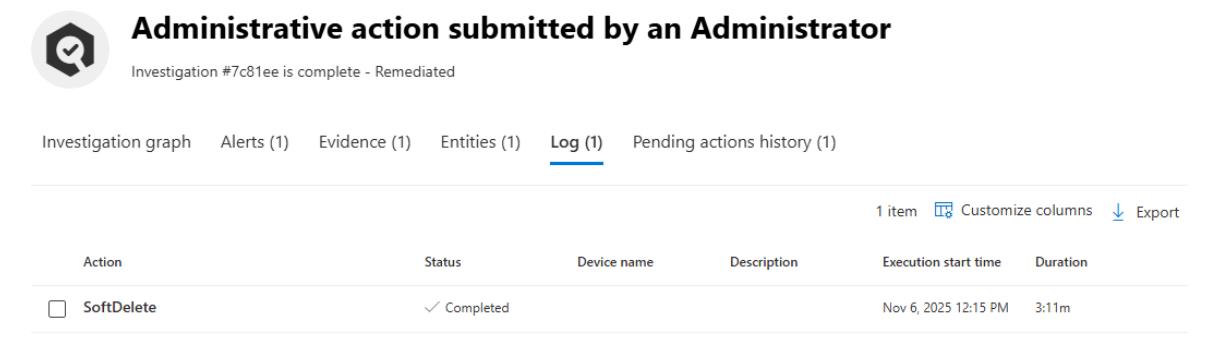
Observe the administrative action performed by looking through the tabs:
-
Investigation graph
-
Alerts
-
Evidence
-
Entities
-
Log
-
02: Identify which emails were soft-deleted
-
In the leftmost pane, go to Investigation & response > Hunting > Advanced hunting.
-
Run the following KQL to confirm that the “Stamp X-VIP for mail TO Execs” Exchange Transport Rule successfully triggered on the test email sent to the executive mailbox:
 EmailPostDeliveryEvents
 | where Action == "Soft delete"
 | project
     Timestamp,
     NetworkMessageId,
     RecipientEmailAddress,
     SenderFromAddress,
     ActionType,
     ActionTrigger,
     ActionResult,
     DeliveryLocation,
     EmailDirection
 | order by Timestamp desc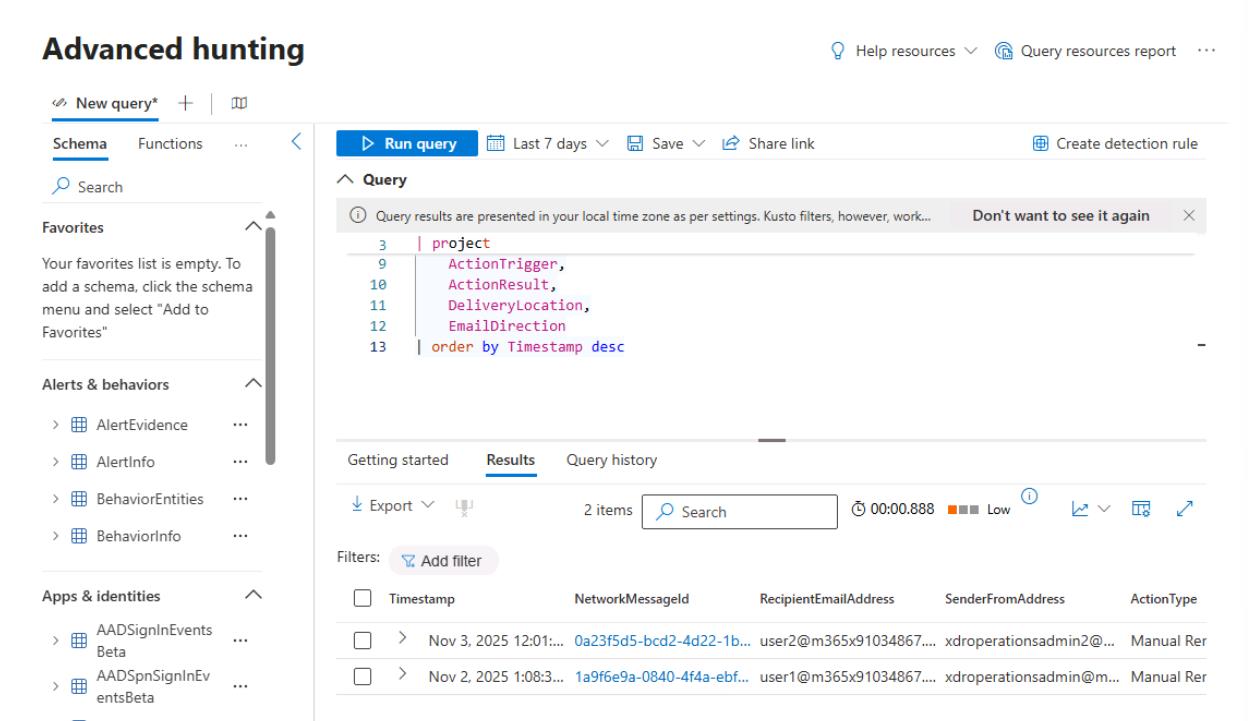
Identifies which emails were soft-deleted (manually or via Automated Investigation & Response) after delivery, including who triggered the action, which messages were affected, and when.